Give your outfit a yarn-powered glow-up with this Free Crochet Headband Pattern that's quick to make, fun to wear, and full of personality.
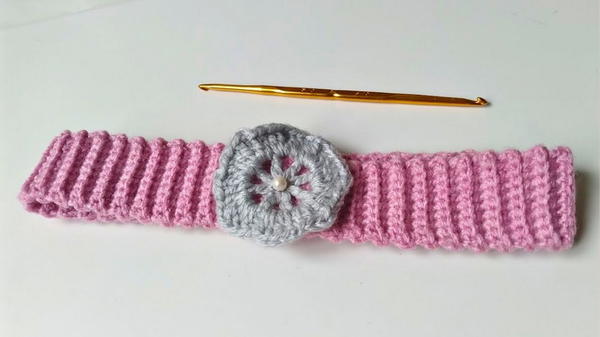
A beautiful headband can make a statement while serving practical purposes, from holding back hair to adding a touch of charm to an outfit. This crochet headband pattern features a simple yet clever design that prioritizes both comfort and style. The process centers around creating a stretchable band approximately 20 inches long and 2 inches wide, perfect for both children and adults. The soft, elastic structure ensures a comfortable fit, while the addition of a decorative flower gives it a personalized and elegant flourish.
From Yarn to Chic – How to Crochet Headband That Pops with Style
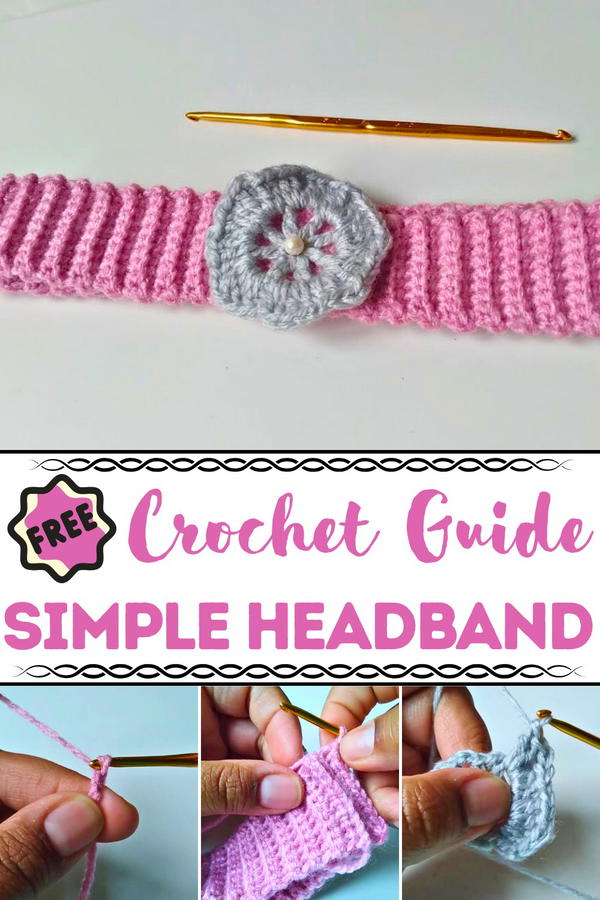
This decorative element adds personality and allows crocheters to experiment with colors and shapes. The flower can be attached with glue or sewn on securely, ensuring it stays in place during wear.
Ideal as a personal accessory or a thoughtful handmade gift, this crochet headband not only highlights fundamental stitching techniques but also results in a refined product that is as practical as it is stylish. Its simplicity makes it a versatile addition to anyone’s collection, combining functionality with charm in every stitch.
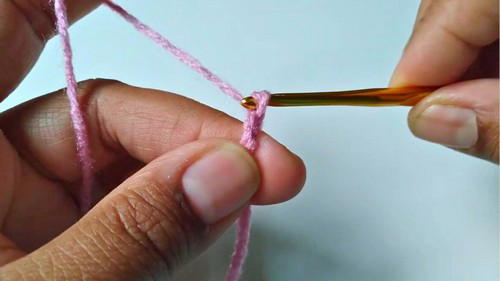
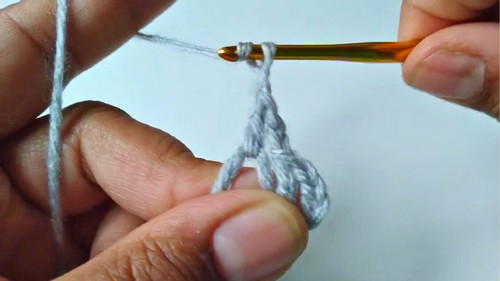
The pattern starts with a basic slip knot, followed by 10 chain stitches to create the foundation. Single crochet stitches are then worked in the back loop only, providing the headband with its characteristic stretch and texture.
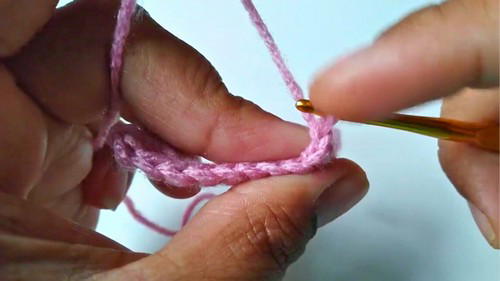
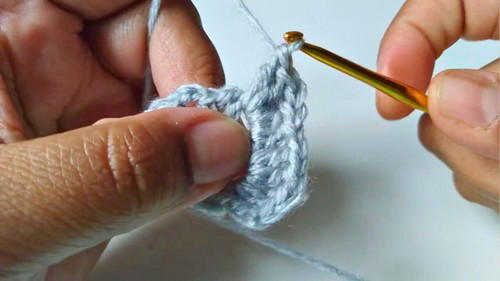
This technique makes the finished piece durable and easy to wear, while the consistency of nine single crochets per row ensures an even structure. At the end of each row, one chain is added before turning the work to maintain alignment. By repeating this sequence, the band takes shape gradually, growing row by row until it reaches 20 inches in length.
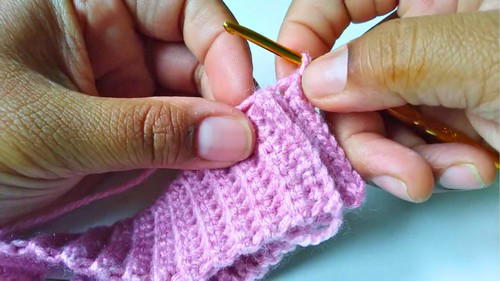
The mid-section showcases the rhythmic and calming aspect of crochet, where you continue back-loop stitches to complete the band. This makes it an excellent project for beginners trying to master the art of single crochet, while still offering enough flexibility in detail for experienced crocheters. The stretchable design of the band gives it versatility for different head sizes, making it suitable for children, teenagers, and adults alike.
To complete the headband, the ends are joined with slip stitches to form a seamless loop. The final touch is the addition of a crochet flower, made separately using chains, double crochets, and triple crochets, starting with a magic ring.
Special Features
- Elasticity: By working in the back loops, the headband has a stretchy quality.
- Decorative Element: Adding a flower gives the headband a personalized and aesthetic touch.
Level of Difficulty
The project is suitable for beginners but does require some familiarity with basic crochet stitches like slip knots, chains, and single crochets. Attention to counting is a must.
Tutor’s Suggestions
- Consistent Counting: Ensuring stitch count is maintained throughout the project.
- Back Loops: Focusing on back loops for elasticity.
- Use of Needles: For securing the final ends and attaching the flower, a special crochet needle is recommended.
Uses and Materials
- Uses: This headband can be worn by children and can also serve as a base for other crochet projects like hats.
- Materials:
- Yarn
- Crochet needles
- Sewing needle
- Scissors
- Optional: Hot glue gun or strong adhesive like Feviquick
Step-by-Step Details
In this tutorial, the tutor takes viewers through the step-by-step process of making a crochet headband. The tutorial was created in response to a subscriber's request and is targeted towards children aged 7 to 9 years. The final product also includes instructions for adding a decorative flower.
Conclusion
This video tutorial offers a comprehensive guide on creating a crochet headband with a decorative flower, suitable for children. Attention to detail, especially in counting stitches and focusing on back loops, ensures the final product is both functional and attractive.
Tip
When attaching the flower, secure it firmly with a strong adhesive or sewing thread to ensure it stays in place. Adding three knots instead of five prevents the finish from becoming too bulky.


