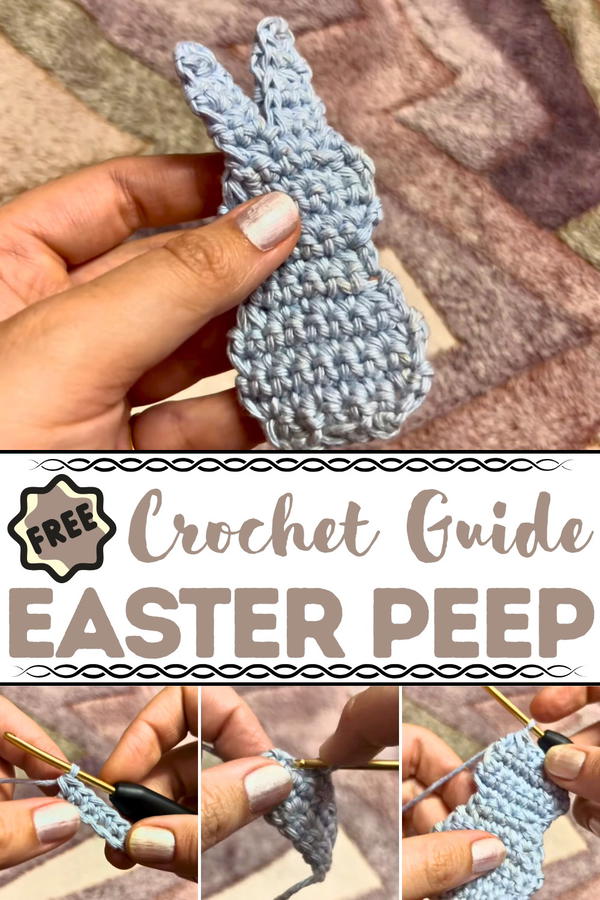
Style your spring decor with the Free Crochet Easter Peep Pattern that brings playful softness, bright color, and charm to every handmade celebration.
Soft marshmallow candies have long been a staple of springtime celebrations, instantly recognized for their bright hues and nostalgic charm. These iconic treats now inspire more than just a sweet tooth, they spark handmade treasures too. The Free Crochet Easter Peep Pattern transforms that seasonal joy into a lasting keepsake, offering a delightful way to bring texture and personality to holiday décor.
Free Crochet Easter Peep Pattern & Spring Decor
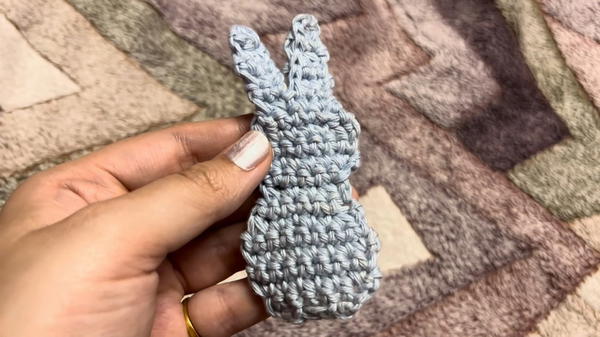
With its plush shape and minimalist silhouette, this charming peep is both playful and timeless. It works wonderfully as a festive ornament, basket filler, or a whimsical toy for little hands. The simplicity of the stitches makes it approachable for newer hands while still enjoyable for seasoned makers who want something light and cheerful.
Available in endless color options, this adorable accent piece can be customized to suit any Easter palette or personal preference. Whether you’re sprucing up your table display, preparing a thoughtful handmade gift, or simply adding a soft pop of seasonal color, this pattern delivers both function and charm. Its quick construction and minimal shaping also make it ideal for bulk gifting or market prep. Handmade springtime memories come to life with each loop and twist, all inspired by a candy that’s as cute as it is iconic.
Step-by-Step Guide : How to Crochet a Peep
Materials Used
- Hook: 3 mm crochet hook
- Yarn: 100% cotton yarn
- Optional Materials: Fiber polyfill for stuffing, string for attaching, or thicker yarn for creating a plush version
Step-by-Step Crochet Instructions
1. Body
- Start: Make a slip knot.
- Chaining: Create 7 chains.
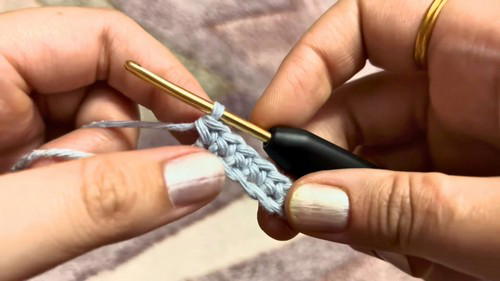
- Row 1: Skip the first chain and make 6 single crochets (SC).
- Row 2: Chain 1, turn. Increase in the first and last stitches (make 2 SCs in each), and make 1 SC in the middle 4 stitches. Total: 8 SCs.
- Row 3 - Row 5: Chain 1, turn, and make 8 SCs in each stitch across.
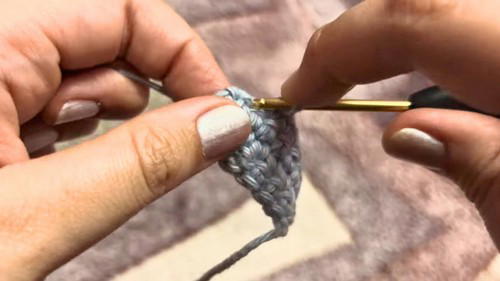
2. Shaping the Body
- Row 6: Chain 1, turn, and decrease in the first and last two stitches. Make 1 SC in the middle 4 stitches. Total: 6 SCs.
- Row 7: Chain 1, turn, and make 6 SCs across.
- Row 8: Chain 1, turn, decrease in the first and last 2 stitches. Make 1 SC in the middle 2 stitches. Total: 4 SCs.
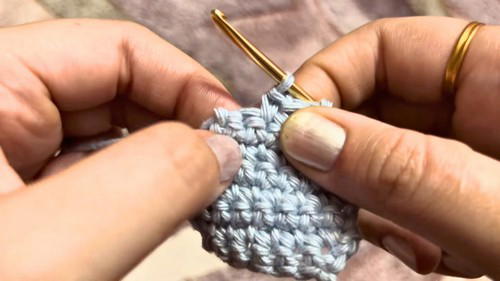
3. Head
- Row 9: Chain 1, turn, and increase in the first and last stitches (2 SCs each). In the middle 2 stitches, make 1 SC each. Total: 6 SCs.
- Row 10: Chain 1, turn, increase in the first and last stitches. Make 1 SC in the middle 4 stitches. Total: 8 SCs.
- Row 11: Chain 1, turn, and make 8 SCs across.
- Row 12: Chain 1, turn, decrease in the first and last 2 stitches. Make 1 SC in the middle 4 stitches. Total: 6 SCs.
- Row 13: Chain 1, turn, decrease in the first and last 2 stitches. Make 1 SC in the middle 2 stitches. Total: 4 SCs.
4. Ears
- Row 14 - 16: Chain 1, turn, and make 2 SCs across in each row.
- Row 17: Chain 1, turn, and increase in the first stitch (2 SCs). Make 1 SC in the next stitch. Total: 3 SCs.
- Row 18: Chain 1, turn, decrease in the first and last stitches. Total: 2 SCs.
- Row 19: Chain 1, turn, and make 2 SCs across.
- Row 20: Chain 1, turn, and decrease in the first and last stitches. Total: 1 SC.
Repeat the entire process for the second ear, starting in the third and fourth stitches of Row 13.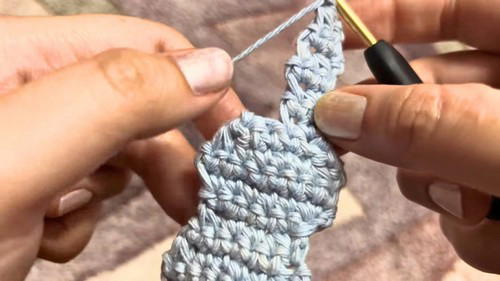
Special Features
- Versatility: Customize the peep as keychains, pouches, Easter basket decorations, or bunting.
- Yarn Thickness: Adjusting yarn thickness (e.g., using plush yarn) changes the texture and look, such as making a plush-style peep.
- Blocking: Blocking ensures the shape holds perfectly.
Tutor's Suggestions
- Separate Tutorials: For beginners unfamiliar with stitches, the tutor suggests watching detailed videos on chaining, single crochet, increases, and decreases (linked in the video description).
- Check Materials: Links to the materials used are provided in the video description for convenience.
- Customization: Add features like eyes, noses, or stuffing (Fiber polyfill) to personalize your peep.
Uses
- Easter Crafts: Perfect for holiday decor like bunting or basket fillers.
- Keychains: Add a string for attaching to bags or keys.
- Pouches: Use two peeps sewn together with added stuffing for cute storage.
- Home Decoration: A decorative stuffed peep can enhance any festive display during Easter.
Level of Difficulty
- Beginner-Friendly: While the design involves increases and decreases, the basic stitches (chain and single crochet) make it suitable for beginners willing to practice.
A Quick Tip
For beginners, take it slow on increase and decrease rows to maintain an even shape. If you're unsure, refer back to the tutor’s linked tutorials for detailed stitch guides.
Conclusion
In this pattern, the tutor presents a clear, step-by-step guide to crocheting a versatile and adorable peep that's perfect for Easter or as a personalized gift. With just a few materials and some basic crochet techniques, you can create a range of items using this design.


