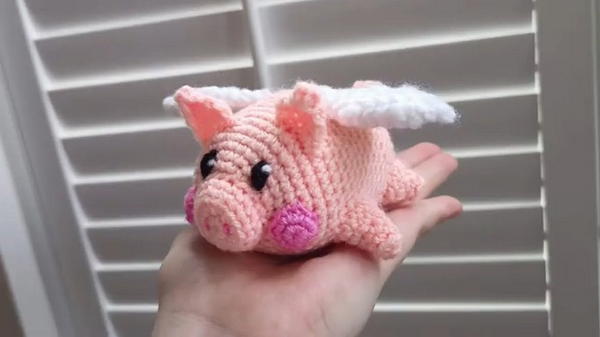
Sweeten your space with this Free Crochet Flying Cupid Pig Pattern that pairs charm, softness, and heart-filled detail in one delightful project.
On a small shelf in a nursery or tucked into a cozy gift box, there’s always room for a soft, heartwarming character that brings instant smiles. That’s where this delightful Crochet Flying Cupid pig comes in a whimsical figure that carries more than charm. With tiny wings on its back and a heart-shaped snout, it holds just the right balance between playful and endearing.
Cute Crochet Flying Cupid Pig Pattern & Tips for Neat Wings
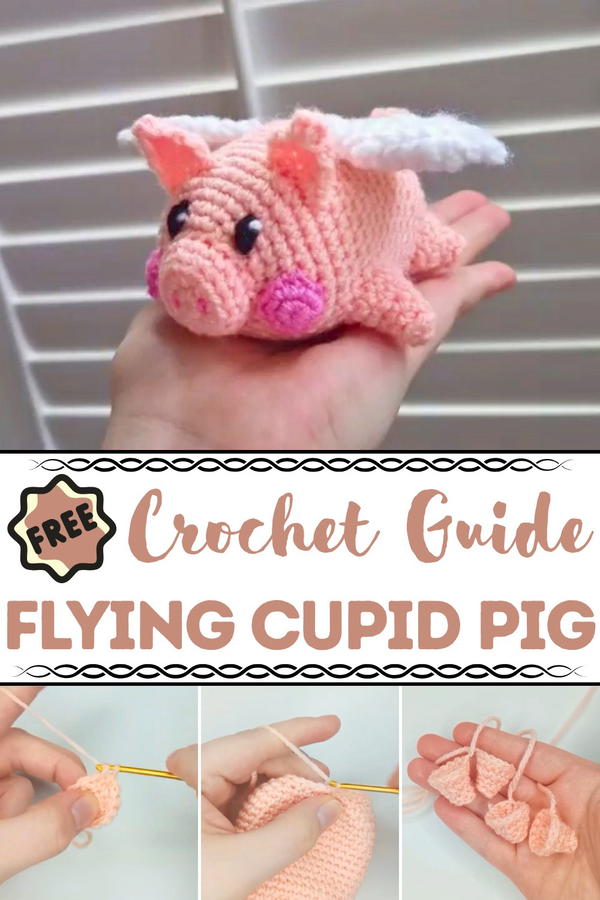
Perfect for seasonal décor, Valentine gifts, or nursery companions, this pig amigurumi figure offers both visual appeal and sentimental value. The rounded body provides a plush and squishy feel, while the detailed wings and heart elements add a touch of magic. It’s small enough to sit in the palm of your hand, making it ideal for display, gifting, or just a cheerful desktop companion.
Soft yarn choices bring out its cuddly personality, and minimal shaping keeps the project approachable. Whether used as a symbolic token of love or just for the joy of making something delightful, this piglet adds warmth wherever it lands. Its charm lies not only in its look but also in its joyful presence, spreading love with every stitch, every glance, and every soft squeeze from those who meet it.
How to Make a Flying Cupid Pig: Step-by-Step Details
Special Features
- Adorable Design: The end product is a cute and whimsical flying pig with detailed wings, snout, ears, and cheeks.
- Customizable Components: You can change colors or add features to make the Cupid pig unique to your own style.
- Realistic Details: Emphasis is placed on creating features for the face, wings, and tail, making the pig come to life.
Level of Difficulty
This project is best suited for intermediate-level crocheters due to the complexity of various stitches and the assembly work required. Beginners can tackle it but may need extra time, especially with techniques like the magic circle and invisible decreases.
Tutor’s Suggestions
- Take Your Time: The tutor recommends stuffing the parts carefully midway through stitching to maintain the pig’s shape.
- Attention to Detail: Align components such as the snout, wings, and cheeks carefully to ensure symmetry.
- Secure Thread Ends: Always thread through and secure yarn to prevent visible stitching.
Uses and Materials
Uses:
- Perfect for Valentine's gifts or as a decorative piece for a nursery.
- Can serve as a whimsical project for improving crochet skills.
- A great handmade accessory to sell or give away as a unique personal gift.
Materials:
- Yarn in desired colors—pink and white are commonly used for Cupid pigs.
- Crochet hook (matching your yarn size).
- Stuffing material for the body parts.
- Needle for sewing and securing threads.
- Black and white thread for detailing the eyes.
- Scissors for cutting the yarn ends.
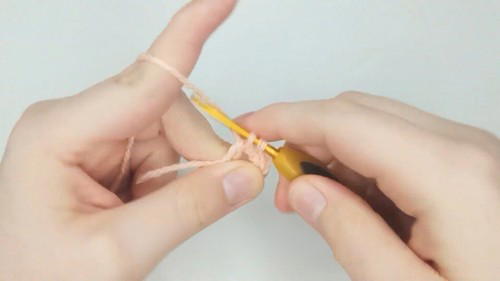
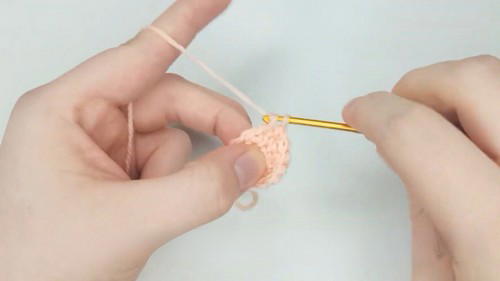
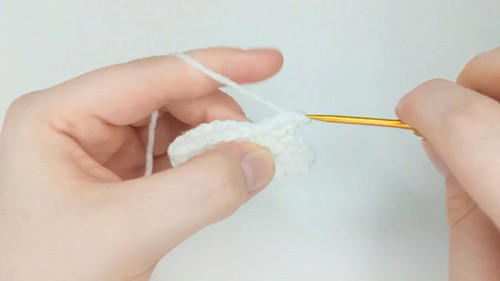
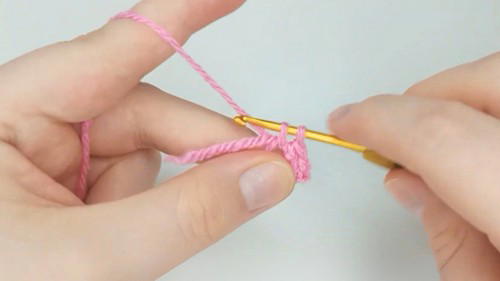
Step-by-Step Process
Body:
- Start a Magic Circle: Chain one and add single crochet into the magic circle (9 stitches).
- Rows 2–27: Follow the increasing stitch patterns outlined in the instructions to shape the body.
- Stuffing: Gradually stuff the body to maintain its round shape before completing the final rows.
- Finish and Secure: Slip stitch, chain, and pull through for a seamless finish.
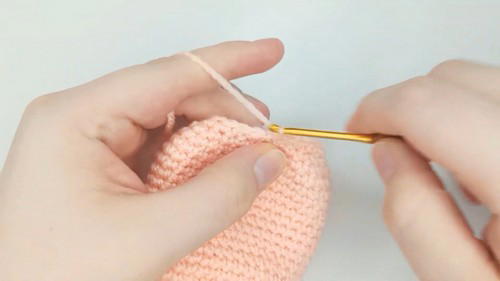
Legs:
- Begin with a magic circle (6 stitches).
- Gradually build up the legs with single crochets and increases.
- Make four identical pieces for assembly onto the body.
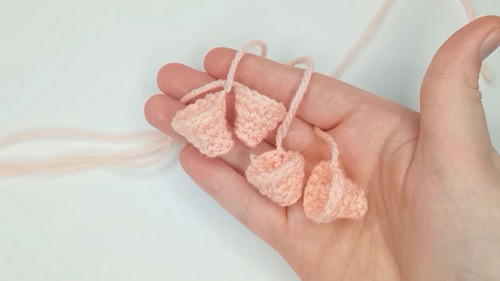
Wings:
- Build a base circle using the magic circle technique.
- Add series of increases to shape the wings.
- Fold circles into semicircles and carefully crochet through rows for detail.
- Add decorative touches using double crochet stitches.
Ears:
- Create rows using single crochets and decreases, with each row narrowing towards the end.
- Finish the ears by threading and securing for a neat shape.
Snout:
- Build up the snout starting with a magic circle.
- Use increases and back loop work for shaping.
- Stuff and sew the snout onto the pig’s face.
Cheeks:
- Simple construction using a magic circle and increases (complete two cheeks).
- Carefully align cheeks to touch the snout and attach securely.
Tail:
- Create a curly tail by chaining and placing increases on each stitch.
- Attach securely to the back of the body.
Assembly:
- Carefully sew the legs, snout, ears, wings, and cheeks onto the body using front loops and stitches.
- Add stuffing where necessary before securing components.
- Thread black and white yarn to create eyes and nostrils for finishing details.
Tips
- Use Stitch Markers: If you’re working on complex rows with multiple increases and decreases, mark your stitches to track progress.
- Test Placement: Before sewing parts together, align and pin to ensure symmetry and accurate positioning.
- Tighten Knots: Each part should be tightly secured to prevent unraveling later.
Conclusion
This flying Cupid pig is a wonderful crochet project to showcase skill and create something charming and personal. Whether for gifting or decoration, its unique design and detailed features make it stand out. With careful attention to detail and patience, you'll end up with a heartwarming result.


