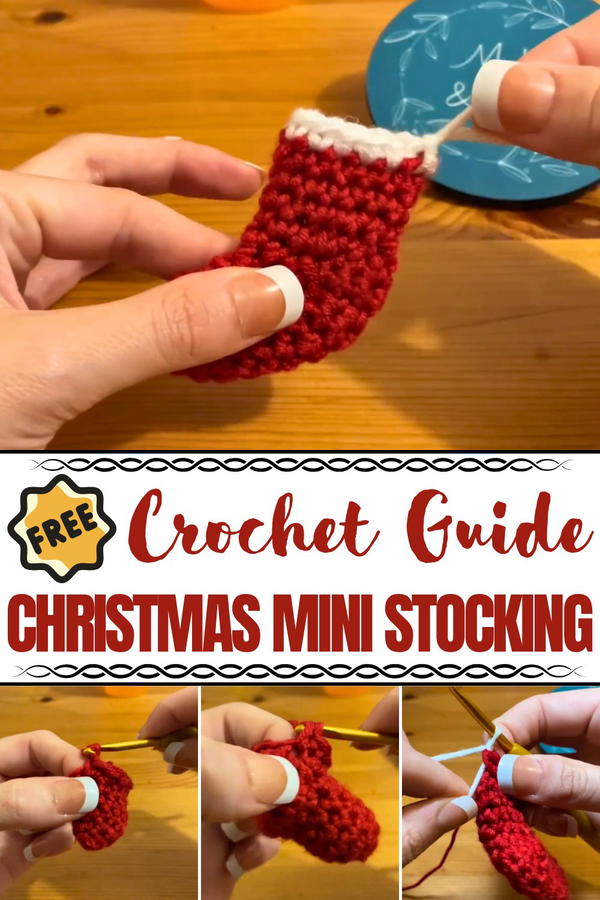
Turn festive scraps into cheerful decor using this Free Crochet Christmas Mini Stocking Pattern filled with cozy charm and perfect for handmade holiday gifts.
Crochet Christmas mini stockings are a delightful way to bring holiday cheer into your home. These small, handmade decorations are perfect for hanging on your Christmas tree, mantle, or even adding a festive touch to gift wrapping. Their compact size makes them ideal for holding tiny treats, candies, or notes, making them a creative and thoughtful addition to your holiday celebrations.
Easy Free Crochet Mini Stocking Pattern That Solves Holiday Décor Needs
Available in a variety of colors and patterns, these mini stockings can be customized to match your holiday theme or personal style. Whether you prefer traditional red and green hues or something more colorful, they always stand out with their charming design.
Crochet Christmas mini stockings are not only decorative but offer a sustainable and meaningful alternative to store-bought ornaments. They are durable, reusable, and filled with the warmth of handmade craftsmanship, making them perfect for spreading joy and creating lasting holiday memories with family and friends.
How to Crochet Mini Christmas Stockings - Step-by-Step
Special Features of the Pattern
- Smooth Heel Design: Unlike many patterns where heels turn out square and bulky, this pattern features a smooth and polished-looking heel.
- Customizable Sizing: You can adjust the size of the stocking by changing the hook size or the type of yarn used.
- Versatility: The stockings are multipurpose – use them as ornaments, for advent calendars, or as decorative appliqués on cards.
Level of Difficulty
- Skill Level: Beginner to intermediate.
- The creator describes the pattern as "really simple" but assumes basic knowledge of crochet techniques (magic ring, single crochet, etc.).
- For beginners struggling with the magic ring, she points to a slow instructional video on her channel under the "Crochet Basics" playlist.
Materials Needed
- Yarn of your choice (the example uses standard yarn).
- 4mm crochet hook.
- A pair of scissors.
Optional: To make smaller or larger stockings, you can use a thinner or chunkier yarn, as well as adjust your hook size accordingly.
Step-by-Step Instructions
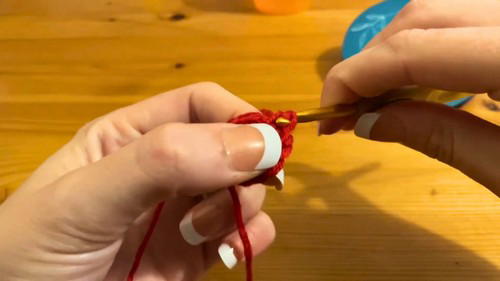
1. Start with the Magic Ring
- Create a magic ring. For those unfamiliar, check the creator's "Crochet Basics" playlist for detailed instructions.
- Work 6 single crochets (sc) directly into the ring. (In UK terms, this is a double crochet.)
- Pull the ring tight to close.
2. Round 2: Increase Stitches
- From the first stitch, work 2 single crochets in each stitch around.
- This should give you 12 stitches in total.
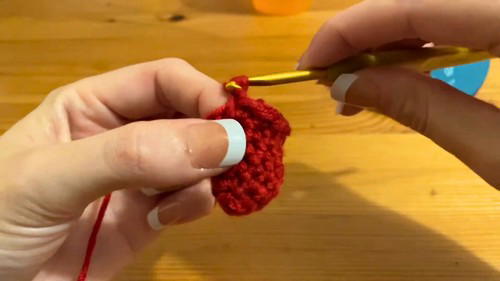
3. Rounds 3-6: Build the Body
- Work 1 single crochet in each of the 12 stitches. Repeat for 4 rounds to create a tube for the body of the stocking.
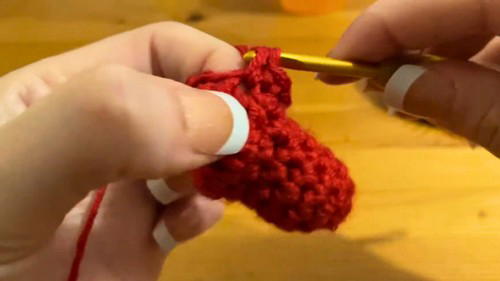
4. Round 7: Shape the Heel
- Chain 1, turn your work, and single crochet into the next 6 stitches.
- Chain 1 again, turn, and shape the heel as follows:
- For the last stitch in the row, perform a decrease by pulling up a loop in the stitch, then pulling another loop in the base of that stitch, and yarning over to complete.
- Chain 1, turn again, and repeat to finish the heel.
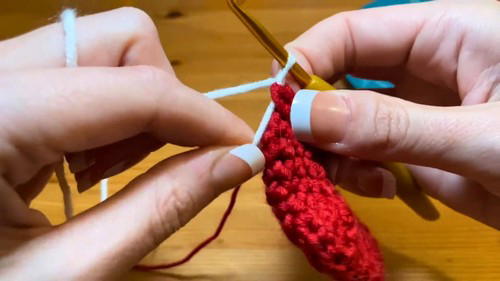
5. Round 10: Combine Heel with Foot
- Chain 1, turn your work.
- Crochet evenly across the remaining 12 unworked stitches, while carefully joining the heel to the foot to avoid gaps.
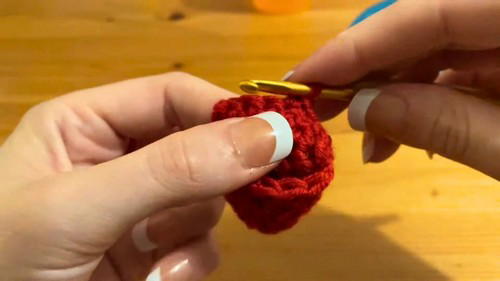
6. Rounds 11-14: Build the Stocking
- Continue crocheting 12 single crochets around in a continuous round to build the height of your stocking.
7. Round 15: Position for a Clean Color Change
- Complete 12 single crochets, but ensure your stopping point moves to the side of the stocking where the color change will be less noticeable.
- (Tip: You can add an extra round if needed to position the stopping point.)
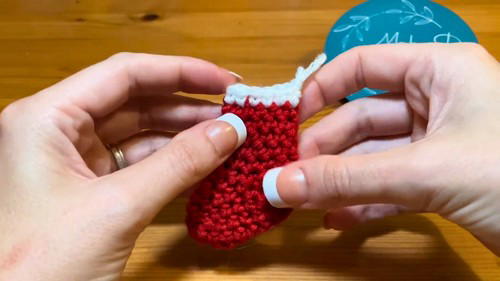
8. Add the Trim
- For the decorative trim, change yarn color at the end of the last round.
- Insert your hook into the last stitch, start the single crochet, and complete the stitch with the new color.
- Crochet 12 single crochets around, weaving in the yarn tails as you go.
9. Add a Hanging Loop
- To make your stocking hangable:
- Pull a long loop from the working yarn.
- Trim the length, tie off loose ends, and tuck them into the stocking.
Uses of the Stocking
- Decorations: Beautiful as ornaments for your Christmas tree.
- Advent Calendars: Combine multiple stockings into a garland, one for each day of December.
- Personalized Gifts: Attach as appliqués on cards or tuck in small surprises like chocolates or candies for loved ones.
- Down-sizing: Use a 2mm hook or thinner yarn to create mini appliqué versions of the stocking.
Tutor’s Suggestions
- Adjust for Size: Use chunky yarn or a larger hook for bigger stockings. Conversely, use thinner yarn to make smaller versions.
- Avoid Gaps: When working around the heel, ensure tight joins by inserting the hook halfway into the stitch rather than directly into the neighboring space.
- Placement of Color Change: Avoid color changes in the middle of the trim, as it’s harder to disguise. Plan ahead so the transition happens on the side or back.
Tip for Beginners
Take your time with the heel! It can be tricky, but the small adjustments (like where you pull up loops) make a big difference for a smooth and gap-free finish. If you're unsure about any technique, the creator’s channel has helpful supplementary tutorials.
Conclusion
With just a few materials and some patience, you can create these charming mini Christmas stockings to add a festive touch to your holiday décor. The smooth heel design, customizable size, and multiple uses make this pattern a fun and rewarding project.


