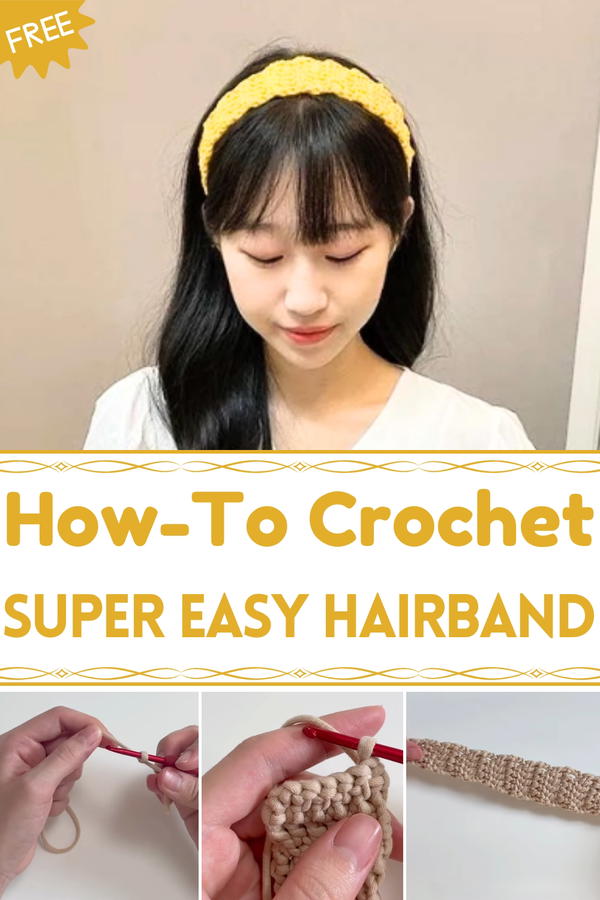
Tie chic charm into your look with this Free Crochet Hairband Pattern that turns simple stitches into a stylish and comfortable accessory for any outfit.
A handmade crochet hairband offers a simple yet stylish way to add a touch of personality to everyday looks. Its soft, flexible texture makes it comfortable to wear throughout the day, whether you're running errands, attending a casual gathering, or simply trying to keep your hair in place. This accessory combines practicality with beauty, providing a quick solution that enhances your appearance without sacrificing comfort.
Quick Crochet Hairband Pattern to Make Stylish Accessories
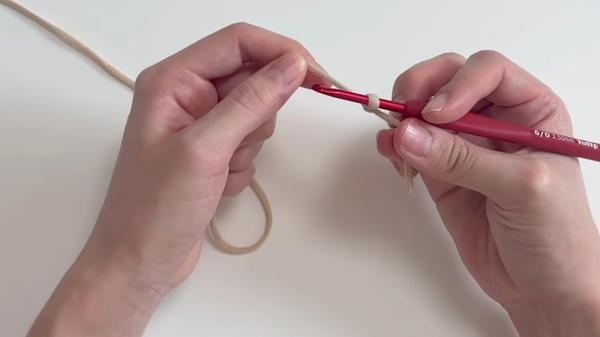
The process involves a few straightforward steps. Begin by measuring an appropriate length of yarn to match your head size, then make a foundation chain to suit.
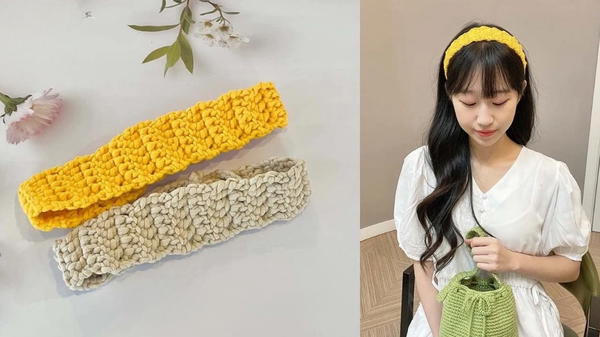
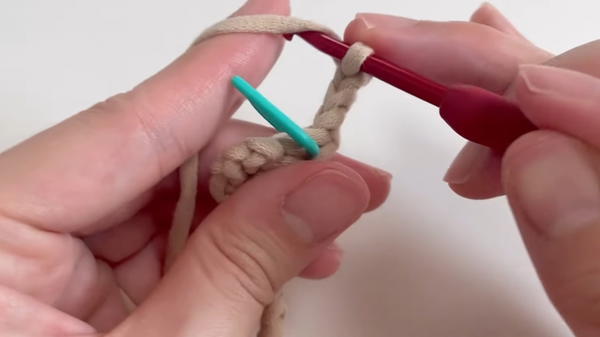
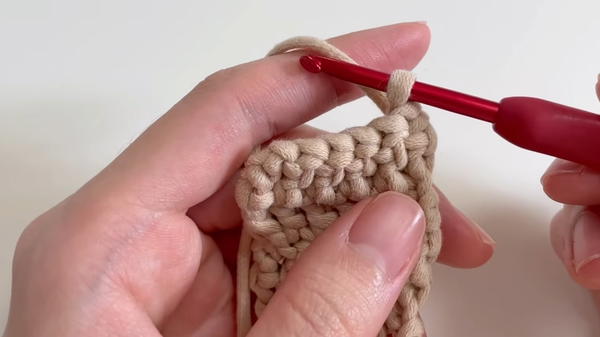
The main part is worked with simple stitches like single or double crochet, giving it a neat, textured surface. Additional rows or contrasting colors can be added for visual interest.
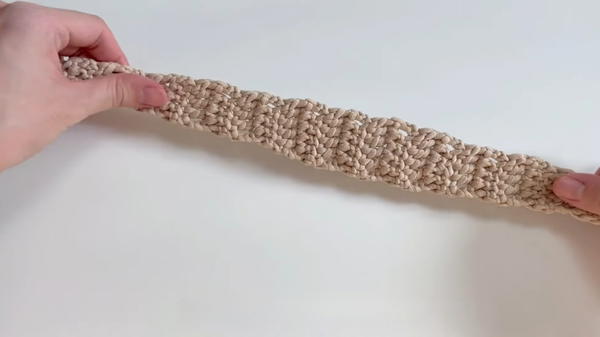
Once the length is sufficient, the ends are sewn or joined with slip stitches to form a continuous loop. Optional decorations such as small flowers, beads, or bows can be attached to personalize the piece further.
This crochet hairband offers a quick and satisfying project, resulting in an accessory that is both functional and visually appealing—perfect for everyday wear or as a thoughtful handmade gift.
Special Features
- Quick Craft: The hairband can be completed in about 30 minutes, making it a great project for beginners or short crafting sessions.
- Budget-Friendly: Utilizes leftover yarn from previous projects, promoting sustainability and reducing waste.
- Customizable Design: Adjust the size, color, and texture of the hairband to your preferences or match your wardrobe.
- Simple Techniques: Repeated basic knitting methods allow crafters of all levels to follow along easily.
Materials Required
- Leftover Yarn: Single yarn leftover from the Spring Day bag project or any similar yarn.
- Knitting Needles: Size suitable for the yarn you are using (not explicitly mentioned in the transcription).
- A Pillar/Table Neighbor: To help organize and stabilize your knitting as you work.
- Basic Tools: Scissors and other materials to help with finishing (e.g., a needle for weaving ends).
Tutor’s Suggestions
- Repetition is Key: The project uses repetitive knitting techniques, making it easy for beginners to follow along.
- Work with Leftover Yarn: This project is ideal for using yarn scraps from bag-making projects, promoting eco-friendly crafting habits.
- Focus on Tidy Stitches: Take your time to ensure stitches are neat and aligned; this ensures a more polished finished product.
- Adjust to Your Needs: Customize the band’s size by adding or reducing rows based on how tight or loose you want it to fit.
Level of Difficulty
Beginner-Friendly – The hairband design uses basic knitting techniques and repetitive stitches, making it accessible for those new to knitting or looking for a quick project.
Uses of the Hairband
- Practical Accessory: Perfect for everyday use, keeping hair in place with style.
- Gift Idea: Handmade hairbands make thoughtful, personalized gifts for friends and family.
- Eco-Friendly Craft: Uses scraps of yarn that might otherwise go unused.
- Customizable Style: Experiment with different yarn colors, textures, or sizes to create hairbands that suit various occasions.
Tip for Success
When reducing or increasing rows, focus on maintaining an even distribution of stitches to ensure the hairband’s shape is balanced and fits comfortably.
Step-by-Step Instructions
This tutorial teaches you how to create a hairband from leftover yarn after completing the Spring Day bag project. The process is quick and easy, designed for beginners and crocheters looking to use up surplus materials efficiently. The process is straightforward, reuses materials effectively, and ensures no yarn goes to waste.
Conclusion
This hairband project is a simple, fun, and quick way to repurpose leftover yarn while creating a practical accessory. With Creator approachable instructions, you’ll gain confidence in your skills and create a customizable piece that matches your unique style.


