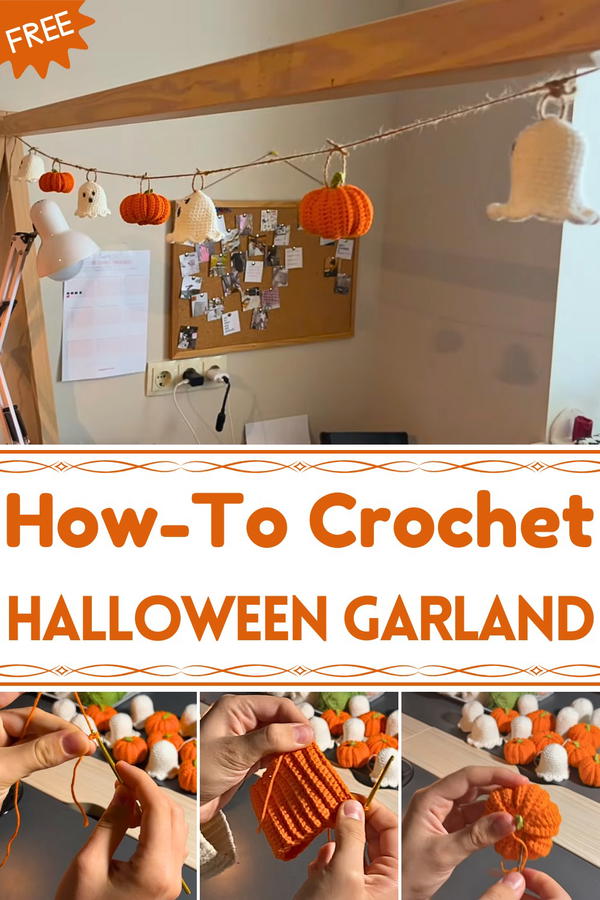
Light up spooky vibes with this Free Crochet Halloween Garland Pattern, adding handmade charm and festive fun to your seasonal décor.
The excitement of autumn evenings often comes alive with soft lights, cozy sweaters, and a touch of festive décor. The Free Crochet Halloween Garland pattern captures that seasonal spirit beautifully, adding charm and playfulness to homes during spooky celebrations. Each motif—whether tiny pumpkins, friendly ghosts, or stars—brings a handmade warmth that turns simple spaces into cheerful Halloween displays.
Boo Crochet Halloween Garland Pattern That’s Too Cute
The neat stitch work gives every piece structure and durability, allowing the garland to hang gracefully across mantels, windows, or doorways. Lightweight and easy to arrange, it’s perfect for both small nooks and larger party setups. The versatility of this pattern makes it suitable for customizing in various colors or themes, from traditional orange and black to soft neutrals for a modern look.
Beyond decoration, it’s a wonderful project for relaxation, letting each stitch carry the joy of seasonal creativity. Once finished, the garland can be stored easily and reused year after year, maintaining its charm and quality. It also makes a thoughtful handmade gift for friends who enjoy festive touches. Combining playfulness, practicality, and beauty, this crochet garland adds personality to any Halloween space, spreading a sense of warmth and fun that brightens the autumn season.

Special Features
- Customizable Design: You can mix and match the number of pumpkins and ghosts to create a personalized garland.
- Beginner-Friendly: The stitches and techniques used are simple and accessible for those new to crochet.
- Creative Flair: Add expressions to the ghosts for a unique and playful look.
- Versatile Usage: Use the garland for decorating walls, mantels, porches, or as a centerpiece for a Halloween party.
Level of Difficulty
This project is suitable for beginners and intermediate crocheters. It primarily uses simple stitches, including chains, single crochets, and slip stitches. While shaping the pumpkin and ghost requires some attention, the steps are clearly defined, making it attainable even for a beginner.
Materials Needed
- Orange, White, and Green Yarn: Medium-weight yarn for the pumpkins and ghosts.
- Crochet Hook: A 3mm hook.
- Synthetic Fiberfill: For stuffing the pumpkins and ghosts.
- Cross-Stitch Needle: To sew and finish edges.
- Stitch Marker: Helps keep track of rows.
- Twine Rope: (Optional) For stringing the garland.
- Black Marker: For adding expressions to the ghosts.
Step-by-Step Details
1. Making the Pumpkin
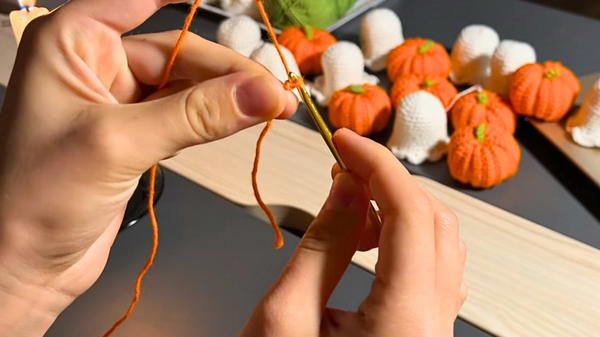
a) Crochet the Pumpkin Body:
- Begin with a slip knot on your hook and chain 19 stitches.
- Work 18 single crochets across the row.
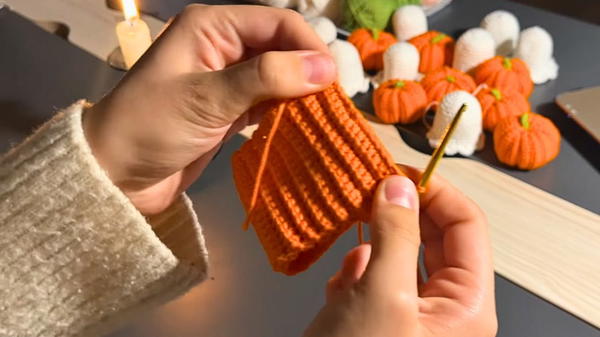
- For the next 35 rows, crochet in the back loop only to create a textured, ribbed effect.
- Join the foundation row and the final row with single crochets to form a tube.
b) Shape the Pumpkin:
- Cut the yarn, leaving a long tail for sewing.
- Sew around the top opening of the tube and pull it tight to close the top.
- Insert stuffing into the body to create a plump shape.
- Sew around the bottom opening, pull tight, and secure to close the base.
c) Create the Pumpkin Stem:
- Use green yarn to chain 10 stitches.
- Work 9 single crochets back across the chain.
- Sew the ends together and attach the stem to the top of the pumpkin.
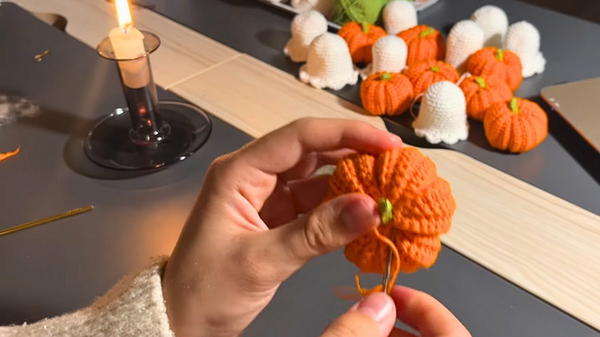
d) Add Definition:
With the leftover yarn tail, wrap around the pumpkin’s sides multiple times, pulling through the top and bottom to form the pumpkin's classic ridges. Secure with a knot and weave in the ends.
2. Making the Ghost
a) Crochet the Ghost Head:
- Create a magic ring and work 6 single crochets into the ring.
- Use a stitch marker to keep track of rounds.
- Increase each stitch in the next row to get a total of 12 stitches.
- Continue with a pattern of single crochets and increases to expand the head gradually until you reach 36 stitches total.
- Crochet straight for 9 rows to shape the body.
b) Add the Ghost’s Ruffles:
- Skip the first stitch, make 6 single crochets in the next stitch, and then slip stitch into the following stitch.
- Repeat this pattern to create 9 semicircles around the base of the ghost.
- Add another row of single crochets on the semicircles to smooth the edges.
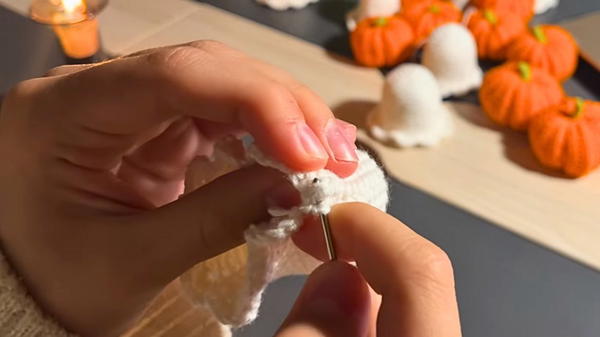
c) Add Character:
Use a black marker to draw eyes and a surprised mouth on each ghost. Let your imagination add a playful personality to every piece!
3. Stringing the Garland
- Cut a piece of twine measuring your desired length for the garland.
- Create small loops on the tops of pumpkins and ghosts using twine.
- Thread the long twine through each piece, adjusting their spacing to create a balanced, festive look.
Tutor’s Suggestions
- Use leftover yarn to make this project more cost-effective.
- For added flair, consider embellishing your ghosts and pumpkins with glitter, felt pieces, or embroidered details.
- Keep yarn tension consistent for a polished finish.
Tip
To ensure your garland looks balanced, hang the twine first to visualize its placement. Then, attach the pumpkins and ghosts gradually, adjusting their spacing as needed.
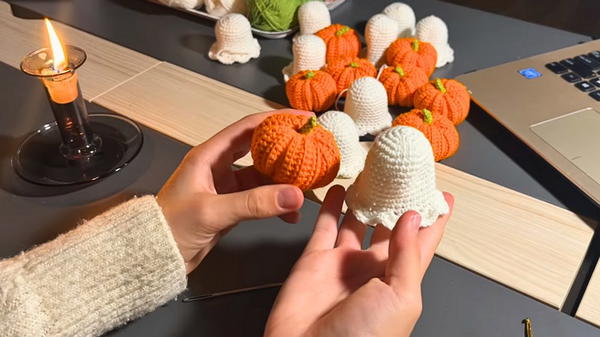
Conclusion
This Halloween garland project is a delightful way to enhance your seasonal decorations while showcasing your crochet skills. The pumpkins, filled with texture and warmth, combined with the whimsical ghosts, create a festive and handmade look that stands out.


