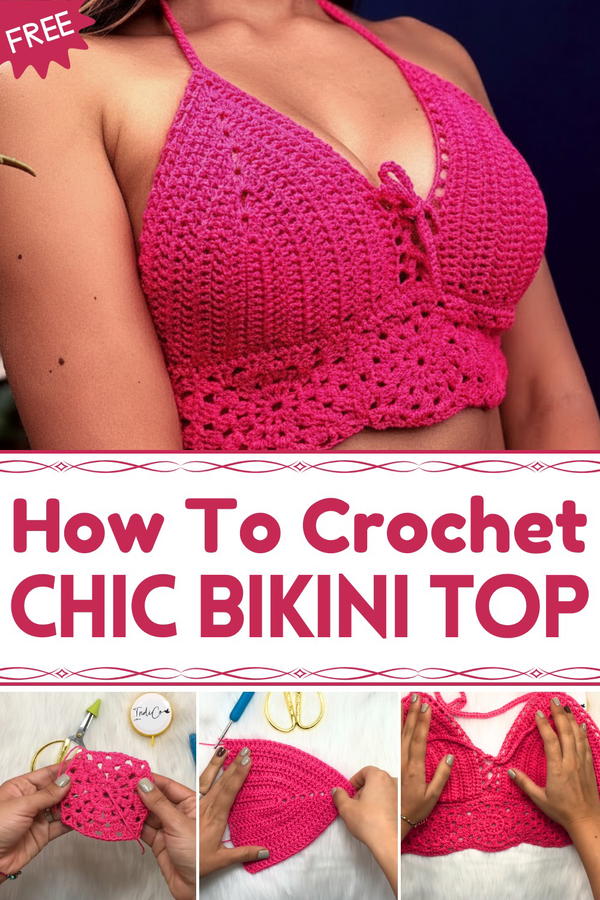
Achieve summer-style perfection with customizable crochet bikini top ideas, perfect for sun-filled days, beach outings, and effortless boho-inspired outfits.
Sunny days call for lightweight, airy clothing that complements the season's energy. A free crochet bikini top pattern offers the perfect opportunity to have a personalized garment for beach outings, poolside gatherings, or weekend picnics.
These handmade tops feel snug yet breathable, ideal for soaking up the sun or layering under oversized shirts for a casual look. This option lets you customize every detail from vibrant colors to perfectly tailored sizes making it practical and budget-friendly.
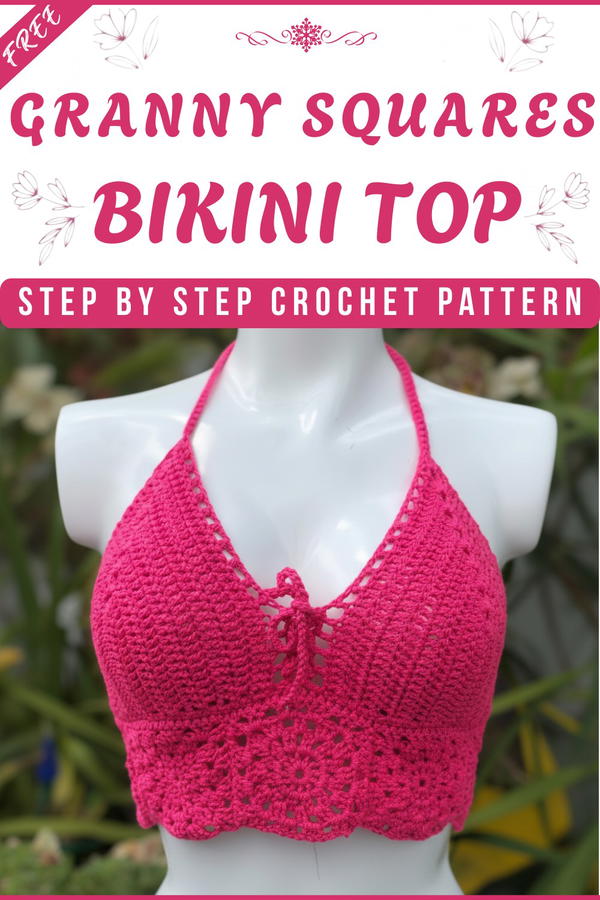
Free Crochet Bikini Top Pattern That Screams Summer
Perfect for anyone looking to try something new, this bikini top balance comfort and style effortlessly. Pair them with denim shorts, woven sandals, or even a breezy maxi skirt for a relaxed vibe, while enjoying the satisfaction of sporting something truly unique and functional.

Materials Needed
- Macrame Thread:
- Approximately 120 grams.
- Choose vibrant or pastel colors, depending on preference.
- Crochet Hook:
- 2 mm for finer details.
- 4 mm for larger portions (squares and main body).
- Stitch Markers: To help organize and track rows and corners.
- Scissors: For cutting yarn and cleaning excess threads.
- Measuring Tape (Optional): Useful for checking measurements.
- Needle (Blunt-Tipped): For sewing pieces and hiding loose threads.
Pattern Instructions
Step 1: Granny Squares – The Waistband
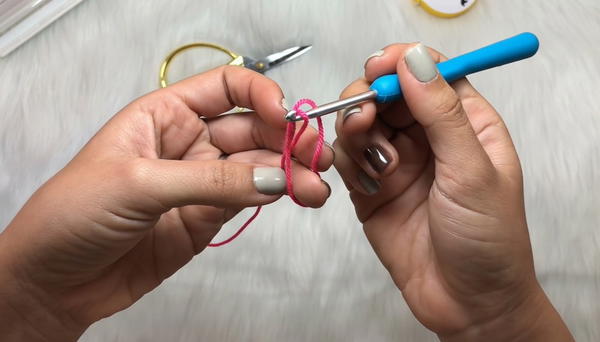
Magic Ring:
- Start with a magic ring (create an "X" across three fingers, then loop thread onto a hook to form a base ring).
- Make 12 double crochets (dc) into the magic ring. Tighten the ring by pulling the loose thread, then slip stitch (sl st) to close.
Round 2: Ripples of Doubles
- Chain 3 (counts as 1 dc) and work 2 dc into each dc from the previous round, separated by 1 chain.
- You should have 24 dc (pairs of 2, each separated by a space).
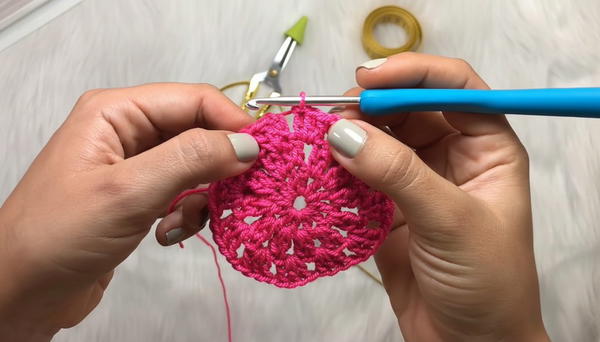
Round 3: Building Blocks for the Square
- Chain 3. In each chain space, work 3 dc clusters (three double crochets into each space from the row below).
- Add a single chain to separate each cluster.
- As you complete the round, slip stitch into the initial chain to close.
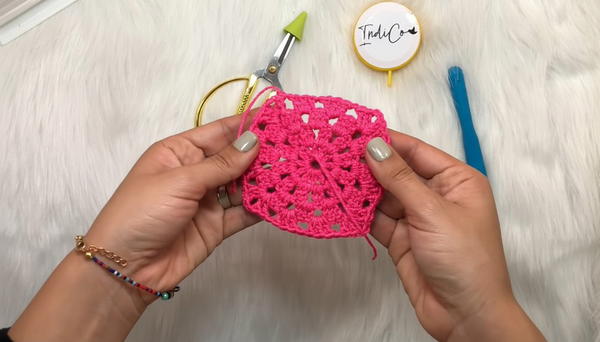
Round 4: Corners to Create a Square
- Begin at any corner. Work 3 chains and the following sequence for a corner:
- (3 dc, 1 chain, 3 dc) in one corner space, chain 1, 3 dc in next space.
- Repeat this sequence around the square, ensuring that corners always receive 6 total dc (split into 3 + 3).
- Begin at any corner. Work 3 chains and the following sequence for a corner:
Finish Off One Square: Cut the thread, make a knot, and weave in loose ends. Repeat this process to create 6 granny squares in total.
Step 2: Joining the Squares
- Arrange your squares face to face, ensuring alignment.
- With the 2 mm hook, work slip stitches along the edges of two squares to secure them together.
- Insert the hook into both loops of both squares, pull through, and slip stitch.
- Work across all edges until all 6 squares form a waistband.
- You should now have a connected band of 58 cm long (or more depending on size).
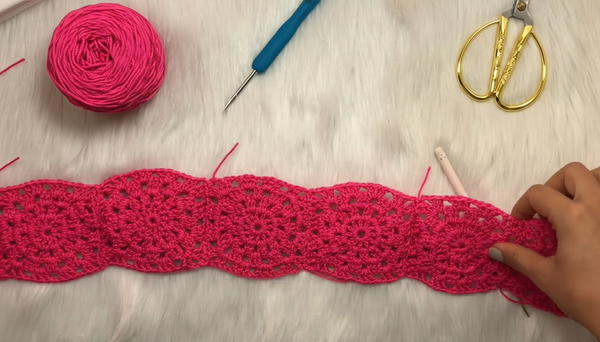
Step 3: Texture for the Waistband
- With the 2 mm hook, work half double crochets (hdc) in each stitch around the waistband for a textured finish.
- Insert the hook into each stitch, yarn over, pull through, yarn over, and pull through all loops.
- Repeat a few rounds (optional) for added texture and volume.
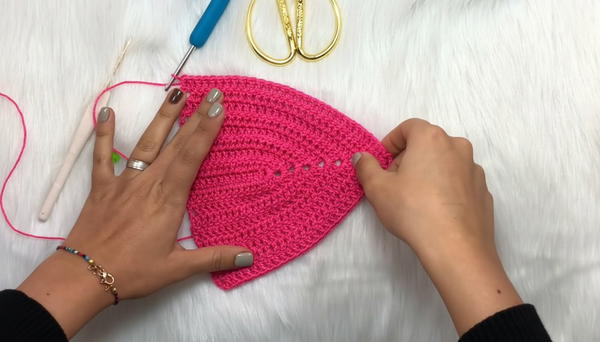
Step 4: Crochet the Cups
Foundation Chain for Cup:
- Begin with a chain of 14 chains (approx. 6.5 cm wide). Add 2 extra chains for turning.
Row 1: Double Crochets:
- Work 14 double crochets (excluding the turning chains).
- On the last stitch, increase (2 dc in one), chain 2, and add 2 more dc in the same stitch for the center point.
- Continue down the opposite side with another 14 dc.
Row 2–12: Expanding the Cup:
- Chain 3 and turn. Work double crochets across all stitches on one side.
- In the center (chain 2 space), work 2 dc, chain 2, 2 dc. Continue dc down the opposite side.
- Increase 2 dc per row (1 on each edge of the cup) and build to a height of 16–17 cm or until desired cup size is achieved.
Last Row: Decorative Edging:
- Work 1 dc, chain 1, skip 1, and work another dc across.
- In the chain 2 space at the top of the cup, add 1 extra chain for more visual interest.
Strap for Neck:
- Chain 120 chains (approx. 40 cm) for the neck strap.
- Return across the chains with single crochets (sc) for stability.
Repeat for Second Cup: Both cups should match in size.
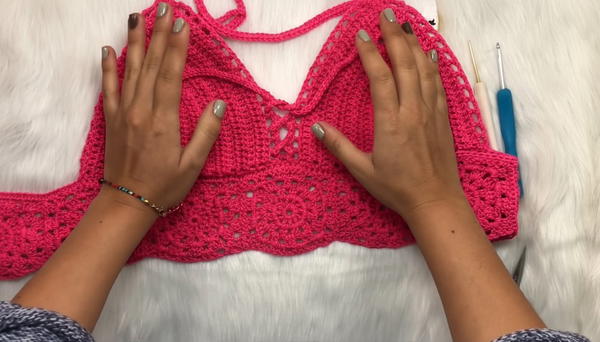
Step 5: Attaching the Cups to the Waistband
- Divide the waistband in half using a stitch marker to mark the center.
- Align the middle point of both cups to the center of the waistband.
- Use stitch markers to secure placement.
- Using a 2 mm hook, attach the cups to the waistband using slip stitches.
- Work single crochet (sc) through the cup edges and the waistband, as you did when joining squares.
- Make sure the two cups align symmetrically.
Step 6: Adding Back Straps
- Work 150 chains for the back straps (about 1 meter long) to allow adjustable tying at the back.
- Create a sturdy strap by returning with single crochets (sc) across the chains.
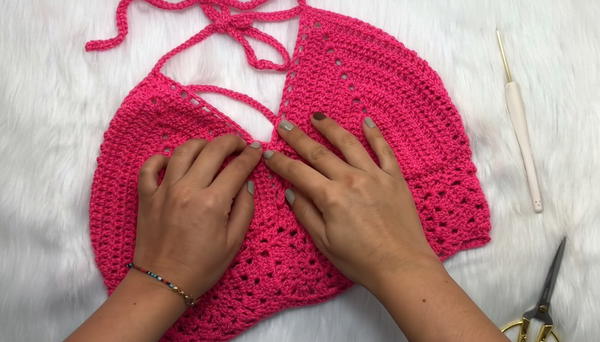
Step 7: Final Detailing and Assembly
- Optional Rope: Make a short (25 cm) braided or crocheted cord to tie between the two cups for added support and a snug bust fit.
- Cross the long (1 meter) cords through the back of the granny squares to provide an adjustable fit.
- Trim any leftover yarn, secure knots, and weave in loose ends.
Tips for Success
- Tension: Maintain consistent tension, especially when transitioning between 2 mm and 4 mm hooks.
- Customization:
- Adjust the number of granny squares for a longer or shorter waistband.
- Adapt cup size by adding rows or increasing initial chains.
- Blocking: Lightly steam block your work to smooth out wrinkles and achieve a polished look.
Customization Ideas
- Color Options:
- Use a single-color macrame thread for a classic clean look.
- Create a multi-color pattern with alternating colors for granny squares and cups.
- Try using gradient or ombre yarn for an artistic finish.
- Size Adjustments:
- Smaller Size (Waistband): Use 4 or 5 granny squares. Reduce chains for smaller cups.
- Larger Size (Waistband): Add extra granny squares or adjust the number of stitches per square edge. Increase chains for larger cup depth.
Conclusion
This crochet beach top is an effortlessly beautiful addition to your wardrobe, perfect for days at the beach or pool. Its granny square waistband and delicate cups combine functionality with style, giving it vintage charm. The lightweight macrame thread ensures comfort while its customizable design fits all body shapes and sizes.