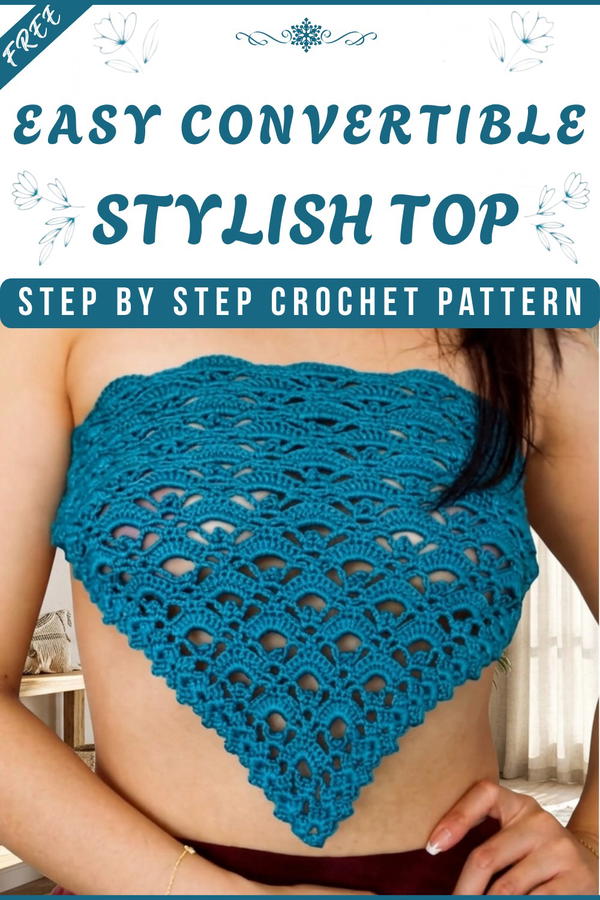
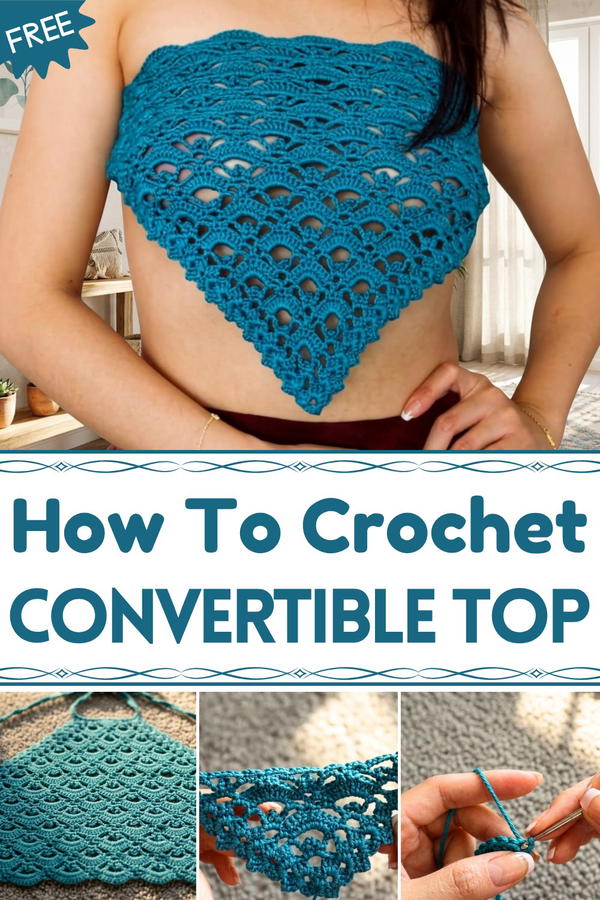
Learn to make a beautiful crochet convertible top with this free pattern that is easy, fun, and perfect for creating a stylish piece for any occasion.
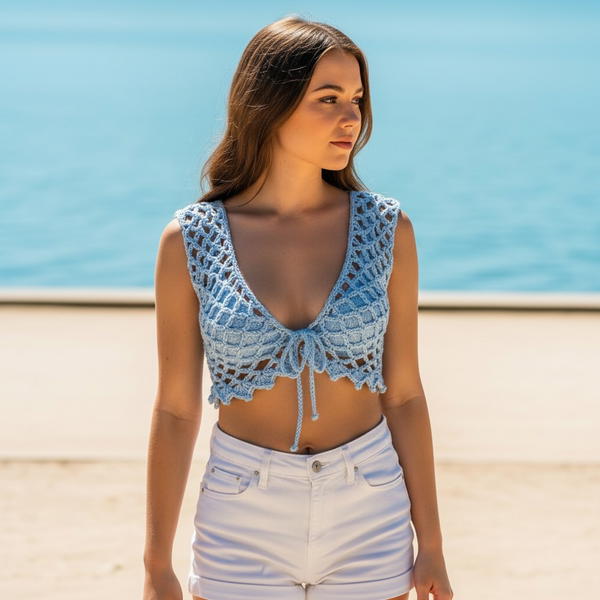
Having a crochet top that can be worn in different stylish ways. A Free Crochet Convertible Top Pattern makes creating this versatile, stunning piece simple and enjoyable. With its unique design, it can be dressed up or down, making it perfect for sunny days, beach trips, or casual outings with friends. The top is lightweight, soft, and incredibly comfortable, making it ideal for warmer weather.
Crochet Convertible Top with This Free Pattern
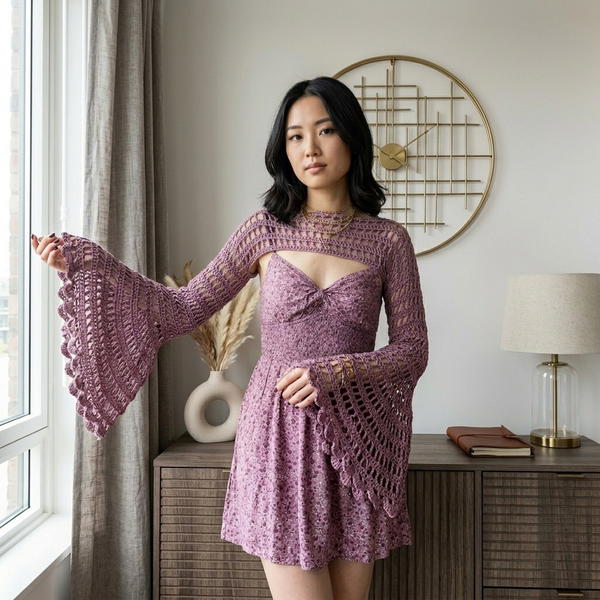
Its delicate crochet texture creates a breathable and airy feel, helping you stay cool while looking fabulous. What makes this piece truly special is its ability to turn wear it as a tank top, halter style, or even as an off-shoulder look. Designed to be beginner-friendly and fun to crochet, this pattern gives you a stylish, personalized top that you’ll be proud to wear anywhere.

Crochet Triangle Top Pattern: Step-by-Step Guide
Materials Needed
Yarn:
Lion Brand True Boo Yarn (100% Rayon, Lightweight-3).- You can substitute with other light-weight (category 3) yarns like 100% cotton for added texture and breathability.
- Color used: Coral Blue (feel free to choose your preferred color).
Hook Size:
2.75 mm crochet hook (adjust accordingly if using a different yarn weight).Other Tools/Accessories:
- Scissors.
- Yarn needle (for weaving in ends).
- Measuring tape (for customizing size).
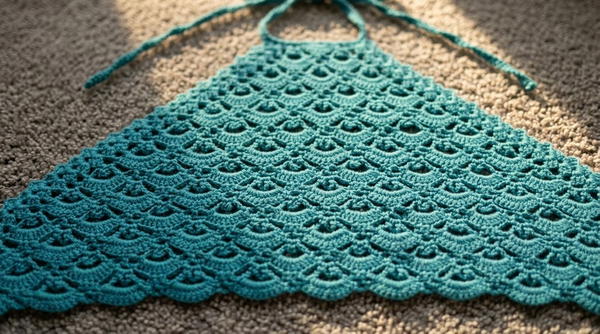
Finished Size
For reference:
- Completed Top: Approx. 17 inches wide and 10.5 inches tall (for a small size).
- If extended as a shawl, simply add more rows to scale the triangular shape to your liking.
Special Techniques
- Magic Circle: Start your triangle without leaving a large hole in the center.
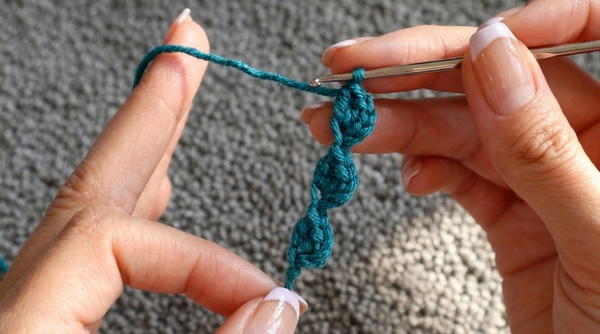
- Shell Stitch:
- A shell stitch consists of: 3 double crochets (dc), chain 2, 3 double crochets all worked into the same space.
- Chains for Spacing: Chain loops create decorative spaces for the scallop look and design.
Pattern Instructions
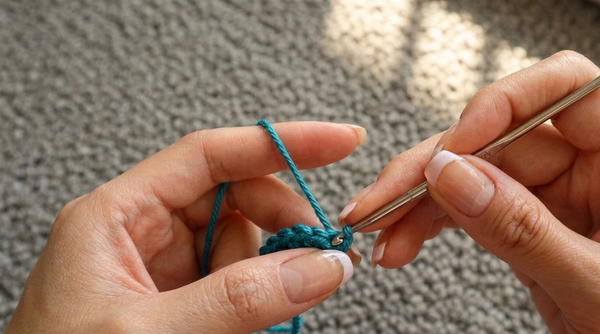
Base Triangle Start
Row 1: Foundation Row
- Begin with a magic circle.
- Chain 2 (counts as the first double crochet).
- Inside the magic circle, work:
- 2 double crochets (dc),
- Chain 2,
- 3 double crochets,
- Chain 2,
- 3 double crochets.
- Pull the magic circle tight to close.
You should now have three groups of 3 dc, separated by chain-2 spaces.
Increasing Rows
(Each row begins and ends with a Shell Stitch)
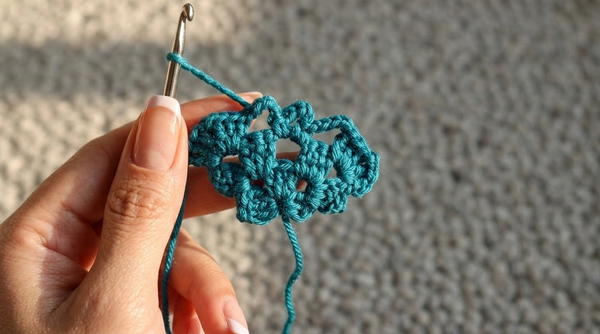
Row 2: First Shell Expansion
- Turn your work and slip stitch into the chain spaces until you reach the first chain-2 space.
- Work the Starting Shell in the chain space:
- Chain 2, 2 dc, chain 2, 3 dc.
- Chain 2, 2 dc, chain 2, 3 dc.
- Chain 3 to create a decorative loop.
- In the last chain-2 space of the row, work the Ending Shell:
- 3 dc, chain 2, 3 dc.
Row 3: Start Loop Design
- Turn, slip stitch to the chain-2 space, and make the Starting Shell.
- Chain 5 to create a larger decorative space.
- In the middle chain-2 space, work:
- Single crochet (sc), chain 5, single crochet.
- Chain 5 and finish the row with the Ending Shell in the last chain-2 space.
Row 4: Add More Loops
- Turn, slip stitch to the chain-2 space, and create the Starting Shell.
- Chain 3, single crochet into the first chain-5 space.
- Chain 5, skip the loop from the previous row, and work into the next chain space:
- Single crochet.
- Chain 3, then finish the row with the Ending Shell in the last chain-2 space.
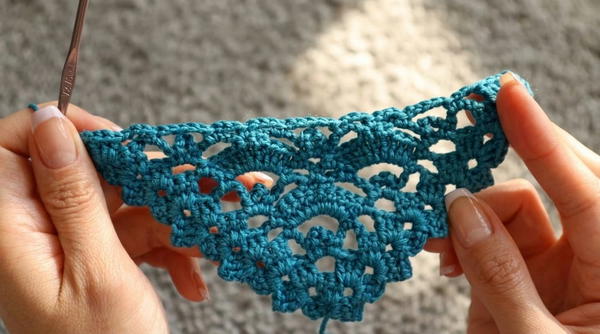
Row 5: Enhancing Loops with 9 Double Crochets
- Turn, slip stitch to the chain-2 space, and begin the Starting Shell.
- Chain 3 and single crochet into the first chain-5 space.
- Chain 5 and in the second chain-5 space, work 9 double crochets (dc).

- Single crochet into the next chain space, chain 3, and finish the row with the Ending Shell.
Row 6: More Decorative Chains
- Turn, slip stitch to the chain-2 space, and create the Starting Shell.
- Use chain 5 loops between your stitches:
- Place single crochets in chain spaces, and skip the first 3 double crochets when working over the row below.
- Place single crochets in chain spaces, and skip the first 3 double crochets when working over the row below.
Continue this row design and repeat sequence:
Repeated Sequence
- Repeat Rows 9, 10, and 11:
- Row 9: Includes chain-5 loops and single crochets.
- Row 10: Places chain loops with center scalloping for increased height.
- Row 11: Adds clusters of 9 dc into chain-5 spaces for pattern fullness.
Length and Customization
- For a Crop Top: Work approximately 41 rows, or until the triangle piece is large enough to suit your body measurements.
- End on a Row 10 repeat to achieve a clean scalloped edge.
- For a Shawl: Continue repeating the row sequence until the triangle's size fits your required dimensions.
Finishing the Top
Adding the Straps
Strap Design:
- Begin with a slip knot.
- Chain 4, and work 2 double crochets (dc) into the first chain.
Repeat the pattern:
- Chain 4, work 2 dc into the first chain.
- Keep repeating until the straps reach your desired length.
Recommended Strap Length:
- If wearing as a top, make straps approximately 60 inches long to allow for wrapping and tying multiple ways.
- Adjust lengths as needed for comfort or styling preferences.
Assembly
- Attach the straps to the top corners of the triangle piece.
- Leave the piece as a triangle for versatility: it can be styled in several ways!
Final Words and Tips
- Blocking: Block the final piece to enhance the scalloped edges and ensure the triangle lies flat.
- Washing and Care: Hand-wash your top carefully, especially if using rayon or cotton yarns, as these are prone to stretching. Lay flat to dry.
- Customization: Continue the pattern for a larger shawl or experiment with multiple colors for a bold statement piece.