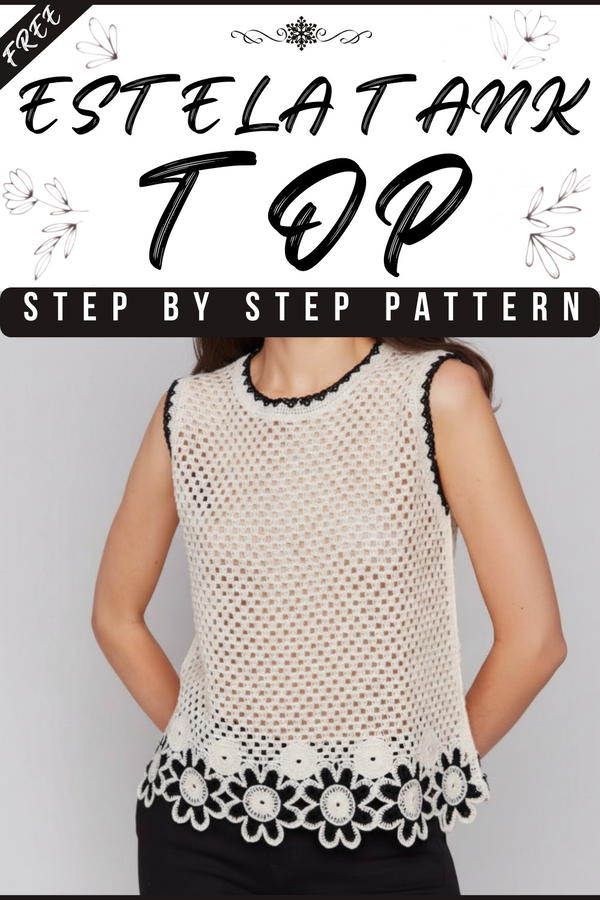
Light, soft, and stylish clothing always feels nice to wear in daily life. A Crochet tank top pattern helps people make a pretty and comfortable top with simple stitches and easy steps. Its beauty comes from the neat design, soft texture, and clean shape that looks attractive on everyone. The appearance is light and airy, which makes it perfect for warm weather and sunny days.
Easy Crochet Tank Top Pattern for Warm Weather
This tank top can be worn at home, on outings, or even layered over shirts and dresses. It is easy to match with jeans, skirts, or trousers, so it becomes very useful in everyday wear. The handmade look also makes it special and unique. Beginners like it because it is simple, quick, and not hard to understand. Overall, it is a lovely, useful, and eye-catching clothing piece that is comfortable, stylish, and perfect for daily use by people of all ages.
Materials and Supplies
Yarns:
Raíça Yarn (White): Main yarn for the base.
- Composition: 100% polypropylene.
- Tex: 288, 500 m per ball.
- Quantity: 2 skeins for size S.
Raíça Yarn (Black): Used for details and flower accents.
- Quantity: Small amount (1 skein is more than enough).
Optionally, you can use other yarns with similar properties (up to 300 Tex). Cotton yarn or other colors can also be used.
Crochet Hooks:
- For the main design: 3.0 mm hook (adjustable based on your tension).
- For floral details: 2.0 mm hook (for a more delicate flower appearance).
Other Tools:
- Scissors.
- Lighter (necessary to seal polypropylene yarn edges).
- Blunt tapestry needle for sewing and weaving in ends.
- Pins (optional for positioning flowers).
- Measuring tape to ensure proper sizing.
Key Pattern Information
Sizes:
This pattern is written for size S (38/40), but it can be easily adjusted for larger sizes by working more rows or adding blocks.Tips for Sizing Adjustments:
- To make the crop top into a longer blouse or a full tank top, simply add more rows to the base section.
- For larger sizes (M, L, XL), use measurements specific to your body and adjust the stitch counts accordingly.
Stitch Terms (US Terminology):
- ch: Chain stitch.
- sc: Single crochet.
- sl st: Slip stitch.
- dc: Double crochet.
- magic ring: A technique used to start circles.
Note: This pattern includes details to guide beginners and advanced crocheters alike.
Pattern Instructions
Part 1: Base (Crop Top or Blouse Design)
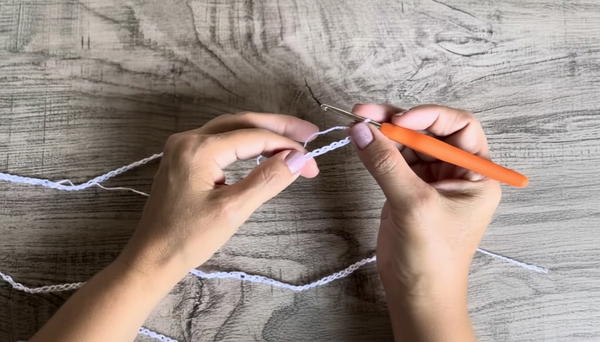
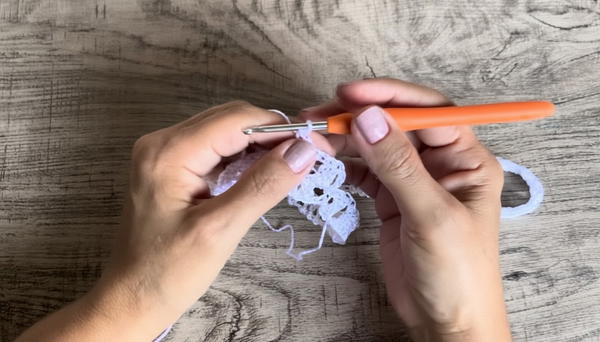
Step 1: Foundation Chains
- Make a foundation chain that measures your bust circumference + 10 cm.
- Example for size S: Approximately 85 cm (adjust for larger sizes).
- The chain count should be a multiple of 4 for even stitches.
- Example for size S: Approximately 85 cm (adjust for larger sizes).
- Join the chain into a circle with a slip stitch, making sure it is not twisted.
Step 2: Row 1 (First Round of Base)
- Setup: Chain 3 stitches to create the height of the double crochet row.
- Work blocks of 3 dc (1 in each chain) with a ch 1 separating each block:
- Skip 1 chain from the base after each block.
- Repeat this pattern until the round is complete.
- Close the round with a slip stitch.
Step 3: Subsequent Rows for Base
- Row Setup:
- Chain 3 (counts as the first dc).
- Move to the next chain space and repeat the block sequence (3 dc, ch 1, skip space).
- Work rows like this in a circular manner until the base measures 30 cm for a cropped look.
- For blouses or longer tops, continue building rows until the desired length is reached.
- For blouses or longer tops, continue building rows until the desired length is reached.
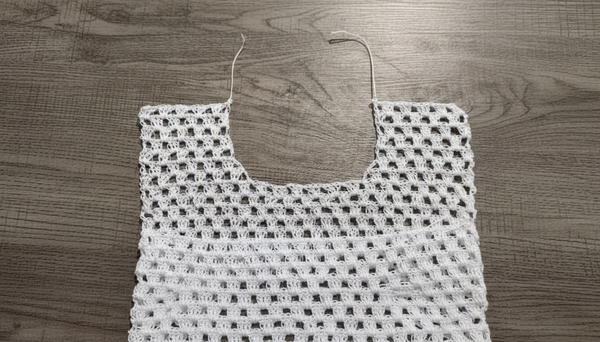
Step 4: Divide for Front and Back
- After finishing the main body, count the total blocks you have completed.
- For example: 37 blocks (odd number) → Divide by 2 for the front and back. Distribute the extra block to the back for symmetry.
- If the count is even, split equally.
- Mark the division between the front and the back using stitch markers.
- Work on the front section first, creating rows back and forth to shape the armholes and neckline.
Step 5: Create the Front Section
- Once divided, begin working only on the front section.
- Continue in rows to maintain the same block pattern.
- Work for 4–6 rows or as needed for your desired neckline height.
 When reaching the neckline:
- Chain 3 for the height of a dc, turn, and continue reducing rows by skipping outermost blocks at each armhole to create clean openings.
Step 6: Back Section
The back construction follows a similar pattern to the front:
- Work slightly longer rows to achieve a wider fit for the back.
- Typically, 2 extra rows are added during this step.
Part 2: Joining and Finishing
Step 1: Sew Front and Back
- Use a tapestry needle to sew the shoulders and sides of the top together.
Step 2: Collar and Edges
- Add a clean border:
- Work 2 rounds of sc around collars, armholes, and bottom edges.
- For a decorative effect, alternate sc with back loop-only sc.
- Use black yarn to add a finishing ruffled edge:
- Work sc along the edges, creating small ruffles by increasing with extra stitches.
- Example: 3 sc in one stitch in every fourth stitch to achieve ruffles.
Part 3: Flowers and Decorative Accents
Step 1: Large Flowers
- Start with a Magic Ring:
- Work 16 sc into the ring.
- Pull tight and sl st to close.
- Round 2:
- Ch 3 (counts as dc), then work 2 dc in each sc → Total = 32 dc.
- Round 3 (Petals):
- Into each dc, alternate creating large petals:
- 8 dc into one stitch, ch 1, sl st into the next.
- Into each dc, alternate creating large petals:
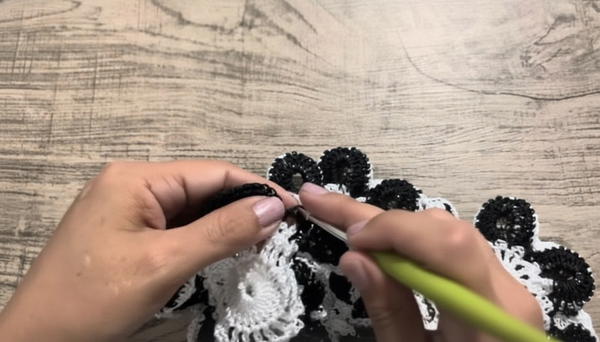 Switch to Black Yarn (Accent):
- Add ruffled edges in black by working 2 sc in each stitch of the petal.
Step 2: Small Flowers
- Work as per the large flower instructions, but do fewer sc and dc per petal for a smaller design.
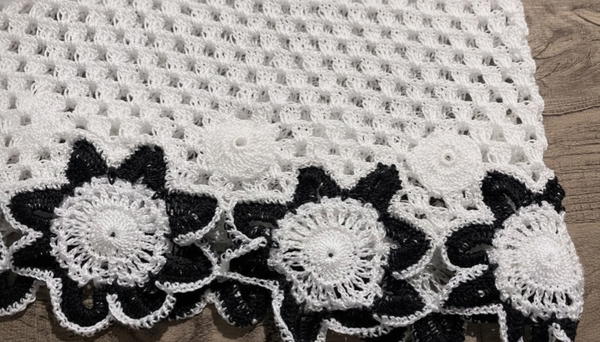
Step 3: Sew Flowers
- Use a tapestry needle or crochet to securely attach flowers to the front of the blouse.
- For placement:
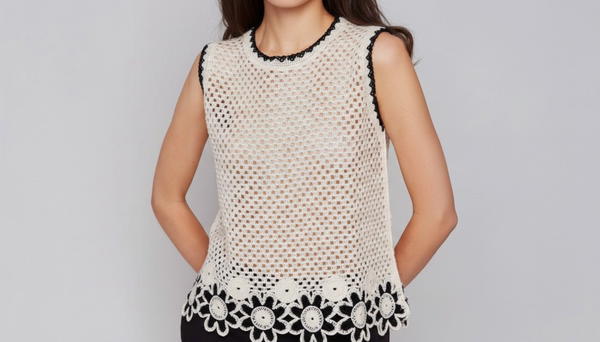
- Large flowers at the bottom hem.
- Small flowers scattered gracefully across the chest area.
Step 4: Add Decorative Balls (Optional)
- Create balls by working continuous rounds of sc in the round, increasing as needed for fullness.
Tips for Success
- Measure frequently during the process to ensure proper fit.
- For beginners: Practice flower patterns and ruffled edges before attaching to the blouse.
- Use pins to hold flowers in place to visualize their arrangement before sewing them on.
Conclusion and Customization
This crochet floral top is a charming and versatile piece that can be easily personalized with different colors, flower arrangements, or sleeve additions. Whether you keep it simple or embellish it with flowers, this piece is guaranteed to be a beautiful addition to your wardrobe.
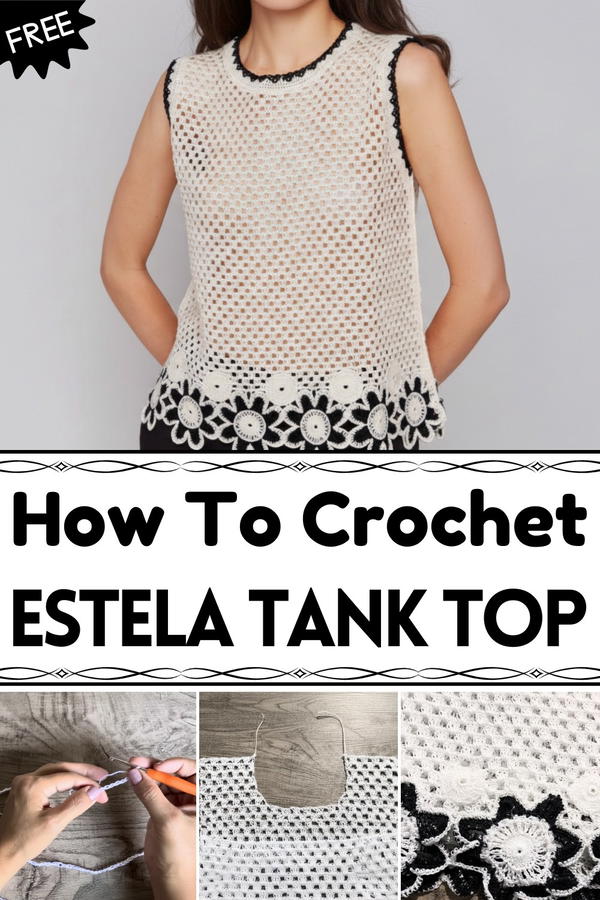
Crochet Pattern: Sleeveless Floral Top
This pattern guides you through creating a beautiful sleeveless floral top inspired by a knitting design yet adapted into crochet. Follow the steps to achieve a stunning result, complete with floral embellishments. This pattern is beginner-friendly and customizable for different sizes and styles.