Light up your space with Crochet Rabbit-Shaped Lantern Pattern that turns yarn into a cute, glowing buddy full of charm and cozy vibes.
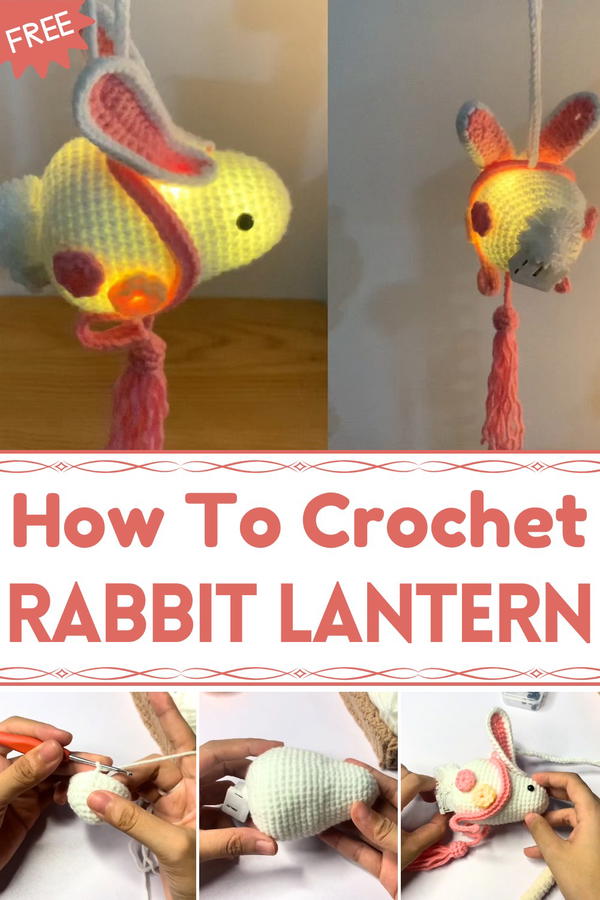
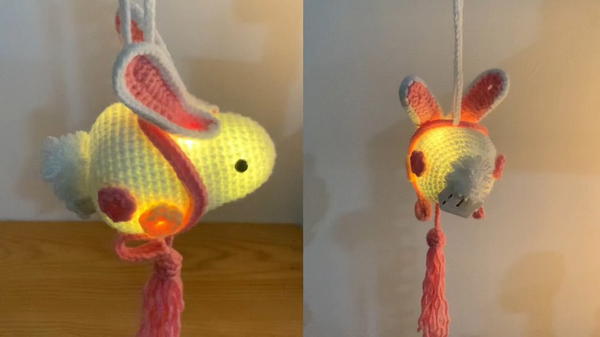
Right away you notice the cute bunny form combined with a lantern structure that feels playful and decorative. The little rabbit outline and softly rounded lantern body give it a warm, friendly look you’d be proud to display or hang up.
Bright Crochet Rabbit Lantern Pattern for Soft Home Light
It’s the kind of piece that draws attention without being too big, and adding lights or placing it near a window makes it extra charming. You can make it for seasonal decor, as a unique handmade gift, or to brighten up a room corner with a cozy vibe.
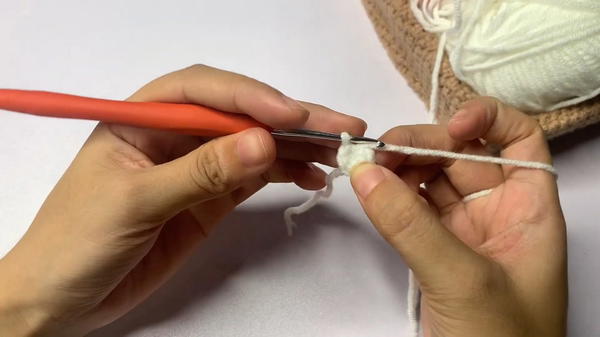
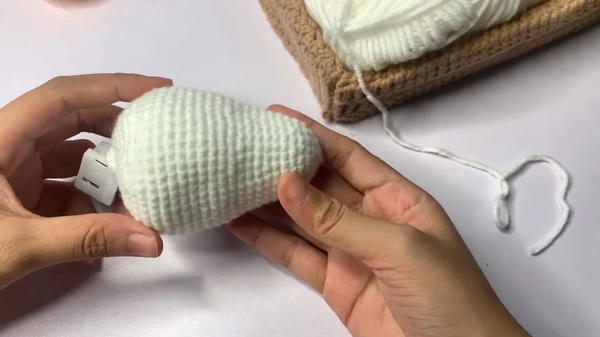
In tutorials like this, the process usually begins by building the lantern base in rounds, creating a hollow shape that reminds you of real hanging lanterns seen during festivals or celebrations.
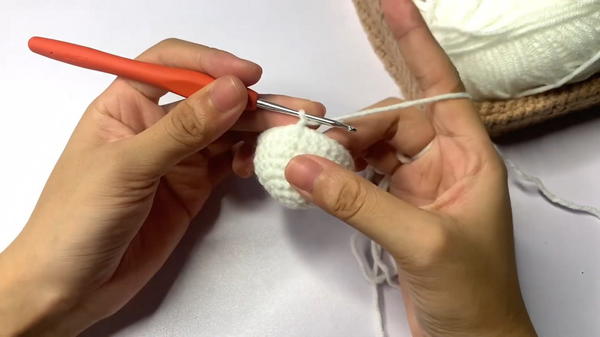
Stitches expand the shape steadily, so even beginners can watch the form take shape with every row.
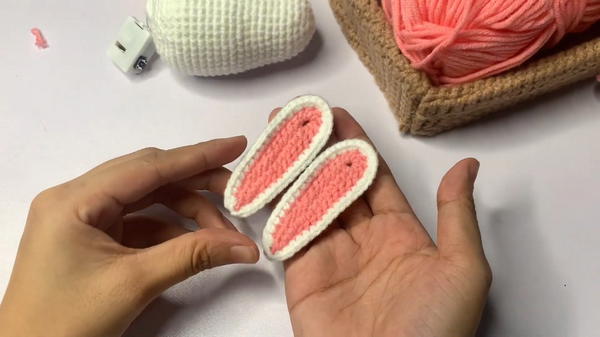
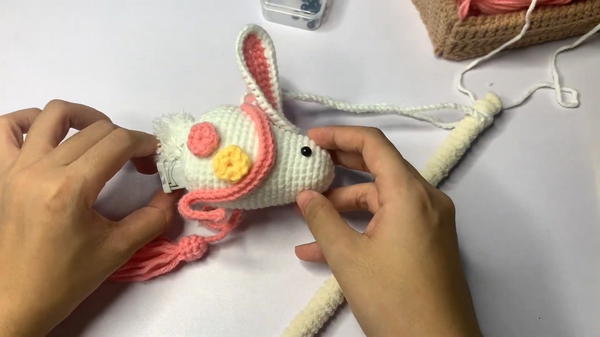
Then the rabbit details are worked into the body with simple crochet techniques so that the ears, face, and lantern details connect smoothly.
Because you work in rounds and shape as you go, the finished piece holds up nicely and feels light yet solid enough to keep its shape.
Watching the project come together at a relaxed pace makes it enjoyable, and finishing with a loop or hanger brings it all together so you can set it up or hang it wherever you like.
Materials
Yarn: Milk Cotton (50g) in White, Pink, and Yellow.
Hook: 2.5 mm crochet hook.
Stuffing: Synthetic fiberfill (polyester cotton).
Lighting: A yellow LED light string with a compact battery switch.
Tools: Hot glue gun, tapestry needle, scissors, a pair of 6mm safety eyes, and a chopstick or wooden handle for the lantern holder.
Special Features
Illuminated Body: The rabbit's body is hollow enough to house an LED string, allowing the white yarn to glow softly from within.
Poseable Ears: The ears include internal wires, making them fully adjustable and capable of holding different expressive shapes.
Traditional Tassel: The design features a handmade crochet tassel attached to the bottom, giving it a classic lantern aesthetic.
Integrated Handle: The tutorial includes instructions on how to wrap a handle with yarn and attach the lantern securely.
Level of Difficulty
Intermediate. While the body is a series of standard increase/decrease rounds, the complexity arises from integrating the electronics, working with wire for the ears, and the detailed assembly of the scarf, flowers, and tassel.
Tutor’s Suggestions
Light Distribution: The tutor suggests spreading the LED bulbs evenly throughout the fiberfill as you stuff the body. This prevents "hot spots" of light and ensures the entire rabbit glows uniformly.
Loose Stuffing: Do not pack the fiberfill too tightly, as this can block the light or make it difficult for the LED string to fit comfortably inside.
Uses
Festival Lantern: Specifically designed for children during the Mid-Autumn Festival.
Night Light: Makes for a beautiful, handmade nursery decoration or bedside lamp.
Conclusion
The Crochet Rabbit Lantern is a multi-media project that results in a professional-grade festive accessory. It successfully merges the warmth of handmade crochet with the practicality of modern LEDs, making it a standout piece for any celebration.
Tip: When attaching the scarf, use a few pins to "dry fit" the curve around the neck before applying any glue. This allows you to find the most natural-looking drape for the fabric without making permanent mistakes.


