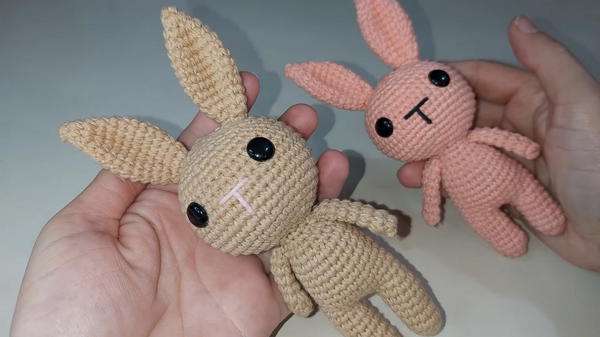
Cuddle delightful charm with the Free Crochet Amigurumi Rabbit Pattern, a fun and relaxing project that brings joy and warmth to any space.
Fun filled afternoons can take an unexpected turn when simple threads and a hook transform into a tiny companion, radiating charm and cheer. The Free Crochet Amigurumi Rabbit Pattern brings more than a whimsical creation—it offers a lovable friend that can brighten bedrooms, nurseries, or office spaces. Each stitch becomes a moment of mindfulness, a gentle way to relax while nurturing creativity and patience.
Playful Crochet Amigurumi Rabbit Pattern for Cozy Corners

Its soft, huggable form makes it a perfect gift for children, newborns, or friends who appreciate thoughtful, handmade treasures, while also encouraging fine motor skills and focus in makers of all ages. Compact enough to perch on shelves or desks, this little rabbit carries a comforting presence that adds warmth and personality to any corner.
Beyond being visually appealing, it becomes a tactile companion for play or decor, blending joy with a sense of accomplishment as the project comes to life. Accessible to beginners yet satisfying for experienced hands, the Free Crochet Amigurumi Rabbit Pattern transforms basic materials into a polished, heartwarming creation. With every loop and stitch, it celebrates the simple pleasures of hands-on work, turning ordinary afternoons into memorable moments filled with charm, creativity, and the quiet magic of a handmade companion.
Special Features
- Silicone Bar Support: A silicone bar is used inside the rabbit to help keep its head upright and secure over time.
- Detailed Shape Construction: The tutorial intricately demonstrates the crafting of legs, body, head, arms, tail, and ears to ensure intricate detailing.
- Customizable Size: Adjust yarn thickness or stuffing quantity to create larger or smaller rabbits.
- Beginner-Friendly Tips: Accommodates both visual learners and step-by-step crocheters with techniques for neat stitching and securing parts.
Materials Needed
Yarn:
- "86 Cotton Thread" in various colors (recommended for stable structure).
Crochet Hook:
- Size suitable for the cotton thread (specific size not mentioned in the video; usually around 3.5–4 mm).
Silicone Bar:
- A 1 cm diameter silicone bar for supporting the head.
Polyfill:
- For stuffing the body and other parts.
Safety Eyes:
- Number 10 safety eyes for the rabbit’s face.
Scissors and Yarn Needle:
- For cutting and sewing pieces together.
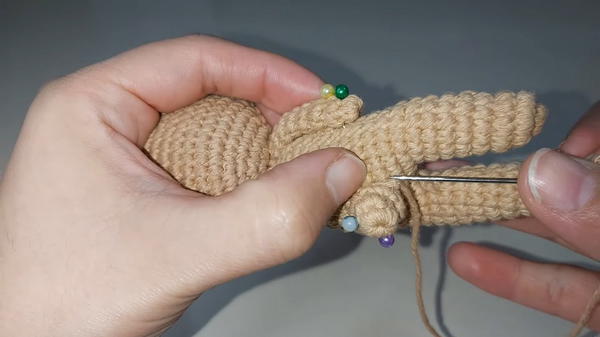
Pins:
- Helps position arms, tail, and ears before sewing.
Optional:
- Lighter to burn and secure safety eye locks for durability.
Level of Difficulty
Beginner-Intermediate
The project uses beginner-level techniques such as single crochet, increases, and slip stitches. Some intermediate steps include assembling pieces, shaping the body, and creating decreases for specific contours.
Step-by-Step Instructions
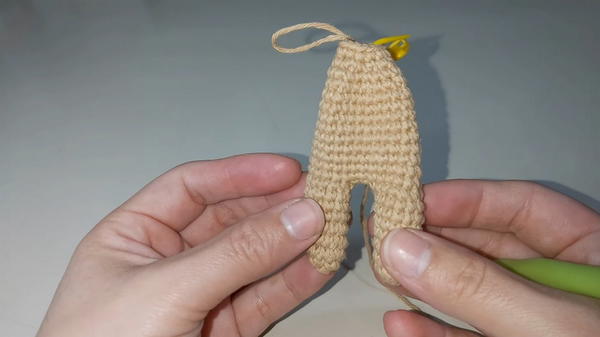
1. Making the Legs
Round 1:
- Start with a magic ring and work 6 single crochets inside it.
Round 2:
- Make 6 increases (2 single crochets in each stitch). At the end of the round, you should have 12 stitches.
- Make 6 increases (2 single crochets in each stitch). At the end of the round, you should have 12 stitches.
Rounds 3–8:
- Work 1 single crochet in each stitch (maintain 12 stitches per round). Place a stitch marker at the start of each round for accuracy.
Finishing:
- Slip stitch into the first stitch of the final round, cut the yarn, and hide the thread inside the leg using a yarn needle.
Make Another Leg:
- Follow the same process, but do not cut the yarn.
Joining the Legs:
- Chain 2 loose stitches to connect the two legs and crochet around both legs, working through all stitches (12 stitches per leg + 2 chain stitches = 28 stitches total).
2. Shaping the Body
Rounds 10–14:
- Work 1 single crochet in each stitch for all 28 stitches per round.
Round 15:
- Begin shaping the body with decreases:
- Work a decrease, followed by 24 single crochets and end with another decrease. You will now have 26 stitches.
- Begin shaping the body with decreases:
Rounds 16–21:
- Follow the specified decrease pattern for each round, reducing stitch counts gradually.
Final Body Shaping:
- On Round 21, leave 12 stitches, and stuff the body with polyfill. Insert the silicone bar into the center for neck support.
- On Round 21, leave 12 stitches, and stuff the body with polyfill. Insert the silicone bar into the center for neck support.
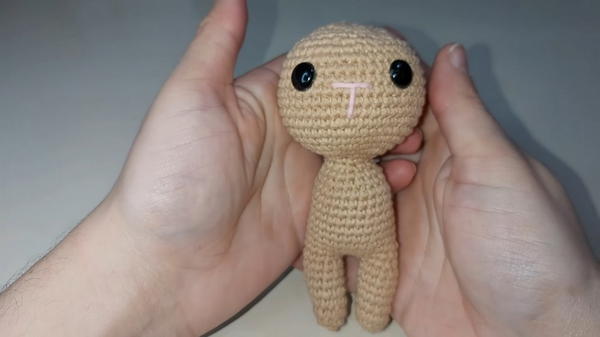
3. Crafting the Head
Rounds 23–41:
- Gradually increase and decrease stitch counts to shape the head, using the tutorial's detailed pattern.
- Stuff the head fully toward the final rounds and use a yarn needle to securely close the last round by sewing through the front loops of the remaining stitches.
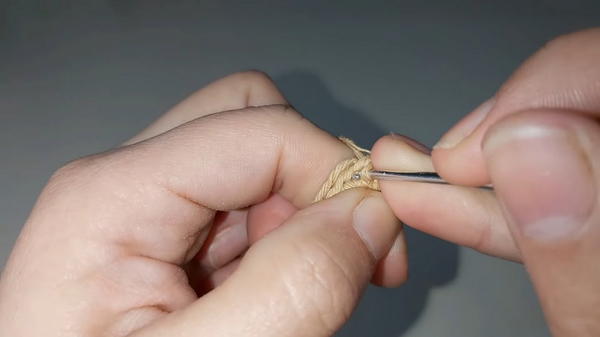
Adding Safety Eyes:
- Count rows from the top of the head and place safety eyes (leave 9–10 stitches between them). Use pins for initial placement and a crochet hook for widening fabric holes.
- Burn and flatten the safety lock with a lighter to ensure durability.
Adding the Nose:
- Stitch a yarn nose one row below the safety eyes, securing with knots inside the head.
- Stitch a yarn nose one row below the safety eyes, securing with knots inside the head.
4. Arms
- Rounds 1–13:
- Follow the base pattern for shaping the arms, gradually increasing and decreasing for a tapered look.
- Stuff minimally before sewing onto the body.
5. Tail
- Rounds 1–3:
- Use a magic ring and small increases to create a rounded tail.
- Stuff lightly before sewing securely into the lower center of the back.
6. Ears
- Rounds 1–13:
- Create ears using a tapered pattern (combining single crochet and decreases).
- Sew them level with one another on the top sides of the head.
7. Assembly
- Carefully sew all parts (arms, tail, ears) onto the body using pins for alignment.
- Use secure knots and stretch the fabric periodically to check for proper fitting.
Tutor’s Suggestions
- Use Pins for Placement: Pins are crucial for positioning body parts symmetrically before sewing.
- Assembly Attention: Focus on hiding stitching lines by working closely along the edges of each piece.
- Secure Safety Eyes: Burn the back locks to prevent loosening over time.
- Adjust Filling: Add more stuffing toward the final rounds to achieve a firm structure.
Uses
- Gift: Perfect handmade present for babies, kids, or rabbit-loving adults.
- Decoration: Cute addition to shelves, beds, or playrooms.
- Playtime Companion: Soft, cuddly toy for imaginative play.
Conclusion
This crochet bunny tutorial is an enjoyable project that results in a charming stuffed toy with delightful details. The use of silicone support ensures durability, while the meticulous shaping elevates its visual appeal. Whether gifting to loved ones or keeping it as a decoration, this handmade rabbit will bring smiles everywhere. Follow the step-by-step instructions and tips to bring your bunny to life!
Tip
When positioning the safety eyes, insert them before fully stuffing the head. This makes placement and locking much easier, ensuring proper alignment and avoiding overstuffing-related misplacement.


