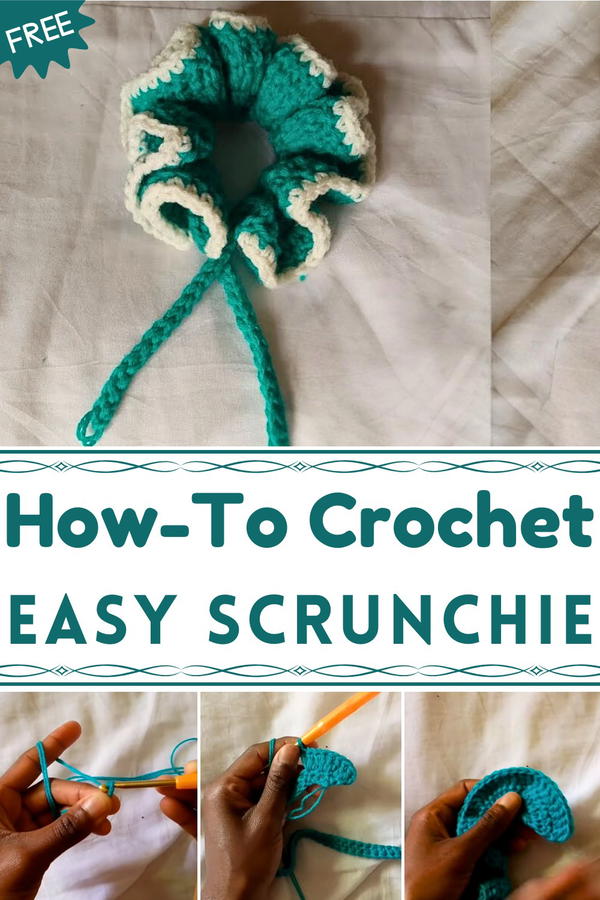
Twist playful flair into your look with this Free Crochet Scrunchie Pattern, bringing texture, color, and a stylish accent to any hairstyle.
Hair accessories have long played a vital role in daily routines, offering both functionality and style. Among these, scrunchies have become a favorite for their ability to secure hair gently while adding a touch of personality to any look. The Free Crochet Scrunchie Pattern provides an opportunity to craft soft, flexible hair ties that are comfortable for all hair types and reduce breakage compared to traditional elastics.
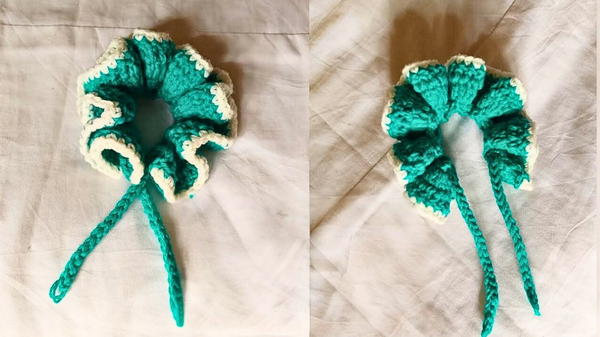
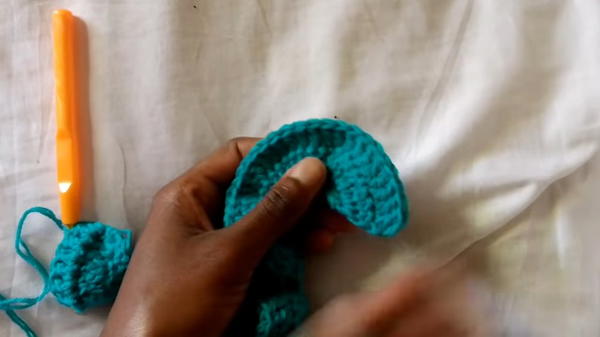
Cute Crochet Scrunchie Pattern for Everyday Hair Styling
Their textured yarn surface not only creates a visually appealing accessory but also offers a slight grip that helps hold hairstyles in place without discomfort. Beyond everyday wear, these scrunchies can be customized in various colors, sizes, and stitch textures to match outfits, seasonal trends, or personal preferences, making each piece unique. They are perfect for casual outings, fitness sessions, or even as small gifts that carry a handmade charm.
Lightweight and durable, crochet scrunchies withstand regular use and washing, maintaining their shape and elasticity over time. The process of making them also provides a rewarding crafting experience, enhancing focus, patience, and skill. Combining practicality, style, and a touch of creativity, these scrunchies transform a simple hair accessory into a versatile, functional, and personalized item that brightens daily routines with elegance and charm.
Special Features
- No Headband Required: The scrunchie is crafted entirely from yarn, eliminating the need for a pre-made hairband.
- Double-Stranded Yarn: Enhances durability and elasticity.
- Adjustable Design: Size can be customized by altering the number of initial chains.
Materials Needed
- Yarn: Size small yarn, double-stranded. Each strand being 50g.
- Crochet Hook: 4 mm hook.
- Scissors: For cutting yarn.
- Yarn Needle: To weave in the ends.
Level of Difficulty
Beginner: This project is designed for beginners, utilizing fundamental crochet stitches such as chain, single crochet, double crochet, and slip stitch.
Step-by-Step Instructions
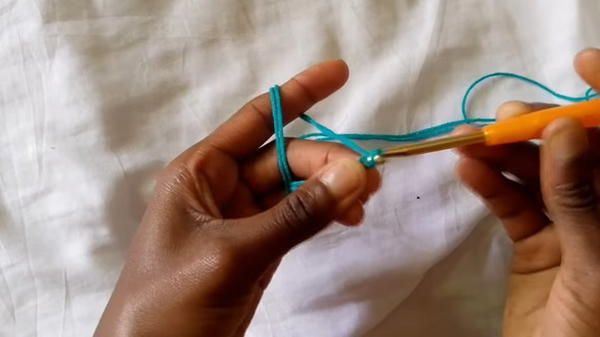
1. Setting Up
- Slip Knot: Start by creating a slip knot. Place the hook on the yarn, twist it to form a loop, yarn over, and pull through to tighten.
- Chain 50: Yarn over and pull through the loop to create chains.
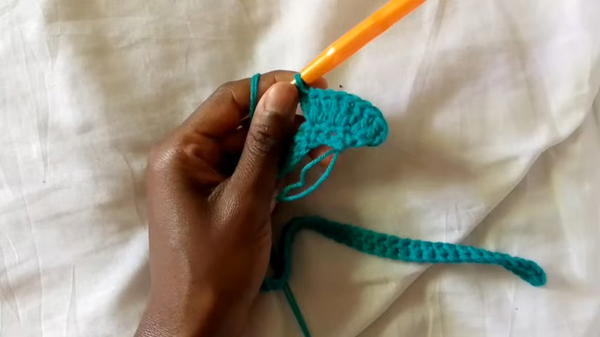
2. First Row (Single Crochet)
Single Crochet Across:
- Chain 1 extra (total 51), and turn.
- Insert your hook into the 50th chain, yarn over, pull up a loop, yarn over again, and pull through two loops.
Continue: Repeat the single crochet for all 50 chains.
3. Second Row (Double Crochet Increases)
- Chain 2 and Turn: This counts as your first double crochet.
- Double Crochets:
- In the first stitch, make two double crochets.
- Yarn over, insert hook into the stitch, yarn over again, pull up a loop (three loops on hook), yarn over, pull through two loops, yarn over again, and pull through the remaining two loops.
- Repeat this process to make three double crochets in each stitch across the row.
4. Third Row (Grounding the Ruffles)
- Chain 2 and Turn: Counts as double crochet.
- Single Double Crochet in Each Stitch:
- Yarn over, insert hook into the first stitch, yarn over, pull up a loop (three loops on hook), yarn over and pull through two loops, yarn over and pull through remaining two loops.
- Continue with one double crochet in each stitch to ground the ruffles formed in the previous row.
5. Final Touches
- Change Yarn Color (Optional): Cut the current yarn and attach a new color if desired. Create a slip knot with the new yarn.
- Single Crochet Border: Chain 1, turn, and work a row of single crochets to add a finishing touch.
6. Creating the Adjusting String
- Chain 60: Start with a slip knot, then chain 60.
- Slip Stitches: Chain one more and work slip stitches in each chain (insert hook, yarn over, pull through both loops).
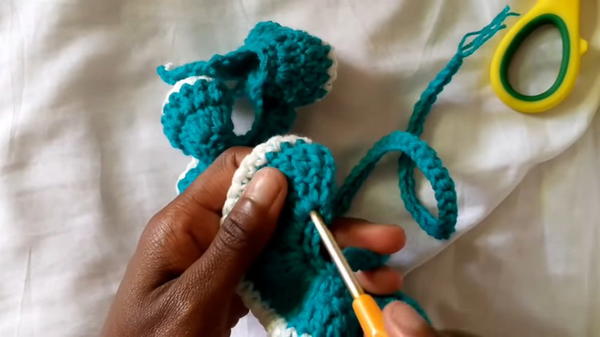
7. Assembling the Scrunchie
- Thread Through Single Crochet Gaps: Use the slip stitch string to weave through the border of the scrunchie. This will allow you to adjust the size and tighten the scrunchie.
Tutor’s Suggestions
- Consistent Tension: Maintain consistent tension throughout your work to ensure even ruffles and a neat appearance.
- Count Stitches: Regularly count your stitches to avoid missing or adding extra stitches, which can affect the scrunchie's shape.
- Experiment with Colors: For a more personalized touch, try using different yarn colors for each row or the adjusting string.
Uses
- Hair Accessory: Perfect for daily wear or special occasions.
- Gifts: Handmade scrunchies make lovely and thoughtful gifts.
- Marketable Product: Ideal for selling at craft fairs or online shops.
Tip
Shape your scrunchie after finishing by manually adjusting the ruffles. This helps achieve the desired look and ensures the scrunchie fits well.
Conclusion
Creating a crochet scrunchie is a simple and enjoyable project suitable for beginners. With its adjustable size and customizable design, this accessory is both functional and fashionable.


