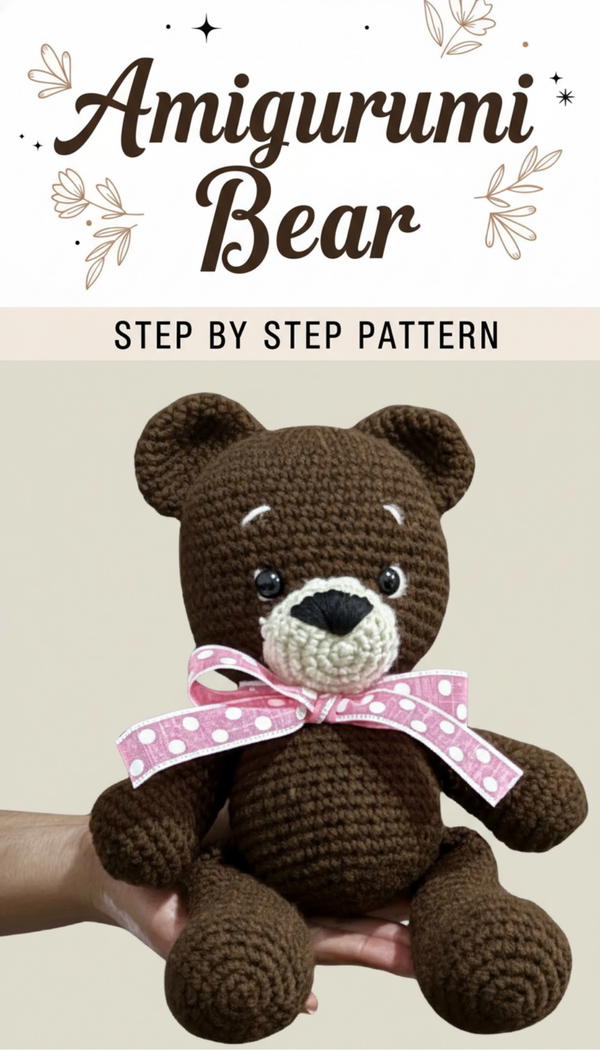
Unravel a delightful adventure by stitching this cute crochet bear that brings warmth and charm to any home or handmade gift collection!
Stuffed toys with soft yarn bodies and charming details bring comfort and joy to people of all ages. This little bear is soft and cuddly, making it a perfect friend for kids and adults alike. Its round ears and tiny nose give it a sweet, friendly face that brings warmth wherever it goes. Sitting cute on a shelf or snuggling in your hands, it adds a touch of happiness to any space. Made from gentle yarn, it feels smooth to touch and holds its shape nicely.
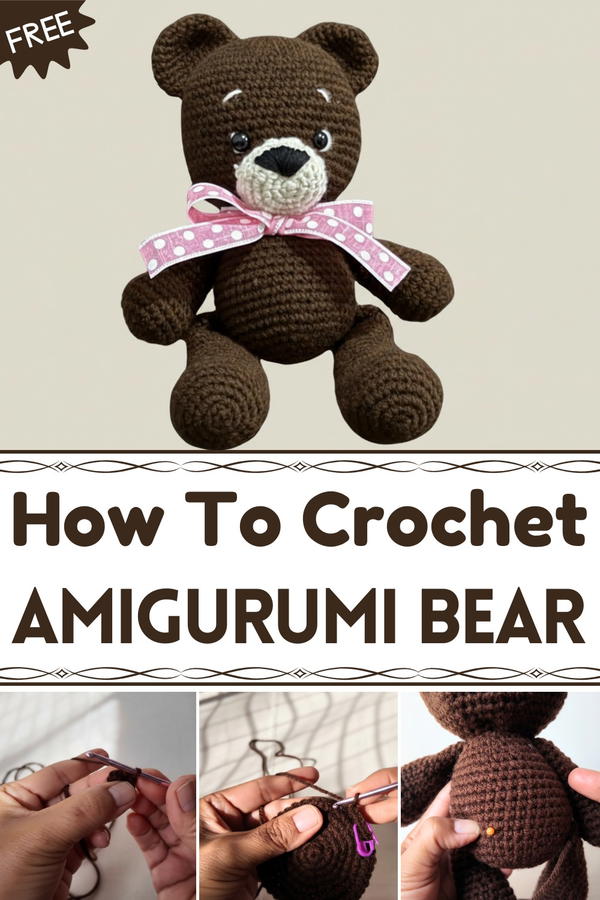
Handmade Crochet Amigurumi Bear Pattern for Cozy Creations
This bear is not just a toy but also a comforting companion that brightens up lonely moments. It can be a gift to show love or a decoration to make a room cozier. Its small size means you can carry it everywhere, keeping a bit of joy close. With simple stitches and soft colors, it appeals to everyone and fits into any style of home. Having this bear around turns ordinary days into something a little more special and fun.
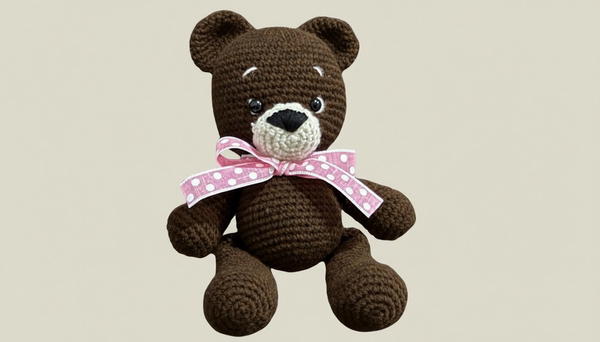
Crochet Brown Bear Amigurumi Pattern
Skill Level: Intermediate
Special Features:
- Worked in continuous spiral rounds (no joining) for smooth shaping
- Shaping through increases and decreases for head, body, limbs, ears, snout, and tail
- Use of googly eyes for playful expression
- Detailed facial embroidery for added charm
- Assembled carefully for durability and neat appearance
Materials Needed:
- Acrylic yarn (brown color)
- 3.5 mm crochet hook
- Stitch marker
- Fiberfill stuffing
- Scissors
- Tapestry/yarn needle
- Acrylic paint (optional for details)
- Googly safety eyes (12 or 14 mm)
- 50 cm x 2 cm wide ribbon for bow
Pattern Steps
Part 1: Head
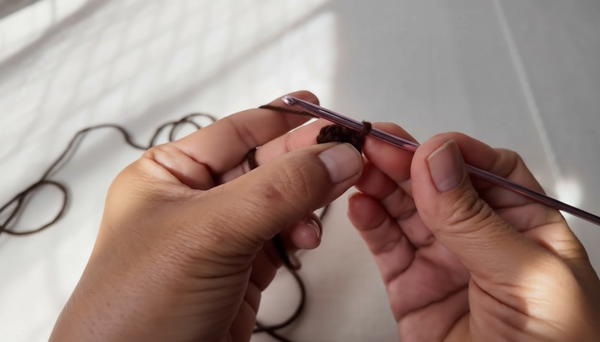
- Round 1: Make a magic ring and crochet 6 single crochet (sc) into the ring.
- Round 2: Increase in every stitch (2 sc in each stitch) to end with 12 stitches.
- Round 3: 1 sc, 1 increase around to finish with 18 stitches.
- Round 4: 2 sc, 1 increase around for 24 stitches.
- Round 5: 3 sc, 1 increase around for 30 stitches.
- Round 6: 4 sc, 1 increase around for 36 stitches.
- Round 7: 5 sc, 1 increase around for 42 stitches.
- Round 8: Start with 3 sc, 1 increase, then 6 sc, 1 increase around finishing with 48 stitches.
- Round 9: 7 sc, 1 increase around equaling 54 stitches.
- Rounds 10-21: Work 54 single crochet stitches each round, no increases (stitch over stitch).
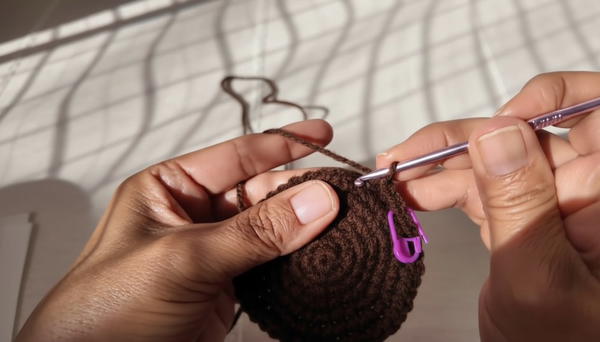
- Place eyes: Secure googly eyes between rounds 19 and 20, separated by seven stitches.
- Rounds 22-26: Work decreasing rounds:
- Round 22: 7 sc, decrease around, 48 stitches
- Round 23: 6 sc, decrease around, 42 stitches
- Round 24: 5 sc, decrease around, 36 stitches
- Round 25: 4 sc, decrease around, 30 stitches
- Round 26: 3 sc, decrease around, 24 stitches
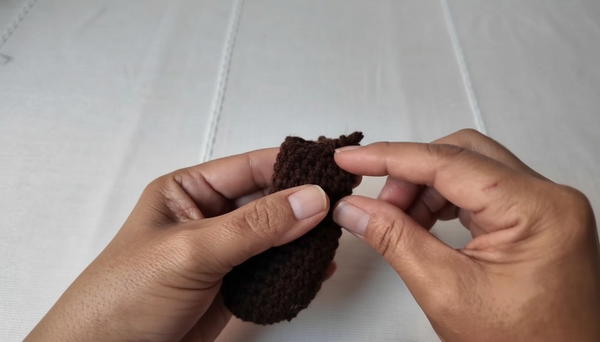
- Stuff head firmly before final rounds.
Part 2: Body
Repeat head pattern rounds 1 to 6 for the body, adjusting stitch counts as below:
- Round 1: Magic ring, 6 sc.
- Round 2: 12 sc.
- Round 3: 18 sc.
- Round 4: 24 sc.
- Round 5: 30 sc.
- Round 6: 36 sc.
- Rounds 7-16: Work 10 rounds of 36 sc (no increases).
- Rounds 17-21: Decrease rounds following the same decrease pattern as head (e.g., 5 sc + decrease, etc.).
- Stuff the body firmly before final closure.
Part 3: Arms (Make 2)
- Magic ring, 6 sc.
- Round 2: 12 sc (increase in every stitch).
- Round 3: 1 sc, 1 increase around (18 sc).
- Round 4: 2 sc, 1 increase around (24 sc).
- Rounds 5-7: 24 sc (no increases).
- Round 8: 1 sc, decrease around (19 sc).
- Round 9: Three decreases followed by sc (16 sc).
- Rounds 10-13: 16 sc (no changes).
- Round 14: 3 sc, decrease (13 sc).
- Rounds 15-19: 13 sc (no changes).
- Stuff arm lightly and close with slip stitch, leaving long tail for sewing.
Part 4: Legs (Make 2)
- Magic ring, 6 sc.
- Round 2: 12 sc.
- Round 3: 1 sc, 1 increase (18 sc).
- Round 4: 2 sc, 1 increase (24 sc).
- Rounds 5-7: 24 sc (no changes).
- Round 8: 1 sc, decrease (19 sc).
- Round 9: 3 decreases then sc (16 sc).
- Rounds 10-13: 16 sc.
- Round 14: 4 sc, decrease (12 sc).
- Rounds 15-18: 12 sc.
- Stuff leg lightly and close with slip stitch leaving tail for sewing.
Part 5: Ears (Make 2)
- Magic ring, 6 sc.
- Round 2: 12 sc (increase in every stitch).
- Round 3: 1 sc, 1 increase (18 sc).
- Round 4: 2 sc, 1 increase (24 sc).
- Rounds 5-8: 24 sc (no changes).
- Round 9: 2 sc, decrease (18 sc).
- Fasten off leaving tail for sewing.
Part 6: Snout
- Magic ring, 6 sc.
- Round 2: 12 sc (increase in every stitch).
- Round 3: 1 sc, 1 increase (18 sc).
- Round 4: 2 sc, 1 increase (24 sc).
- Round 5: 3 sc, 1 increase (30 sc).
- Rounds 6-7: 30 sc.
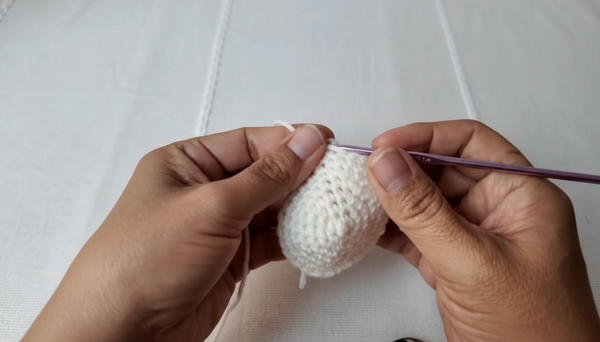
- Leave tail for sewing and lightly stuff.
Part 7: Tail
- Magic ring, 6 sc.
- Round 2: 12 sc (increase).
- Round 3: 1 sc, 1 increase (18 sc).
- Rounds 4-5: 18 sc.
- Round 6: 1 sc, decrease (12 sc).
- Round 7: Fasten off leaving tail for sewing and stuffing lightly.
Assembly:
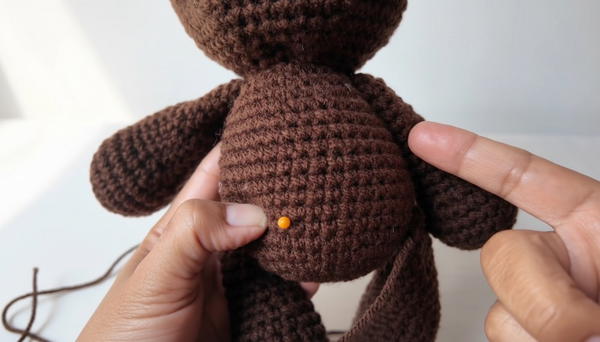
- Use long yarn tails to sew head to body, arms next to neck, legs below arms aligned symmetrically.
- Attach ears on round 11 of head, opposite each other.
- Sew snout centered between eyes and above neck, stuffing for shape.
- Attach tail centered below body at back.
- Embroider nose on snout using black yarn forming a triangle shape filled with stitches.
- Add expression details with yarn and/or acrylic paint as desired.
- Finish by tying a ribbon bow around the neck.
Tutor’s Suggestions:
- Work in continuous spiral rounds, placing stitch markers to keep track of round beginnings.
- Stuff firmly but not too tight for shape and softness.
- Hold pieces in place with pins or stitch markers before sewing to ensure alignment.
- Adjust yarn colors to customize your bear.
- Use safety eyes carefully; for children’s toys, securely fasten or embroider eyes.
Uses:
- Makes a lovely gift for children and adults alike.
- Ideal as a decorative piece or cuddly toy.
- A perfect project to develop amigurumi shaping skills.
Tip:
Take your time when sewing parts together for a neat finish, especially around the face area to give your bear character and symmetry.
Conclusion:
Your beautiful brown bear amigurumi is now complete—soft, cute, and full of personality! Enjoy making this project for yourself or as a heartfelt gift.