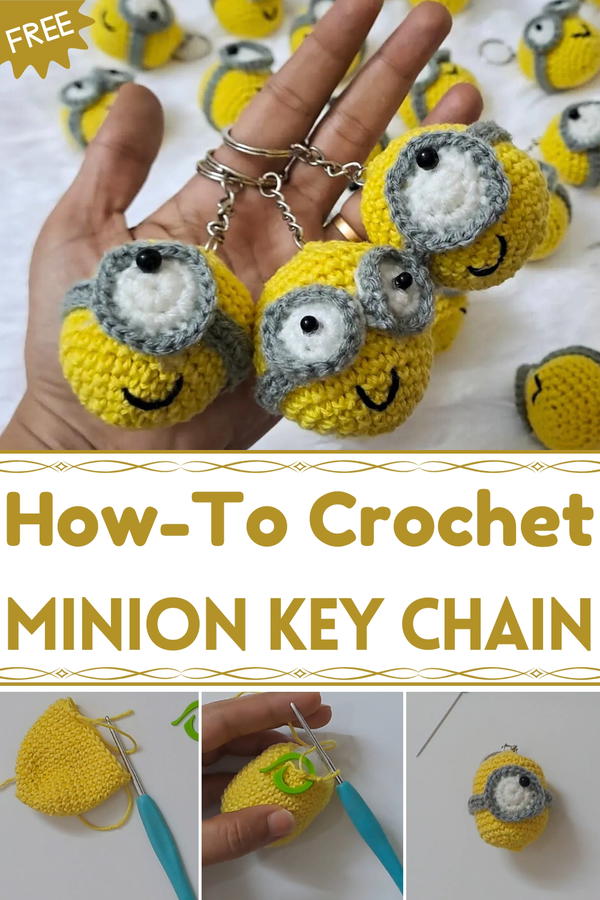
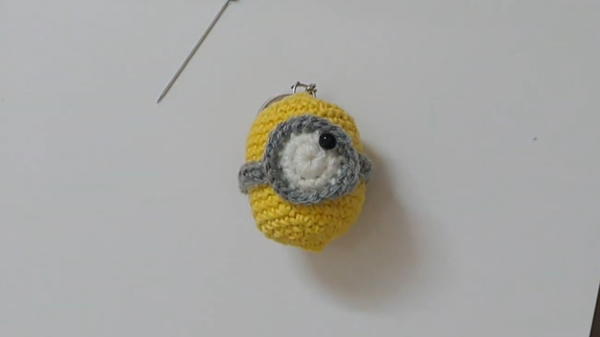
Carry cheerful fun everywhere with the Free Crochet Minion Key Chain Pattern that adds playful charm, vibrant detail, and a delightful handmade touch.
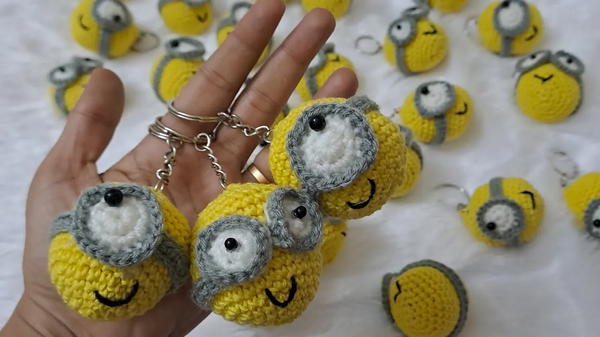
Small trinkets often hold the power to brighten daily routines, turning ordinary keys into cheerful reminders of fun and personality. The Free Crochet Minion Key Chain Pattern brings this idea to life by transforming soft yarn into a tiny, lovable version of the iconic character. Its compact size makes it perfect for attaching to keys, backpacks, or purses, adding a playful accent wherever it goes.
Bright Crochet Minion Key Chain Pattern That’s Easy & Fun
Beyond aesthetics, the key chain provides a satisfying tactile experience, allowing for stress relief through its soft texture and handmade charm. Quick to complete, it offers immediate gratification for makers while producing a durable, functional accessory that can withstand daily use. The Free Crochet Minion Key Chain Pattern also makes a thoughtful, handmade gift for fans of the character, combining whimsy with practicality in a small, portable form.
Its customizable colors and detailing allow each piece to feel unique, reflecting the maker’s personal touch. Lightweight, cheerful, and functional, this key chain transforms a simple everyday item into a statement of creativity and joy. Every stitch contributes to a miniature work of art that brightens routines, inspires smiles, and proves that even the smallest handmade creation can hold big charm and purpose.
Materials Needed
- Crochet Hook: Size 2.5 mm.
- Yarn: Choose a yarn suitable for your hook size; the video does not specify a type, so you can use yarn of your choice based on the project’s intended purpose.
- Scissors: For cutting yarn.
- Wool Needle (optional): Useful for weaving in ends or shaping adjustments.
Special Features
- Magic Circle Technique: Allows a seamless start for circular designs.
- Varied Stitches: Includes single crochet, double crochet, half double crochet, increases, and decreases to add texture and structure.
- Customization Options: You can experiment with different yarn colors and sizes to make designs for various uses.
Level of Difficulty
The tutorial is intermediate level, ideal for crocheters who have mastered basic stitches and want to learn additional techniques like stitch increases, decreases, and shaping.
Step-by-Step Instructions
Step 1: Create the Base with a Magic Circle
- Start by forming a magic circle.
- Chain 1 to secure the loop.
- Crochet 6 single crochets into the magic circle.
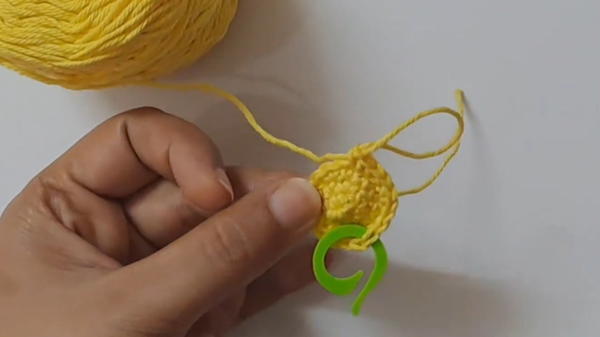
- Pull the tail to tighten the circle.
Step 2: Expand the Circle
- For Round 2, increase to create a total of 12 single crochets:
- Work 1 single crochet into the first stitch.
- Then, work an increase (2 single crochets in the same stitch).
- For Round 3, crochet with alternating increases:
- Start with 1 single crochet into the first stitch.
- Work 2 single crochets into the second stitch (increase).
- Repeat this pattern.
Step 3: Build a Pattern of Single Crochets and Increases
- In subsequent rounds:
- First, crochet a sequence of one single crochet per stitch across the next three stitches.
- Next, work an increase (two single crochets in the same stitch).
- Continue alternating between single crochets and increases to shape the piece.
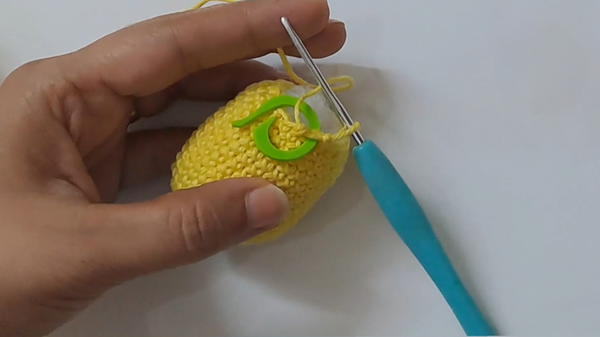
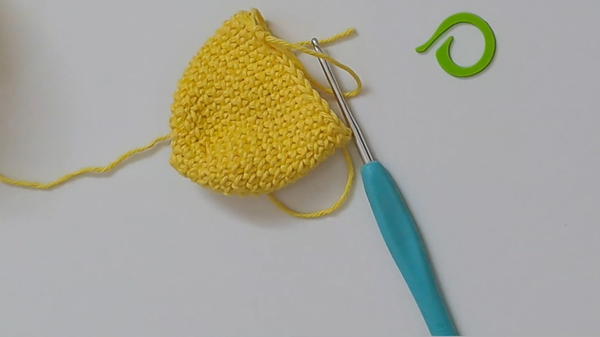
Step 4: Add Height with Single Crochets
- Build eight more rounds of simple single crochet stitches:
- Crochet one single crochet into each stitch around.
- This adds depth and creates a seamless surface.
Step 5: Begin Decreasing
Start decreasing to taper the shape:
- Join stitches together by crocheting two single crochets as one decrease.
- Crochet three single crochets normally in the following stitches.
- Repeat the decrease pattern, alternating stitches and decreases.
In the next round:
- Work single crochet decreases across the entire round, pulling the piece together.
- Work single crochet decreases across the entire round, pulling the piece together.
Step 6: Create Chains
- Chain 35 stitches to form a separate chain element for decorative or functional uses.
- For additional chains, tighten the stitches and incorporate them into the base shape.
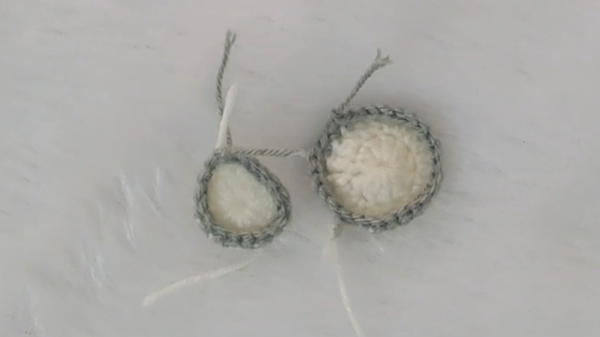
Step 7: Add Double Crochets
For the next section:
- Crochet 10 double crochets into an appropriate stitch space.
- Work the double crochets in consecutive sequences (e.g., Double crochet 1, Double crochet 2).
Add half double crochets for shaping:
- Crochet one half double crochet into the space.
- Follow with a sequence of two half double crochets to adjust the texture.
Step 8: Connect and Finish
- Cut the yarn and secure the loop.
- Use the front loop only technique to neatly connect stitches.
- Weave in loose ends to finish the project neatly.
Tutor’s Suggestions
- Tighten Your Magic Circle: Ensure you pull the tail tightly to prevent the circle from unraveling as you work.
- Maintain Consistency: Keep your stitches uniform to achieve a polished and symmetrical finished product.
- Experiment with Stitches: Feel free to add or subtract rounds, chains, or increases to customize the project’s size and shape.
Uses
This versatile crochet design can be used for:
- Decorations: Perfect for appliqué on bags, clothing, or hats.
- Accessories: Can be turned into pendants, bookmarks, or ornaments.
- Gift Items: Use it as a personalized handmade gift to brighten someone’s day.
Tip for Success
- If you struggle with decreases or shaping, slow down your work and count stitches carefully. Double-check your work to avoid accidentally skipping stitches or introducing gaps.
Conclusion
This tutorial provides an excellent opportunity to practice foundational crochet techniques while experimenting with shaping and texturing. Starting with a magic circle, followed by rounds of single crochets, increases, decreases, and decorative chains, you’ll create a beautiful and versatile project that can be customized to suit your creative needs.


