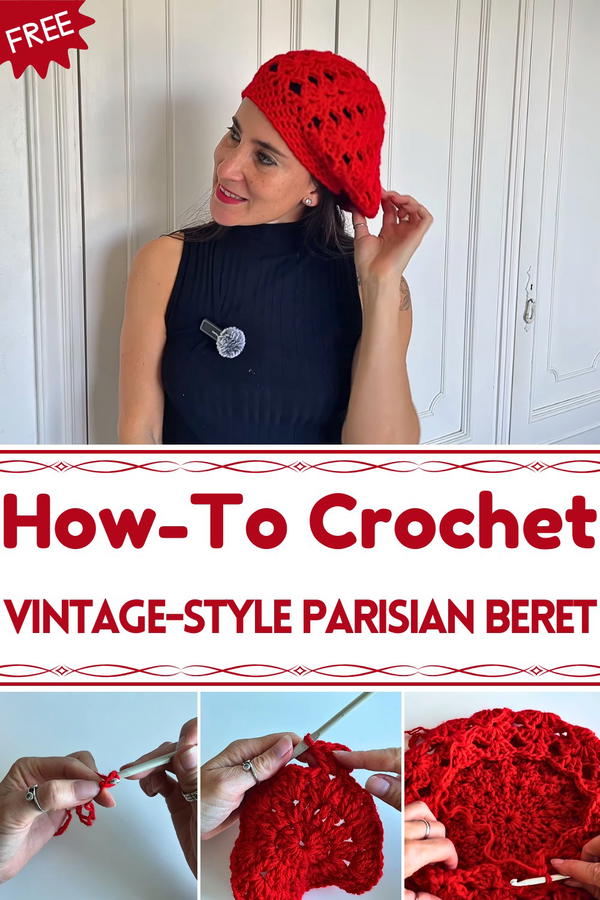
Step into timeless fashion with the Free Crochet Vintage-Style Parisian Beret Pattern, a classy accessory that adds charm and flair to any outfit.
Fashion has long celebrated simplicity that speaks volumes, and few accessories embody that spirit quite like the timeless beret. With soft yarn, graceful shaping, and understated charm, the Free Crochet Vintage-Style Parisian Beret Pattern revives an icon of effortless elegance. Inspired by the charm of Parisian streets and café afternoons, this beret carries a nostalgic appeal that feels both classic and modern. Its gentle slouch and neat finish make it a refined statement piece that complements every outfit.
Delicate Crochet Vintage-Style Parisian Beret for Lovers of Vintage
Beyond its stylish look, this beret offers practicality for cooler seasons. The cozy texture provides warmth without heaviness, allowing comfort during brisk walks or quiet outdoor moments. Lightweight and breathable, it’s suitable for all-day wear while maintaining a sophisticated silhouette.
Perfect for pairing with trench coats, sweaters, or even casual denim, this vintage-style accessory brings subtle glamour to any wardrobe. Each stitch holds the balance of timeless tradition and personal flair, turning an everyday item into a symbol of poise and individuality. With its charm rooted in simplicity, this crochet beret reminds us that elegance often rests in the details, the ones shaped by care, patience, and a touch of Parisian grace.

Materials Needed
- Yarn: 60g of acrylic yarn. You can use single-strand or double-strand yarn depending on thickness preferences.
- Crochet Hook: A 5mm hook. For thinner yarn, the tutorial suggests a 4mm hook.
- Optional: A smaller hook for finishing touches.
Tip: Ensure the thickness of the yarn matches the hook to maintain even stitches.
Step-By-Step Instructions
1. Starting the Circular Base
- Begin with an initial loop and chain four stitches.
- Close the chain with a slip stitch to form a ring.

- Chain two stitches and create 13 double crochets inside the ring (counting the original two chains).
- Close with a slip stitch.
Tutor Suggestion: Adjust the number of double crochets for thinner yarn by adding 1-2 more stitches to maintain proper size.
2. Second Round: Building "V" Stitches
- Chain two (acts as the first double crochet).
- Create a "V" stitch:
- Perform one double crochet, chain one, and another double crochet in the same stitch.
- Repeat this pattern around the ring.
- Close the round with a slip stitch.
Check: The piece should lie flat with evenly spaced V stitches.
3. Third Round: First Increase
- Chain two to start. Work into the center of each V:
- Create an increase by doing two double crochets, one chain, and two more double crochets.
- Repeat in every space around the circle.
- Close with a slip stitch.
Note: The work may start to ripple or wave (a hyperbolic effect), but this will flatten out in subsequent rounds.
4. Fourth and Fifth Rounds: Stabilizing
- Move to the middle space of the previous Vs using slip stitches.
- Repeat the same "V" stitch pattern (two double crochets, one chain, two double crochets) without increasing.
- Complete the next two rounds.
Result: The ripples from the previous round will flatten, forming a plate-like base for the beret.
5. Sixth Round: Wider Plate Shape
- Work an increase by doing three double crochets, one chain, and three double crochets.
- This will widen the diameter and form a broader plate-like shape.
Tip: Test the size by holding the piece over your head. Increase further rounds if needed.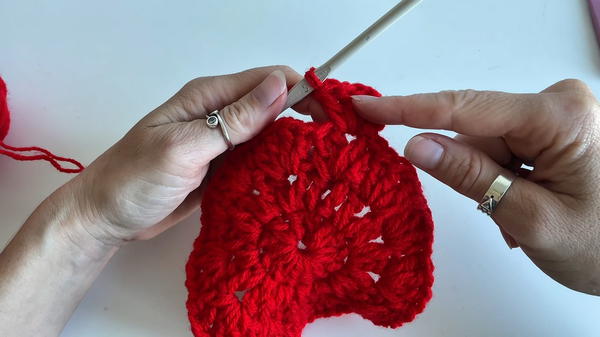
6. Forming the Sides
- Stop increasing and maintain the same stitch pattern (two double crochets, one chain, two double crochets).
- Complete 5-6 rounds to build the sides of the beret, which now grow downward.
Key Point: Ensure the beret doesn’t continue to widen but instead creates a rounded, downward-facing shape.
7. Decreasing for the Crown Fit
- Transition to a pattern of two double crochets, one chain, and one double crochet to reduce the circumference.
- Work 4-6 rounds of these decreases.
Guidelines:
- Ensure the reduction is gradual for a smooth finish.
- Test the beret as you go to ensure a snug but comfortable fit.

8. Final Adjustments for the Band
- Start reducing further by replacing double crochets with half-double crochets in the final rows.
- Decrease every 10 stitches (skipping a stitch) to tighten the fit gently.
- Once the desired fit is reached, work 3-5 rounds of half-double crochet stitches for the beret’s band.
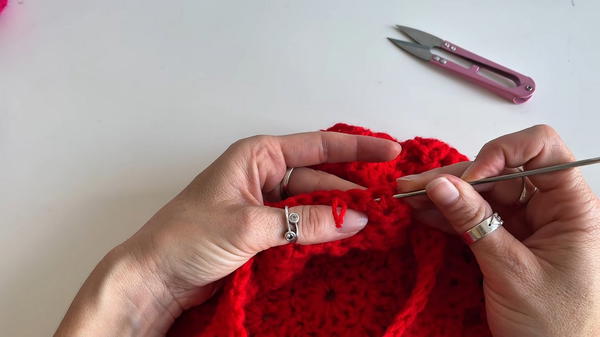
Finishing Steps:
- Securely hide the yarn tail with a smaller hook to ensure durability.
- Make sure all edges are neat and finished.
Special Features
- Iconic Parisian Style: The wide, vintage-inspired brim and elegant "plate" shape capture the essence of classic French fashion.
- Customizable: Easily adjust the size and fit by adding or reducing rounds in the widening or decreasing sections.
- Versatility: Suitable for casual wear or to complement chic outfits.
Level of Difficulty
- Beginner to Intermediate: The tutorial provides clear instructions, making it accessible even for crochet beginners. Some experience with basic stitches (like double crochet and slip stitch) is helpful.
Tutor's Suggestions
- Slow the Video (If Needed): Beginners can reduce the playback speed to follow the stitches more clearly.
- Experiment with Yarn Thickness: Use double-strand for thicker textures or single-strand for a lightweight option.
- Try As You Go: Regularly measure the beret against your head to ensure a proper fit before proceeding to the next sections.
Uses
- A stylish and timeless accessory for any season.
- A thoughtful handmade gift for fashion lovers.
- A project for developing crochet skills while creating something practical.
Bonus Tip
When reducing stitches, make decreases evenly spaced to avoid visible gaps or distortion in the finished piece. Use a stitch marker to keep track of your starting point in rounds.
Conclusion
Crocheting a vintage Parisian beret is the perfect handcrafted project for anyone who loves fashion and crafts. With Saint Bonnet’s detailed guidance, you can create a chic accessory that is both timeless and personal. Whether you wear it proudly or gift it to a loved one, this beret is sure to make a stylish statement.


