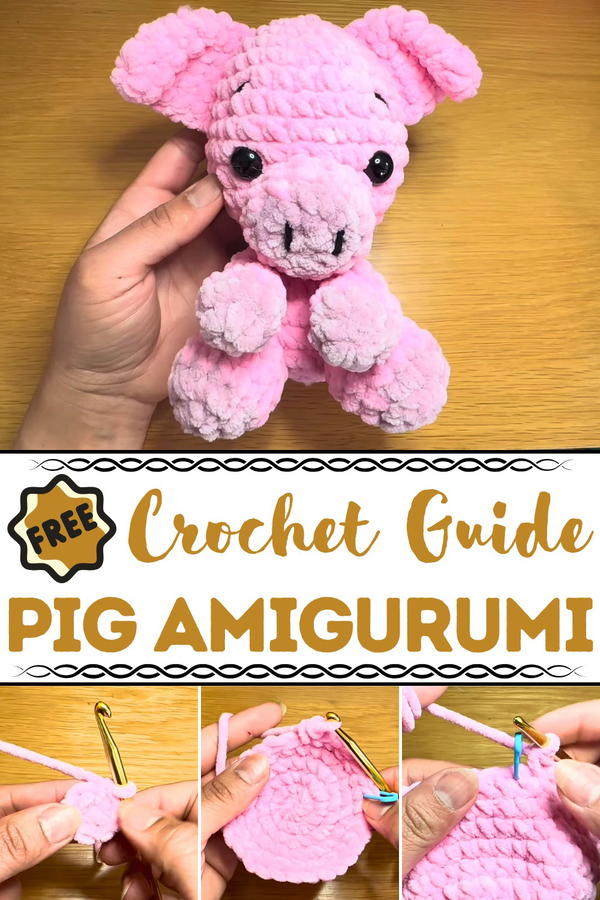
Snuggle up with this tiny, lovable Crochet Pig Amigurumi pattern, perfect for playful gifts or charming décor.
A small, cheerful pig can turn everyday moments into something unexpectedly joyful, inspiring the creation of the crochet pig Amigurumi a charming accessory that brings both function and delight. Compact yet eye-catching, it keeps keys organized while adding a playful touch to bags, backpacks, or zippers. Its soft texture makes it soothing to hold, offering a subtle comfort in busy moments. Every loop of yarn shapes its tiny snout, perky ears, and rounded body, reflecting attention to detail and a whimsical charm that draws smiles.
Mini Crochet Pig Amigurumi Perfect for Keyrings and Gifts
Beyond its appealing appearance, this little pig brings thoughtful benefits: it can reduce stress through tactile engagement, spark conversations, and serve as a delightful keepsake or gift. Its sturdy construction ensures it endures daily use without losing its cheerful form, making it both practical and long-lasting.
Ideal for personal enjoyment or as a token of affection, the crochet pig Amigurumi combines function with playful charm, proving that even the smallest accessory can have a meaningful presence. Its ability to brighten moods while remaining useful demonstrates how handmade items can enrich daily life, offering a touch of warmth, personality, and delight in a way that ordinary keyrings rarely do.
Materials Needed
You will need the following materials to complete the piglet:
- Plush Yarn: Main color for the body and contrasting color for the snout, hands, and feet.
- 5.5 mm Crochet Hook: To work with plush yarn.
- DK Yarn: For fine embroidery details like nostrils and eyebrows.
- 14 mm Safety Eyes: For the piglet’s face.
- Fiberfill Stuffing: To fill the body, head, arms, and legs.
- Darning Needle: For assembly and embroidery.
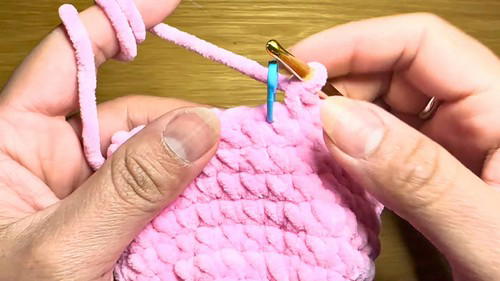
- Stitch Marker: To track the start of each round.
- Scissors: For cutting yarn.
Special Features of the Pig
- Realistic Details: Includes tiny eyebrows, a curly tail, a round snout, and soft plush arms and legs, adding character.
- Versatile Use: Makes a great handmade toy, nursery decoration, or thoughtful gift for any occasion.
- Soft Plush Texture: The pig is made using plush yarn, giving it a cuddly and huggable feel.
- Customizable Design: You can choose colors for the body and contrasting details (hands, feet, nose).
Level of Difficulty
The project is rated as accessible for intermediate beginners. While the individual stitches used (e.g., single crochet, increase, decrease, slip stitch) are fairly simple, assembling the piglet and adding details like the snout and tail require some precision. It’s a great way to level up your crochet skills while creating something adorable.
Step-by-Step Instructions
1. Make the Head
- Foundation: Start with a slip knot using the main yarn color and chain 2. Alternatively, you can use the magic ring method.
- First Round: Work 6 single crochets into the second chain from the hook. Pull the tail to close the gap.

- Increase Rounds: Follow these steps to shape the head:
- Round 2: Work an increase in every stitch (12 stitches).
- Round 3: Single crochet, then an increase. Repeat (18 stitches).
- Round 4: Two single crochets, then an increase. Repeat (24 stitches).
- Round 5: Three single crochets, then an increase. Repeat (30 stitches).

- Rounds 6–11: Single crochet in every stitch (30 stitches per round).
- Add Safety Eyes: Insert 14 mm safety eyes between rounds 6–7, leaving six stitches between the eyes. Secure them with backings and stuff the head with fiberfill.
- Decrease Rounds: Gradually decrease the stitch count to close the head. Once at 9 stitches, continue building the body.
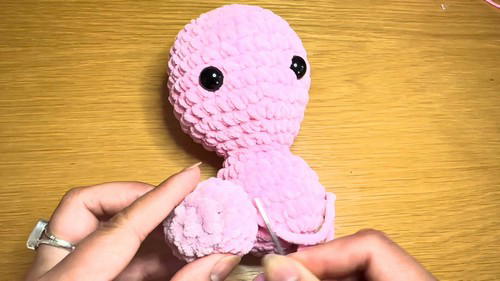
2. Make the Body
- Attach the Body to the Head: Start directly from where the head ends. Begin with 9 increases to shape the body (18 stitches).
- Build the Shape:
- Work two single crochets, then an increase. Repeat (24 stitches).
- Work 3 rounds of single crochet (24 stitches per round).
- Decrease Rounds: Follow the decreases to shape the base of the piglet’s body (18, then 12 stitches). Stuff the body firmly, especially around the neck, to ensure stability. Finish by closing the gap.
3. Make the Legs and Arms
Legs
- Use contrasting yarn to make the foot base: 6 single crochets in a chain, then increase to 12.
- Change to the main body color and work 3 rounds of single crochets.
- Finish by decreasing to close the gap. Make two legs and attach them symmetrically.
Arms
- Follow the same process as the legs, but with a smaller shape (final count: 9 stitches at the base).
- Attach arms slightly diagonally between the neck and legs.
4. Make the Ears
- Crochet 8 stitches in a chain. Complete 3 rounds of single crochet with slight increases to shape the ears.
- Position the ears symmetrically above the eyes and secure with a darning needle. Adjust shape as needed.
5. Make the Snout
- Create a small circular base (6 single crochets, increase to 12), then crochet the edges to give it depth.
- Use DK yarn to embroider nostrils.
- Attach the snout directly under the eyes, ensuring it aligns with the face.
6. Make the Tail
- Chain 5 and create 5 double crochets in each chain stitch to form a curly tail.
- Attach the tail to the center of the piglet's back, securing firmly.
7. Add Final Features
- Eyebrows: Use DK yarn to embroider small eyebrows above the eyes.
- Nostrils: Add two simple lines to the snout for the nostrils.
- Adjust Shape: Distribute stuffing evenly with your hands to perfect the piglet’s form.
Tutor’s Suggestions and Tips
- Stitch Marker: Use it to keep track of rounds, especially when decreasing.
- Secure Details: Always double-knot attachments like arms, legs, and eyes to ensure durability.
- Stuff Evenly: Be careful not to overstuff, especially around the neck, to maintain shape.
- Custom Colors: Personalize your piglet with unique color schemes that resonate with you or the recipient.
Uses of the Piglet
- A thoughtful gift for children or friends.
- A charming addition to nursery decor.
- A collectible handmade item for crochet enthusiasts.
Pro Tip
When switching yarn colors, always start at the back or bottom of the piece to ensure the transition line remains hidden. This maintains a clean, seamless appearance!
Conclusion
This crochet pig amigurumi is a delightful project that combines simplicity with irresistible charm. By carefully following the step-by-step instructions, you’ll end up with a lovable, huggable piglet full of character and detail. Whether you’re making it as a personal keepsake or a special gift, it’s a project that will bring smiles all around.


