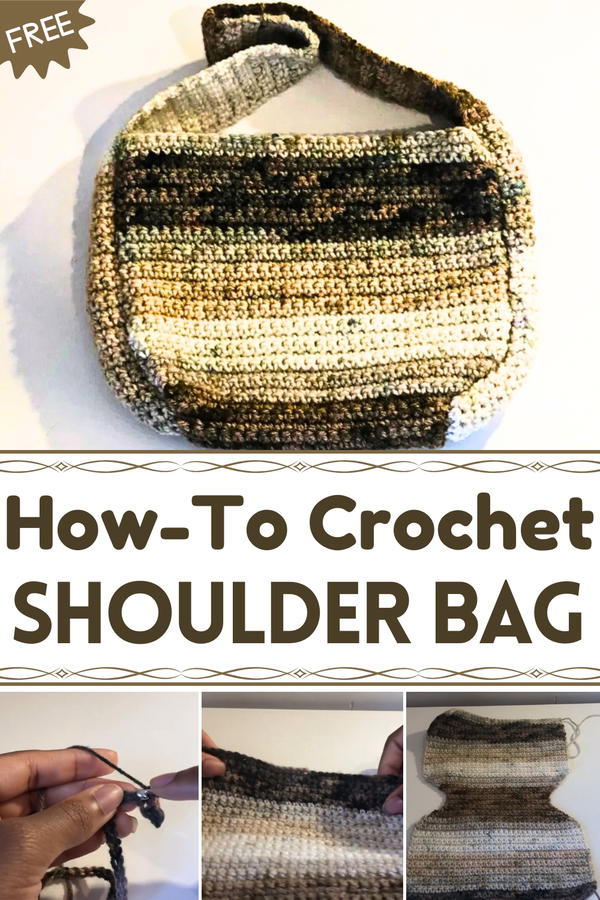
Carry everyday charm with the Free Crochet Shoulder Bag Pattern that offers style, practicality, and a touch of handmade flair for any occasion.
Morning errands or weekend strolls often call for something simple yet stylish to carry your essentials. From casual outings to relaxed afternoons, the Free Crochet Shoulder Bag Pattern offers just the right balance of practicality and charm. Its roomy shape and sturdy structure make it perfect for holding daily necessities like your phone, wallet, or a light book, while still maintaining a graceful silhouette.
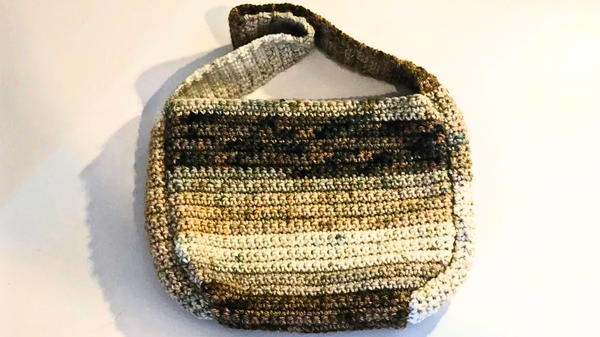
Minimalist Crochet Shoulder Bag That Defines Simplicity
The textured stitches add visual appeal, turning an ordinary accessory into a timeless piece that complements any outfit effortlessly. Whether paired with jeans and a tee or a flowing dress, it brings a touch of handmade warmth to every look. This shoulder bag also makes a thoughtful, sustainable project by allowing you to use leftover yarn or eco-friendly fibers, encouraging mindful creativity.
Lightweight yet durable, it’s ideal for everyday use, comfortable to carry, stylish to wear, and endlessly versatile. With the Free Crochet Shoulder Bag Pattern, you’ll enjoy both fashion and function stitched together beautifully. Each loop of yarn contributes to a piece that’s not just useful but meaningful, offering a perfect companion for those who appreciate artistry in the details and comfort in the everyday.
Materials Needed
- Crochet Hook: A 5 mm hook.
- Yarn: Choose yarn suitable for the hook size.
- Scissors: To cut the yarn.
- Measuring Tape: To check measurements of the project.
- Optional Tools: Stitch markers, bobby pins, or a tapestry needle for weaving in ends neatly.
Step-by-Step Instructions
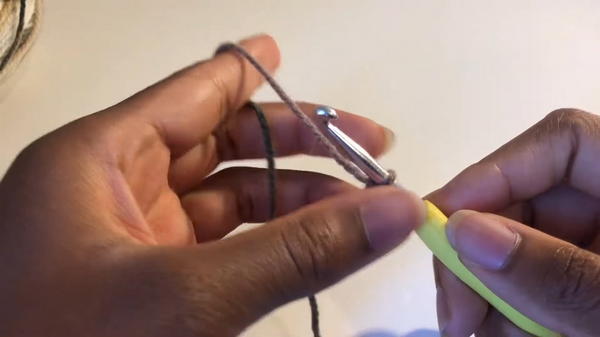
1: Start with the Slip Knot and Chains
- Create a slip knot by wrapping the yarn around your index finger. Insert your hook under the yarn, grab it, and pull up a loop. Tighten the knot.
- If needed, watch the tutor’s dedicated video on crochet stitches for additional help.
- If needed, watch the tutor’s dedicated video on crochet stitches for additional help.
- Chain 36 stitches to create the foundation of the bag.
- Add 1 turning chain after the 36 chains to prepare for the next row.
2: Row of Single Crochet
- Skip 1 chain, then insert the hook into the next chain.
- Yarn over and pull up a loop; you’ll have two loops on the hook.
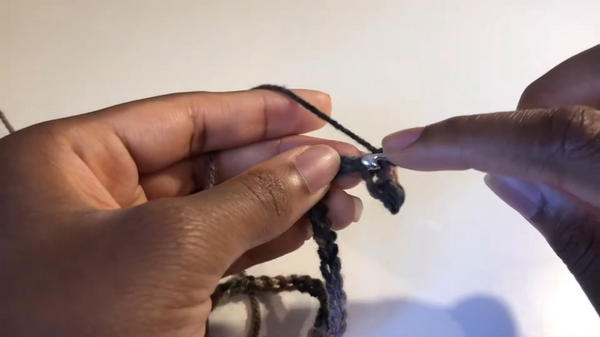
- Yarn over again and pull through both loops to complete a single crochet (SC) stitch.
- Continue single crochet across the row until the end.
- Chain 1 and turn your work.
- Tip: If your work curls slightly, don’t worry—this is perfectly normal.
3: Repeat Rows of Single Crochet
- Continue working rows of single crochet until the fabric measures 4.5 inches long.
4: Decrease Row
- To decrease, insert your hook into the first stitch and pull up a loop, then insert your hook in the second stitch and pull up another loop (there will be three loops on your hook).
- Yarn over and pull through all three loops.
- Continue normal single crochet for the rest of the row.
- At the end of the row, add another decrease by repeating the process.
- Chain 1 and turn your work; repeat this decrease process for 1 inch.
5: Normal Single Crochet Row
- After 1 inch of decreases, work normal single crochet without increases or decreases for 1 inch.
- At this stage, the fabric should measure a total of 6.5 inches.
6: Increase Row
- Insert the hook into the first stitch, complete a single crochet, and then place another single crochet in the same stitch.
- Work normal single crochet across the row and repeat the increase in the last stitch.
- Chain 1, turn your work, and repeat the increase process for 1.5 inches.
- The fabric should now measure 8 inches.
7: Final Rows of Single Crochet
- Work normal single crochet rows for another 4.5 inches.
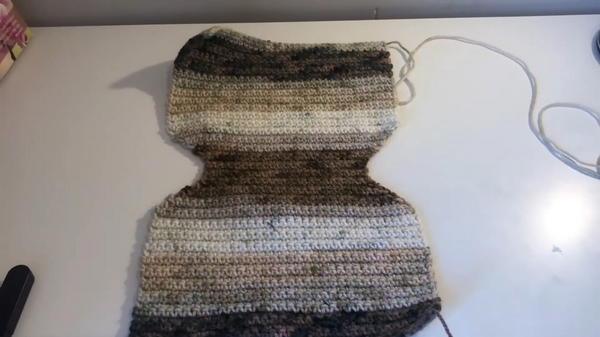
- The completed piece should now measure 12 inches.
8: Finish the Bag Body
- Chain 2 and leave a long tail before cutting the yarn.
9: Create the Strap
- Make a slip knot and chain 9 stitches for the strap width.
- Work rows of single crochet for the strap, adjusting the length as desired. The video demonstrates a strap length of 28 inches, but longer straps can be made for different preferences.
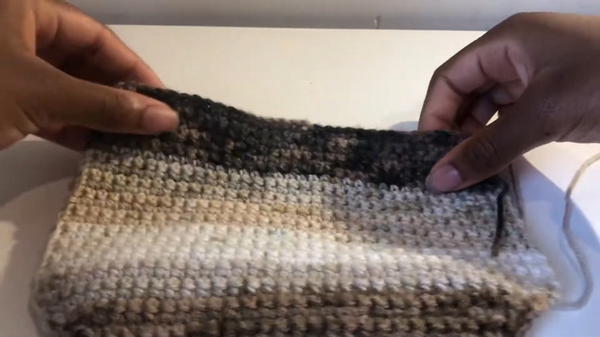
10: Attach the Strap to the Bag Body
- Position the strap where the 1 inch of normal single crochet is located on the bag body.
- Use bobby pins or stitch markers to ensure alignment.
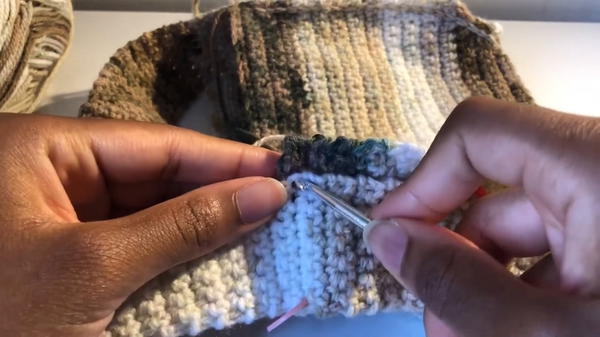
- Attach the strap using slip stitches:
- Insert your hook from one side of the bag to the other, pull up a loop, and slip stitch tightly to secure.
- Add a final slip stitch before creating a chain 1 and cutting the yarn.
- Repeat the attachment process for the other side of the bag.
11: Weaving in Ends
- Use a tapestry needle, or if unavailable, use the smaller hook to weave in ends neatly.
Optional Finishes
- You can add a button, zipper, or other fasteners for a more secure and decorative finish.
- The tutor leaves the bag as is without additional fasteners.
Special Features
- Customizable Design: You can adjust the size, strap length, and finishes to suit your preferences.
- Beginner-Friendly: The bag uses basic stitches (single crochet, slip stitch, increases, and decreases).
- Functional: The bag is suitable for holding small essentials, making it a practical accessory.
Tutor's Suggestions
- Ensure alignment by using tools like bobby pins or stitch markers when attaching the strap.
- Use a tapestry needle for weaving in ends if available.
- The strap and bag size can be adjusted depending on the desired look and functionality.
Level of Difficulty
- Beginner-Friendly: The project uses simple stitches and follows a clear step-by-step process, suitable for those new to crochet.
Tip
Make sure your strap is securely attached to the bag by double-checking alignment before adding slip stitches. This ensures the strap won’t loosen or warp over time.
Conclusion
This tutorial walks you through making a structured yet stylish crochet bag, integrating foundational stitches and techniques. It combines functionality with simplicity, making it an excellent beginner project or a creative handmade gift idea.


