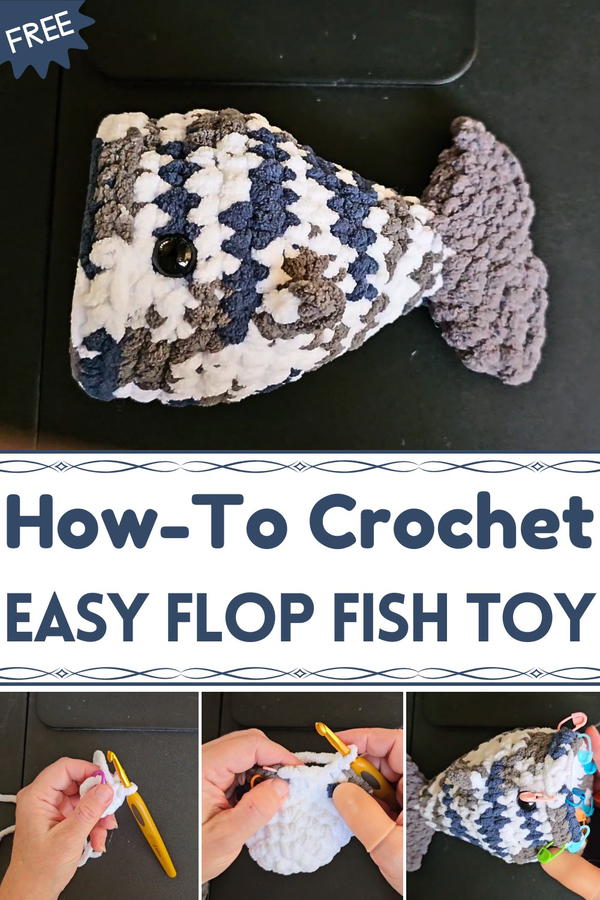
Bring cheerful fun with this Free Crochet Flop Fish Toy Pattern making an adorable, handmade toy perfect for kids, gifts, or playful décor accents
A playful ripple ran through the corner of a sunlit nursery, where small hands reached eagerly for soft, colorful companions that could move, wiggle, and spark. Among these treasures, a floppy little fish brought laughter and comfort, combining tactile delight with cheerful charm. The Free Crochet Flop Fish Toy pattern transforms simple yarn into this whimsical companion, perfect for children to cuddle or hold. Lightweight and soft, the fish is safe for tiny hands, while its flexible body encourages interaction and sensory exploration.
Fun Sized Crochet Flop Fish Toy Pattern That Brings Joy
Its vibrant colors and gentle textures stimulate curiosity, making it an engaging addition to playtime routines or quiet moments of comfort. Beyond play, the toy serves as a thoughtful gift, a decorative accent for nurseries, or a small keepsake that carries personal meaning. Durable stitching ensures long-lasting use, while easy-to-clean materials provide practicality for everyday life.
Handmade with care, each flop fish can be personalized in size, color, and detailing, allowing for a unique touch that reflects creativity and attention. The Free Crochet Flop Fish Toy pattern offers a balance of fun, functionality, and charm, turning yarn into a playful companion that delights, comforts, and encourages joyful interaction for children of all ages.
Materials Required
- Yarn: Bernat Blanket Yarn (or an equivalent bulky yarn). A contrasting color for the tail and white for the mouth.
- Hook Size: 5mm or 6mm hook (6mm is suggested for visibility in the tutorial).
- Filling: A small amount of fiberfill for stuffing.
- Safety Eyes: Use plastic eyes for older children, or stitch yarn eyes for younger children to avoid choking hazards.
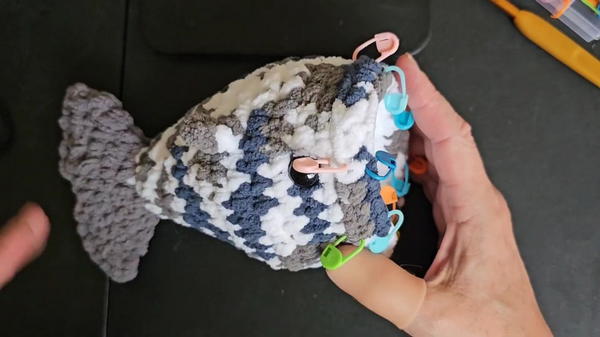
- Stitch Markers: These are crucial for marking specific stitches, especially back-loop-only rows.
Key Features of the Crochet Flip Fish
- One-piece Design: The body, fins, and tail are all crocheted as one unit, ensuring durability and avoiding the need for additional assembly.
- Versatile Uses: It serves as a sensory fidget toy for children or as a soft, playful companion.
- Customization Options: The fish can be made in various sizes by adjusting the yarn type or hook size.
- Material Flexibility: Works well with blanket yarn, giving it a plush and cozy texture.
Special Tutor Suggestions
- Avoid Tight Crochet: Tight stitches may interfere with the fish's flipping motion.
- Safety First: If this toy is intended for younger children, avoid safety eyes and instead sew on yarn or felt eyes.
- Use Stitch Markers: Back-loop-only stitches are key to the fish’s structure, and marking these rows will save time and effort.
- Stuffing Caution: Be mindful not to overstuff, especially near the fish’s mouth, to maintain the flipping mechanism.
Step-by-Step Instructions
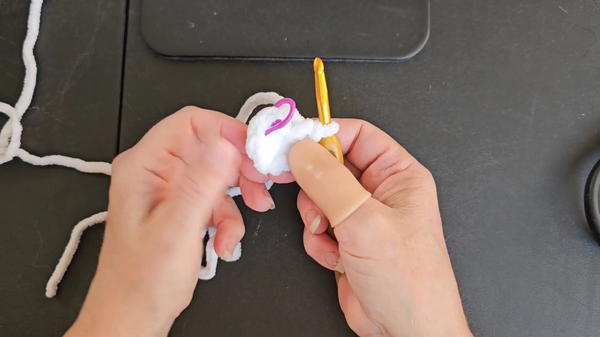
1. Starting with the Mouth
- Begin with a magic circle (or chain 3 and join to form a ring).
- Crochet 8 single crochets (SC) into the ring.
- In the next row, increase in each stitch (2 SCs per stitch) to reach 16 stitches.
2. Building the Body
- Alternate between rows of single crochets and increases to expand the body. For instance:
- Next round: 1 SC, increase, repeat.
- Followed by: 2 SCs, increase, repeat.
- Continue to shape by adding rows of SC and increases, reaching a total of about 30-34 stitches.
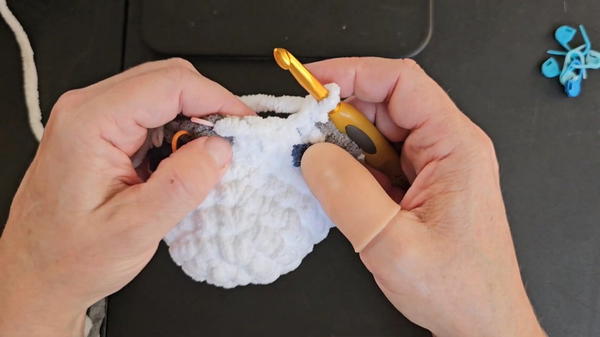
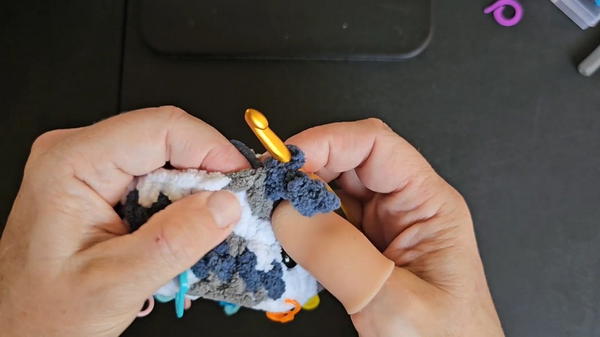
3. Adding the Signature Flipping Feature
- Crochet two rounds in back-loop-only stitches (these create the foldable structure of the fish).
- Be sure to mark the unworked front loops for later—they will ensure correct shaping of the mouth and body.
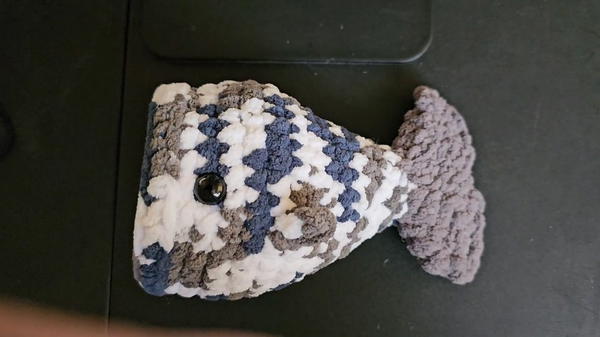
4. Eye Placement
- With the body flattened, find an even position for safety or sewn-on eyes. For symmetry, place them approximately 2-3 rows above the edge of the mouth.
5. Crocheting the Fins
- Create fins at designated points on the body:
- SC, chain 3, slip stitch in the second chain, return to the base stitch and slip stitch.
- Repeat the process for the second fin.
6. Decreasing for the Tail
- Gradually decrease to shape the fish towards the tail:
- Rounds: 15 SCs, decrease, then 14 SCs, decrease, and so on.
- Stop stuffing just before the tail section, ensuring no filling shifts into the tail.
7. Forming the Tail
- Change yarn to a contrasting color (if desired).
- Build up the tail by adding rows of increases followed by matching stitch-for-stitch rounds.
- Flatten the tail and join the two edges with slip stitches.
Difficulty Level
The Flip Fish pattern is best suited for early intermediate crocheters, as it involves techniques like:
- Magic circles
- Back-loop-only stitches
- Proper stuffing for maintaining structure
- Shaping details like fins and tails
Final Touches
- Weave in all ends and remove stitch markers.
- Ensure the mouth is properly shaped into its foldable structure.
Uses of the Flip Fish
- For Children: A fun flipping toy ideal for sensory play and long car rides.
- As a Gift: Customizable with colors and sizes, making it a unique handmade gift.
- Decorative Piece: A whimsical addition to any playroom or nursery.
Tip for Success
Use stitch markers generously to track pivotal sections, especially the back-loop-only rows. This will make assembling and shaping the mouth much easier. Missteps in this part might affect the flipping motion.
Conclusion
The Crochet Flip Fish is more than a simple pattern; it’s a delightful project that offers creative satisfaction while making a functional and fun toy. With its unique construction and versatility, it’s perfect for crochet enthusiasts looking to blend artistry with practicality.