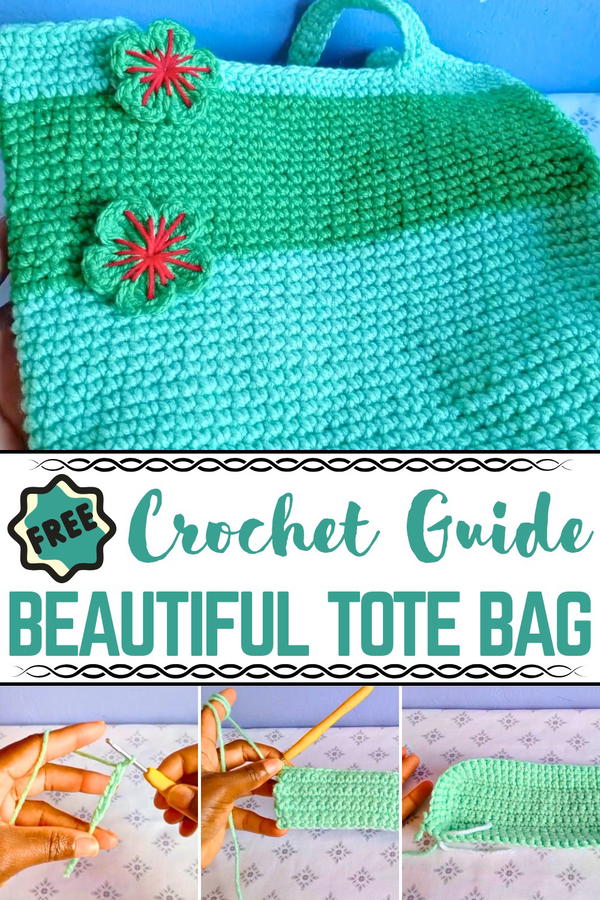
Showcase charm and sustainability with a handmade crochet tote bag pattern, blending elegance, practicality, and personalized beauty in every stitch.
Have you ever wondered how a single accessory can seamlessly combine practicality, beauty, and sustainability? A crochet tote bag offers all this and more in a timeless piece that blends functionality with artistic flair. Beyond being a simple means to carry your belongings, it tells a story of craftsmanship and care, with its delicate stitching and textured charm exuding elegance.
Crochet Tote Bag As Versatile As You Are
Whether it holds fresh produce from the market, beach essentials, or daily errands, it adapts effortlessly to your lifestyle. The lightweight yet durable structure ensures reliability, while its spacious interior keeps your necessities organized. Its versatility shines as it complements a casual outfit or adds a rustic touch to a polished look, making it suitable for countless occasions.
With every detail, from the choice of yarn to customizable colors and patterns, this tote bag reflects individuality, ensuring that no two are ever truly alike. It’s not just about what you carry, but how you carry it, with a sense of style, sustainability, and mindfulness. Ditch disposable bags for something that lasts and showcases creativity and purpose in every loop. A crochet tote bag doesn’t just serve a purpose; it becomes a treasure, blending art and utility in the most graceful and meaningful way.
Introduction
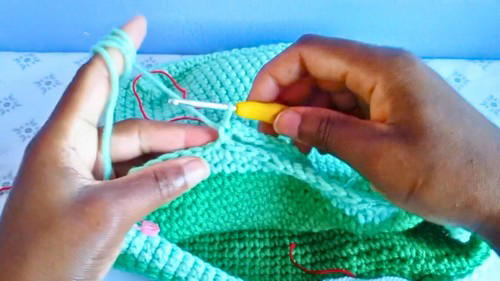
The tutorial shared in this video focuses on crocheting a beautiful bag that combines simplicity with functionality. Whether you are a beginner seeking to improve your skills or an experienced crocheter exploring new designs, this project offers an engaging learning experience. From creating the base to adding straps, the step-by-step instructions in the tutorial cover every detail with clarity. The bag is versatile—it can be used as an everyday accessory or customized for specific occasions. This tutorial emphasizes single crochet stitches and slip stitches, ensuring ease of execution while maintaining a polished finish.
Materials
The materials required for this project include:
- Yarn (choose your preferred type and color)
- Crochet hook suitable for your yarn size
- Stitch markers to track the progress of key points
- Darning needle for tidying up loose ends
- Scissors for trimming excess yarn
Step-by-Step Instructions
1. Creating the Base
- Begin: Make a slip knot and chain 30. This chain should measure 8 inches.
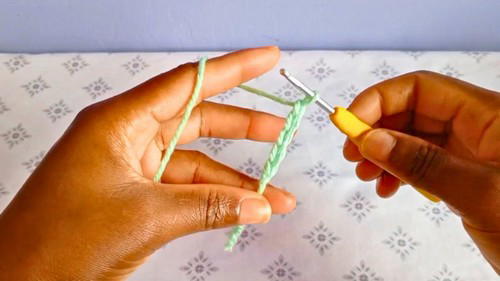
- Row 1: Skip the first chain, and then create single crochets across each chain space until the end of the row.
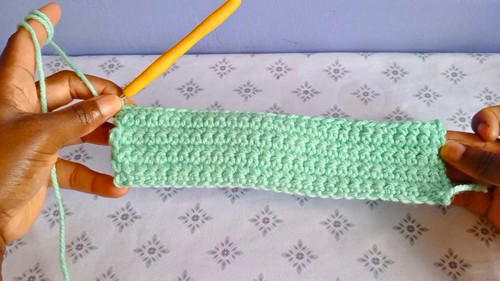
- Subsequent Rows (2-8): Chain one, turn your work, and repeat single crochet stitches across each row. Work upward until you have eight rows completed.
- Slip Stitches: Chain one and mark this stitch with a stitch marker. Perform seven slip stitches across as described in the video. Repeat this for both sides of the base.
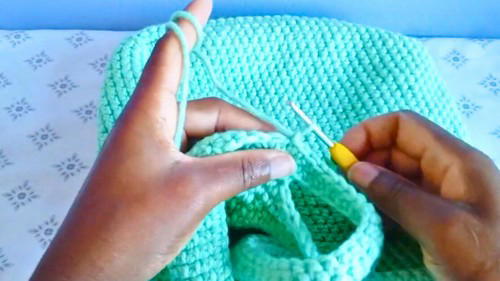
2. Forming the Height
- Starting the Height: Remove the stitch marker from the base's edge. Make a single crochet in the marked stitch and continue making single crochets across each row.
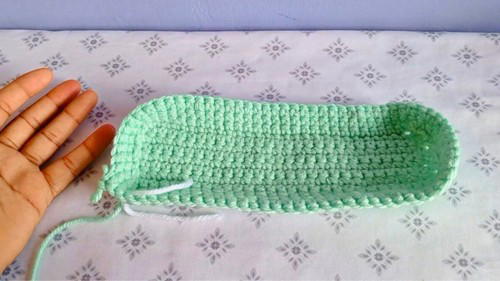
- Continue Upwards: Repeat single crochet rows until you reach row 31. At each corner, continue crocheting in a seamless, circular manner.
3. Adding the Straps
- Mark the Strap Points: From the edge, mark 12 stitches on both sides of the bag, leaving 16 stitches between the marked points.
- Row 32: Begin by removing the stitch marker at the first strap point. Chain 40 for the strap and skip the 16 stitches marked for the strap area. Attach the chain to the next marked stitch using a single crochet.
- Second Strap: Repeat the same process on the opposite side, chaining 40 stitches and skipping 16 stitches.
4. Strengthen the Straps
- Row 33: Single crochet across each strap, making 40 single crochets to reinforce the durability of the bag's straps.
- Row 34: Finish the design by repeating single crochet stitches along the edges and straps to add consistency and strength.
5. Finishing Touches
- Slip stitch to finish the work. Chain one, cut the yarn, and tighten it.
- Using the darning needle, hide any loose tails on the wrong side of the bag and trim excess yarn for neatness.
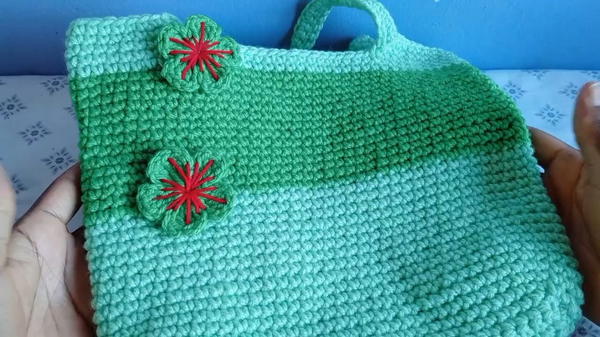
- Turn the bag inside-out, ensuring the right side is facing outward, revealing the completed design.
Special Features
- Elegant and Minimal Design: The bag is durable and has a clean aesthetic.
- Customizable Straps: You can adjust the strap length as per preference by increasing or decreasing the chains.
- Effortless Craftsmanship: By leveraging simple stitches such as single crochet and slip stitches, the project is accessible for beginners.
Difficulty Level
The project is beginner-friendly, primarily focusing on easy stitches like single crochet and slip stitches. While it may require patience to complete the bag, the detailed instructions make it manageable even for novice crocheters.
Tutor’s Suggestions
- Follow stitch counts and markings closely to ensure symmetry.
- Use stitch markers to keep track of corners, rows, and strap points, making the process more organized.
- Adjust the strap length to your liking for a more personalized bag.
Uses and Benefits
This bag can be used as:
- An everyday accessory for holding essentials.
- A handmade gift for friends and family.
- A creative way to practice crochet techniques while producing a functional item.
Tip
When adding straps, ensure you stretch them slightly while stitching to prevent loose or uneven connections. This enhances the strap’s durability and consistency.
Conclusion
This pattern provides an easy-to-follow process for crocheting a practical and stylish bag. From creating a sturdy base to crocheting functional straps, the pattern ensures no detail is overlooked. Whether you use the bag as a casual carryall or customize it with embellishments, it stands out as a rewarding project. With simple techniques, thoughtful materials, and a creative approach, this crochet bag pattern is both enjoyable and valuable for all crocheters.


