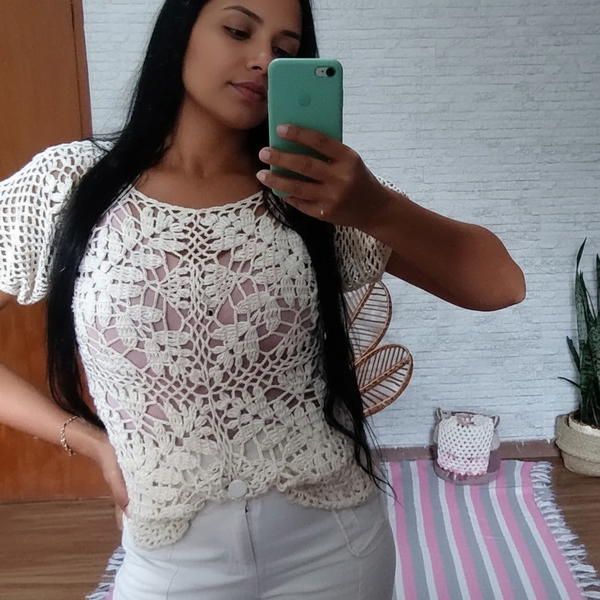
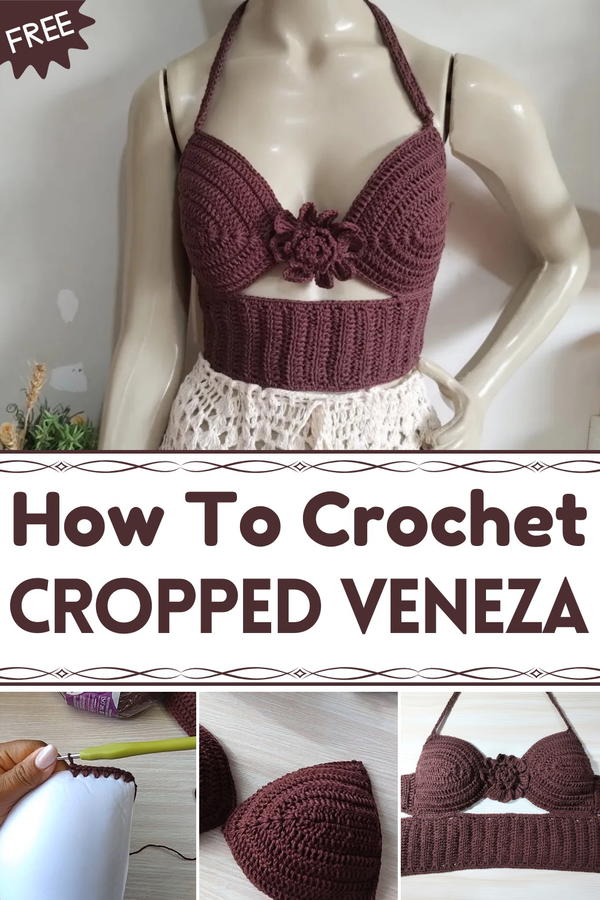
Welcome a stylish touch with a trendy cropped top featuring openwork designs and a comfy fit, perfect to boost your look with effortless charm and flair.
Step into fashion with a short and sweet top that feels light and cool to wear. This piece has pretty open patterns that let air flow, making it great for warm weather days. The shape is neat and fits just right, showing a bit of the waist for a fresh, modern look. Soft yarn creates a comfy feeling on your skin, so it’s easy to keep on all day.
Airy Crochet Cropped Top Pattern That Feels Light
Whether heading out to a casual meet or a fun day with friends, this top adds a stylish and breezy vibe. Its delicate stitches look like little waves, giving a unique and lovely texture. Pair it with jeans or skirts to complete a cool outfit that’s both attractive and comfortable. This top makes simple style feel special and fresh anytime you wear it.
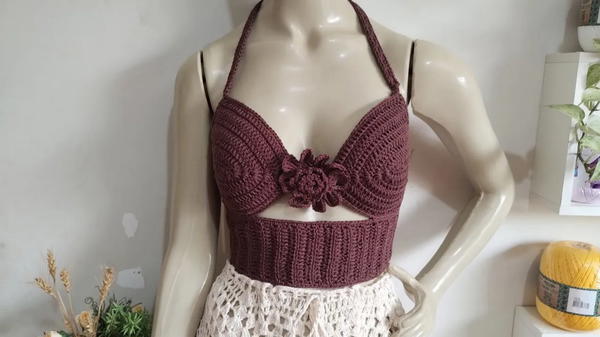
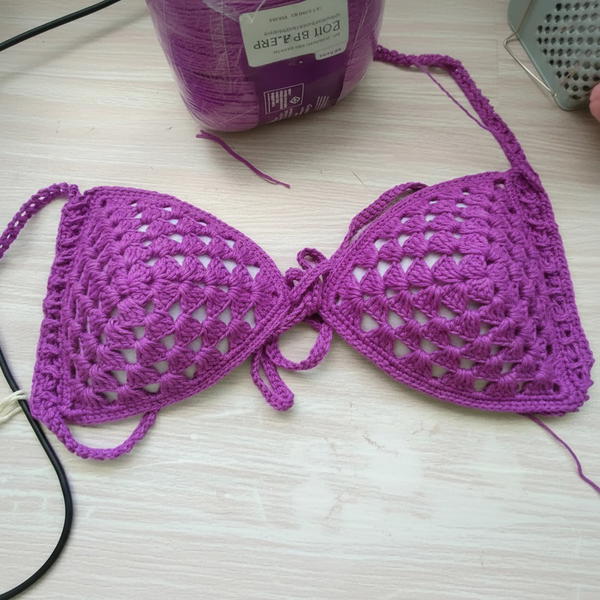
Crochet Tobacco Bra Top with Rolled Flower
Materials & Preparation Recap
- Baroque #4 yarn (tobacco color)
- Charme (thinner yarn same color, optional for ease when passing through bra holes)
- Bra padding (triangle-shaped, size L)
- Crochet hooks: #3 and #2 recommended
- Needle to pierce bra padding holes
- Tapestry needle & fabric glue
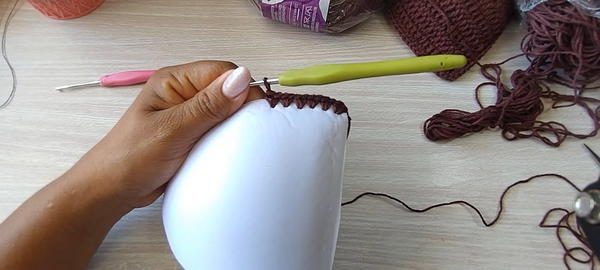
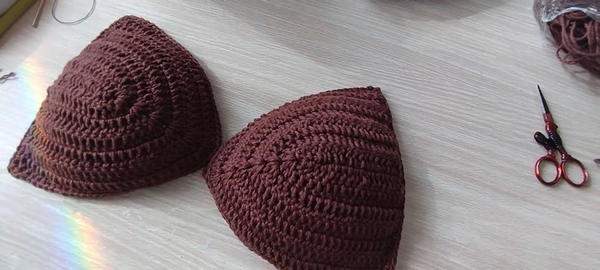
PART 1: Crochet Base on Bra Padding (Foundation)
Step 1: Prepare Bra Cup
- Pierce holes around edge of bra padding ~0.5 cm apart using needle.
- Attach yarn at corner hole.
Step 2: Crochet Foundation Round (working along bra padding holes)
- Insert hook/yarn through first corner hole.
- Work 2–3 slip stitches or single crochet stitches in each corner hole to prevent curling.
- Work 2 stitch per hole along the edge to create a stable base.
- Continue crocheting along holes around entire bra cup, putting 2 stitches in each hole.
- End round when you reach starting point.
PART 2: Bra Cup Crochet Rows (Build the cup shape)
Row 1:
- Chain 20.
- Starting in 4th chain from hook, dc (double crochet) in each stitch to end (17 dc).
- At end stitch: dc 2 times, ch 1, then dc 2 times in same last stitch (corner increase).
- Turn.
Row 2:
- Ch 3 (counts as dc 1).
- Dc in each stitch across to the last stitch.
- At last stitch do dc 2 times, ch 1, dc 2 times (corner increase).
- Turn.
Row 3 to ~Row 7 (or until matching bra cup height):
- Repeat Row 2.
- Make sure corner increases (2dc, ch 1, 2dc) are kept at edges to maintain shaping.
- Adjust ch 2 instead of ch 3 at row turns if stitches are loose to avoid bottom edge flare.
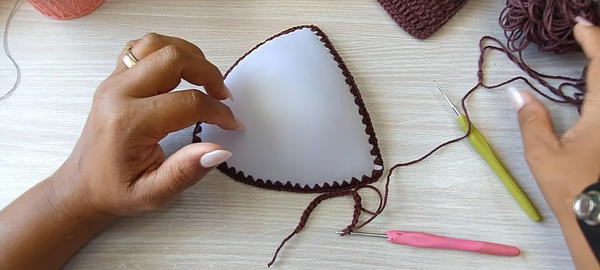
Finishing Cup Rows:
- When cup height and width match bra padding, fasten off.
PART 3: Attaching Crochet to Bra (Join Rounds)
Round 1 (Around cup edge):
- Join yarn at bottom corner of crochet cup.
- SC evenly around crochet edge and through bra cup holes.
- Use tapestry needle for sewing yarn in spots hard to crochet.
- Aim for flat join without puckering; use sc or sl st.
- Fasten off.
PART 4: Back Strap (Band)
Foundation Chain:
- Ch 20 (or desired length matching body measurement minus lace allowance).
Row 1:
- In 2nd ch from hook, work sc or hdc (half double crochet) across.
- (This will be the width of the back band, about 5 cm).
Row 2 – 5 (or until reaching desired width):
- Ch 1 (or 2 if hdc).
- Turn.
- Work sc or hdc across.
Row 6 (Create loops for lacing):
- (Ch 3, skip 2 stitches, sl st in next stitch) repeat across.
Fasten off and weave ends.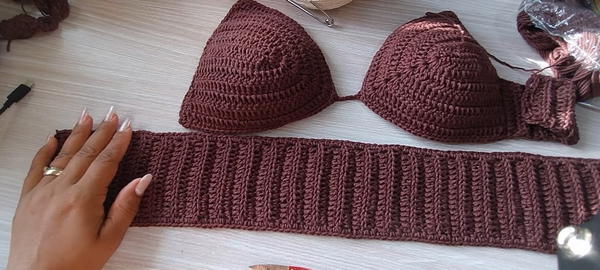
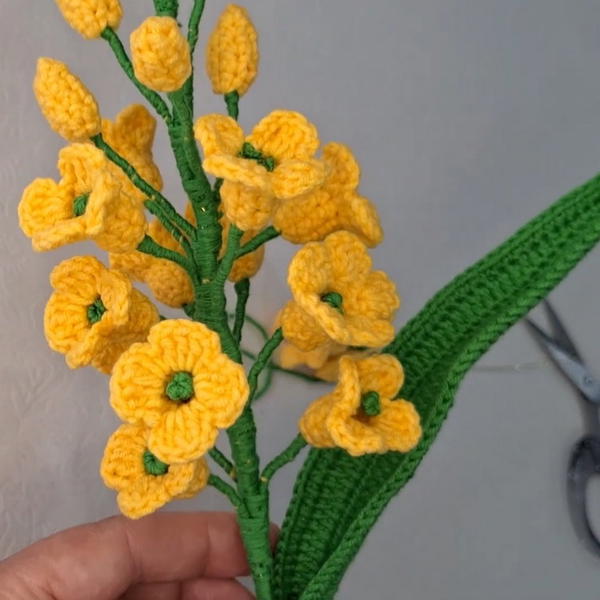
PART 5: Rolled Flower Appliqué
Row 1:
- Ch 54.
- Starting 6th ch from hook, (dc, ch 1, skip next ch), repeat across to last ch.
- You will create loops with dc separated by chains.
Row 2: (Build center ring petals)
- Ch 3 (counts as dc).
- Work dc in each ch-1 space: 7 dc spaced evenly around loop ring (7 dc total).
- Sl st to join at beginning of this round.
Row 3: (Build petal bases)
- Ch 3, dc in same stitch.
- Ch 6, sl st in same stitch to form petals.
- Repeat this across the round to create 8-10 petals.
- End with sl st to join.
Row 4: (Petal detailing)
- For each petal:
- (TR, TR, TR = triple treble crochet) all in same stitch to shape petals.
- Ch 5.
- Sl st in same stitch to close petal.
- Repeat for all petals.

PART 6: Assemble & Finish
- Roll the flower starting from one edge, forming a spiral shape.
- Sew rolled flower edges together carefully with tapestry needle.
- Attach the flower securely to the center of the bra cup:
- Option 1: Sew with matching yarn without pulling tight.
- Option 2: Use fabric glue sparingly, apply on petals and center, allow to dry 12-24 hours.
Tutor’s Suggestions
- Always check gauge with the bra cup and try on frequently.
- For firmer cups, use Baroque #4 yarn; for softer cups, use thinner yarn and adjust hook.
- Adjust chain turning length to control stitch height and fabric shape.
- For comfortable tension, avoid too tight stitches if you are prone to shoulder pain.
- Optional: Add more decorative loops or strap width based on your style.
Uses
- Crop top for summer and casual looks.
- Beachwear/bikini with added crochet elegance.
- Personalizable for different sizes and colors.
- Great for layering or standalone statement piece.
Quick Tip
When working around shaped items like bra cups, use stitch markers or pins to keep your stitch count in check and maintain shape symmetry.
Conclusion
This tobacco crochet bra top combines functional shaping and detailed accents for a flattering and stylish garment. With careful row-by-row detail, corner reinforcements, and customizable straps, it is adaptable to your size and style. The rolled flower adds the perfect feminine finish.