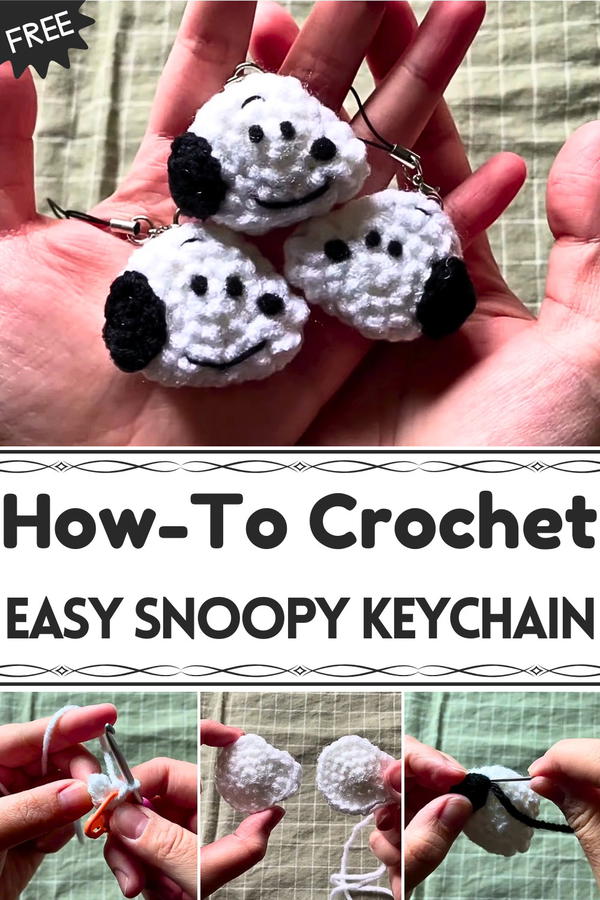
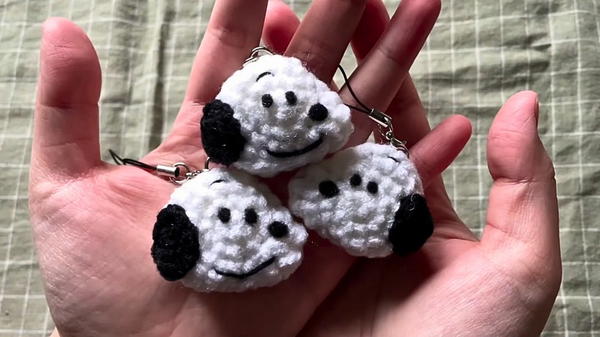
Delight in this adorable Free Crochet Snoopy Keychain Pattern, perfect for adding charm to keys, bags, or gifting a tiny handmade treasure.
In a cozy corner of a bustling home, someone picked up yarn and hook, inspired by the timeless charm of a beloved cartoon dog. As the first stitches formed, a tiny, endearing keychain began to take shape, an homage to the iconic Snoopy. This delightful creation not only brings joy to its maker but also becomes a cherished accessory, adding a touch of whimsy to bags, zippers, or keys.
How to Crochet Snoopy Keychain Pattern in Simple Steps
Beyond the joy of making a miniature Snoopy, this project offers benefits that go beyond the finished product. It enhances fine motor skills, encourages creativity, and provides a satisfying sense of accomplishment. Perfect as a personal keepsake or a thoughtful gift, this keychain serves as a charming reminder of the simple pleasures found in handmade treasures.
Materials Needed
- White yarn (minimal amount needed).
- Black yarn (for the ear).
- Stuffing material (to fill the head).
- Craft felt (for the nose and eyes).
- Super glue or fabric glue (to attach felt pieces).
- Sharp scissors (for precise felt cutting).
- A darning needle (to sew and hide tails).
- Stitch markers (to track crochet rounds).
- Keychain strap and ring (optional) for turning the Snoopy into a keychain.
Special Features
This project is distinguished by the following:
- Two crochet techniques: Both the "Magic Ring" and "Chain Two" methods are explained to start the project.
- Customization: You can opt for one-sided or double-sided Snoopy keychains, depending on your preference.
- Versatility: The crafting process allows for personalization using yarn colors, felt expressions (smile or neutral), and optional accessories.
- Compact and beginner-friendly: Minimal resources are needed for this crochet project, making it accessible and portable.
Level of Difficulty
This project is beginner-friendly, especially if you are familiar with basic crochet stitches (single crochet, slip stitch, double crochet, etc.). The detailed explanation of fundamental techniques, like the Magic Ring and Chain methods, enables even those new to crochet to understand and follow. However, attention to detail (especially while sewing, stuffing, and cutting felt pieces) is key for producing a polished result.
Tutor's Suggestions
The creator provides specific recommendations to guide the process:
- Count stitches carefully: Use a stitch marker to ensure alignment and consistency in each round.
- Take your time with felt: Patience while cutting felt will guarantee proper proportions for Snoopy’s features.
- Glue techniques: Avoid excess glue and use tools like cardstock and a toothpick for precise application.
- Don’t overstuff: Light stuffing is ideal to maintain the intended shape of Snoopy’s head.
Uses of the Finished Snoopy Keychain
- Personal accessories: Attach the Snoopy keychain to backpacks, purses, or keys.
- Gifts: A handmade Snoopy keychain makes for a charming gift for friends, family, or fans of Peanuts characters.
- Decor: Display it as a cute hanging ornament for desks, mirrors, or other spaces.
Step-by-Step Process
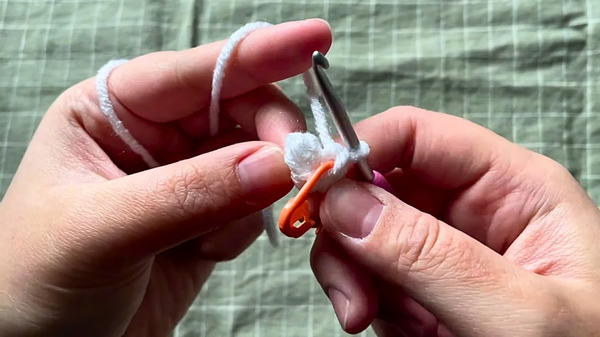
1. Crochet the Head
Option 1: Chain Two Method
- Create a slip knot by forming a loop, pulling the yarn through, and tightening it.
- Chain two stitches.
- Work five single crochets into the second chain from the hook.
Option 2: Magic Ring Method
- Wrap the yarn around your fingers, crossing to create an “X.”
- Hook the yarn loop closest to your fingertip and form a closed circle.
- Crochet five single stitches into the magic ring.
Rounds for Head Shaping:
- Round 2: One increase per stitch; total of 10 stitches.
- Round 3: Alternate between single crochet and increase; total of 15 stitches.
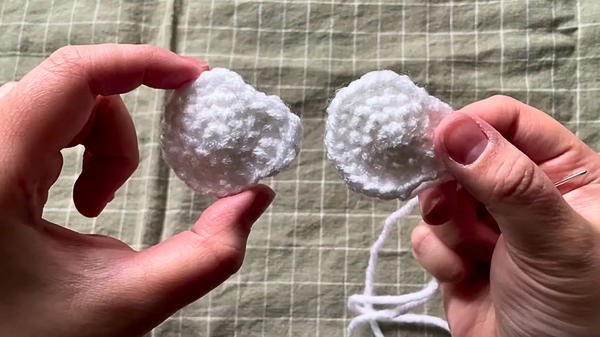
- Round 4: Form the snout shape using slip stitches, double crochets, triple crochets, and reverse order of stitches. Continue shaping the head with increases, single crochets, and half-double crochets until reaching 21 stitches.
- Make two identical head pieces (one with a shorter tail, one with a longer tail).
2. Crochet the Ear
- Begin with a slip knot and chain four stitches.
- Start with a slip stitch in the second chain, followed by a single crochet.
- Work three single crochets into the last chain to curve the shape.
- Complete the ear by crocheting into the opposite loops, ending with another slip stitch.
- Weave and secure the yarn tail, shaping the ear like a teardrop.
3. Sew the Head Together
- Position the two head pieces together, aligning stitches.
- Use the whip stitch method:
- Insert the needle through matching loops on both edges and pull tight.
- Continue stitching around, leaving a small opening for stuffing.
- Add stuffing evenly (do not overfill).
- Close the remaining opening using the whip stitch and hide the yarn ends.
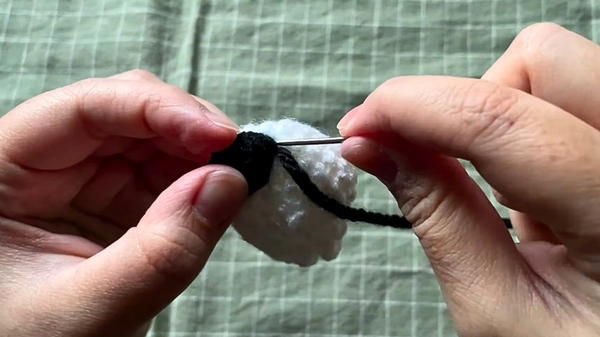
4. Attach the Ear
- Sew the ear onto one side of Snoopy’s head: Position it next to the snout and anchor it using stitches around the fourth round.
- Hide and trim excess yarn to finish the attachment.
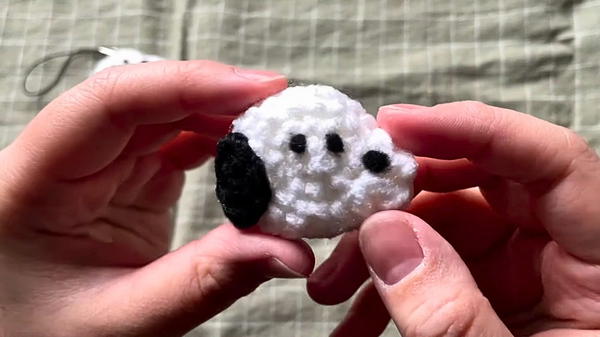
5. Design the Face
- Cut felt shapes:
- Eyes: Small rounded rectangles from black felt.
- Nose: Round and proportional, positioned on Snoopy’s bump.
- Glue felt pieces: Use fabric glue carefully, applying small amounts underneath each felt piece.
- Embroider details:
- Use split yarn or thin threads for eyebrows and mouth.
- Position eyebrows one stitch above the eyes; place the mouth in between the third and fourth rounds, right under the nose.
6. Add Keychain (Optional)
- Attach a metal ring to the top of Snoopy’s head.
- Add a small strap or hook to turn it into a functional keychain.
Conclusion
Creating the Snoopy keychain is a fun and engaging crochet project that you can personalize to your liking. The final product is an adorable keepsake or gift that blends creativity, detail, and crafting skill. By following the step-by-step instructions, you can successfully bring Snoopy to life in keychain form.
Tip for Success
If you are new to crochet, familiarize yourself with basic techniques (e.g., single crochet, slip stitch) before starting the project. Additionally, consider practicing the Magic Ring method separately to avoid frustration during the process.


