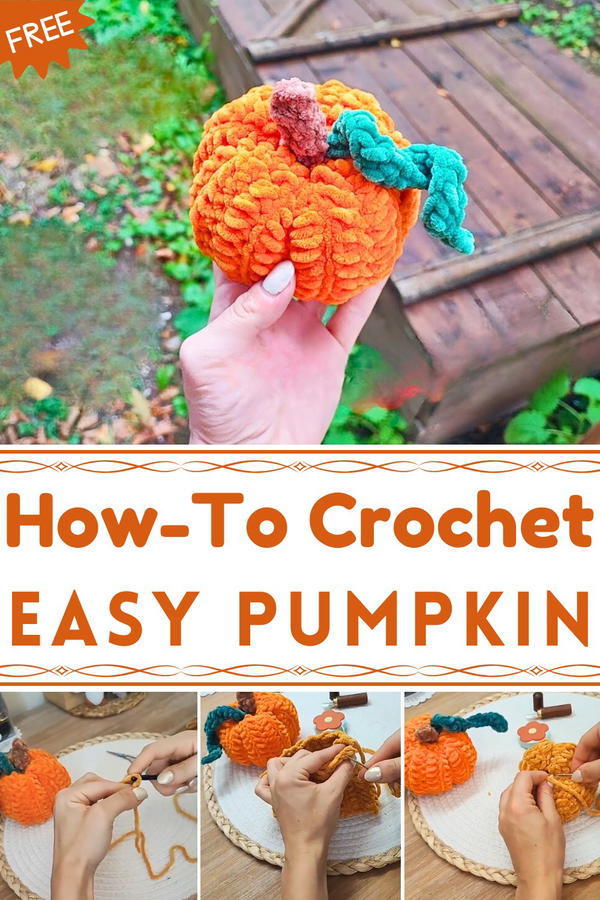
Embrace autumn charm with the Free Crochet Pumpkin Pattern that brings cozy warmth, vibrant color, and a delightful handmade touch to seasonal décor.
As autumn's crisp air ushers in the season, a burst of color often accompanies the changing leaves. One such vibrant addition is the crochet pumpkin, a delightful creation that brings warmth and charm to any setting. Whether adorning a mantel, enhancing a fall centerpiece, or serving as a thoughtful handmade gift, these pumpkins infuse spaces with seasonal cheer.
How a Simple Crochet Pumpkin Adds Colorful Charm
The benefits extend beyond the crocheting process; the finished pumpkins serve as enduring symbols of the season, offering lasting beauty and a sense of accomplishment. In essence, the crochet pumpkin is more than just a decorative item; it's a celebration of the season's bounty and a testament to the joy of handmade creations. Its simplicity, combined with the potential for personalized flair, makes it a timeless addition to any autumnal display.
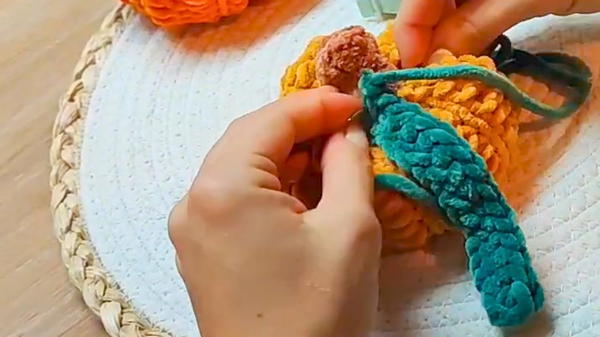
The process begins by crocheting a simple, rounded shape using basic stitches, gradually increasing to form a bulbous body.
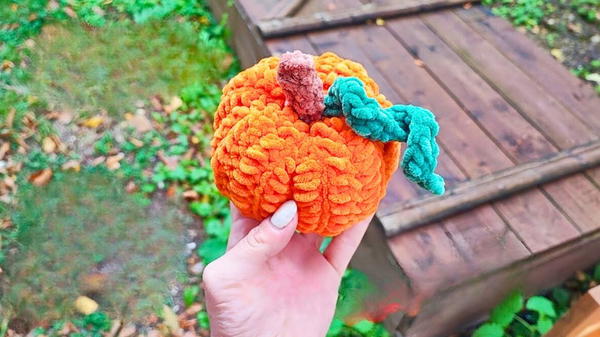
Once the desired size is achieved, the piece is cinched at the top and bottom, creating the classic pumpkin silhouette.
A touch of rustic elegance is added with a stem, often crafted from twine or yarn, and sometimes complemented by a leaf motif for added detail.

This project is accessible to crocheters of all skill levels. The straightforward techniques involved make it an excellent choice for beginners, while the opportunity for customization through color choices and embellishments, keeps it engaging for seasoned crocheters.
Special Features & Level of Difficulty
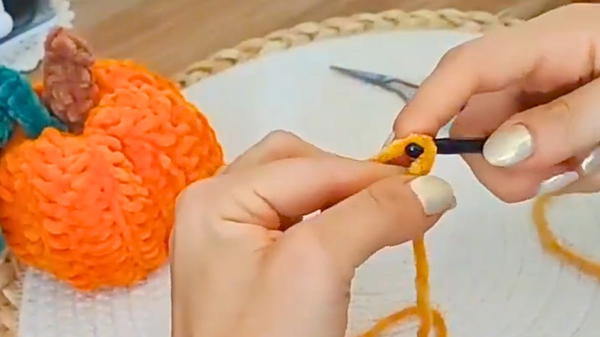
Level of Difficulty: Easy (Facile). The project primarily uses one stitch (Half Double Crochet) and involves straightforward rectangular construction before assembly.
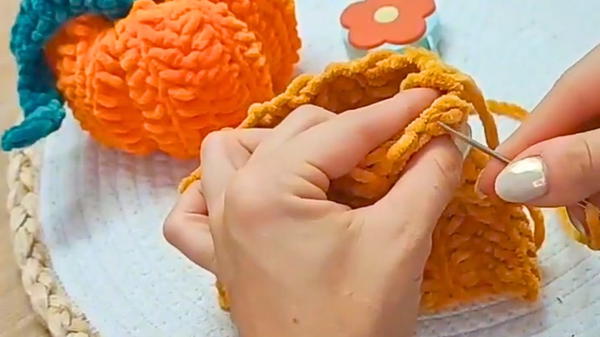
Special Features: The technique uses a back loop only (BLO) method on the main body to create a ribbed texture, which mimics the natural ridges of a pumpkin. The shaping process uses tensioned thread lines to create the signature vertical "stripes" of the pumpkin.
Uses: The finished item is ideal for:
Autumnal home decoration.
Halloween decor.
Tiered tray styling.
Materials and Tools
Yarn (Laine): Chunky or bulky yarn is recommended, suitable for a 6 mm or 8 mm hook. The tutor uses a fluffy, chenille-style yarn.
Hook (Crochet): A 6 mm crochet hook is used for the main body.
Tools:
Scissors.
Tapestry needle (large eye for thick yarn).
Stuffing (fiberfill) for shaping the pumpkin
Tutor's Key Suggestions
Sizing Customization: The pattern is easily adjustable. You can use a much larger hook (e.g., 10 mm) with thick yarn for a large pumpkin or a tiny hook with fine yarn for a mini, keychain-sized version.
Yarn Choice: If working with chenille yarn, be gentle when pulling the gathering threads, as this type of yarn can break easily under too much tension.
Step-by-Step Construction Details
This tutorial offers a step-by-step tutorial for crocheting an adorable, small pumpkin, designed for easy decoration for the autumn season or Halloween.
Conclusion
The is a rewarding project that transforms a basic crocheted rectangle into a beautifully textured piece of fall decor. By mastering the Half Double Crochet in the back loop and the simple shaping technique, you can quickly create a collection of these decorative pumpkins in various sizes and colors.
Final Tip
When forming the ridges in the final shaping stage, use your fingers to gently indent the space between each new ridge as you pull the thread tight [08:10]. This tactile guidance ensures the thread lands in the right position and helps maximize the definition of the pumpkin's distinctive segments.


