Skip to primary navigation
Skip to main content
Skip to primary sidebar
Home
Crafts
DIY Projects
DIY Gym Equipment plans
Crochet
Sewing
DIY Vehicle Projects
DIY For Animal
search...
menu icon
search icon
search...
DIY Projects
Crafts
Crochet
Sewing
DIY For Animal
DIY Gym Equipment plans
DIY Vehicle Projects
Gardening
×
Search Results for: Crocheting bowl holder
Unique Crochet Shark Bowl Cozy Pattern That Stands Out
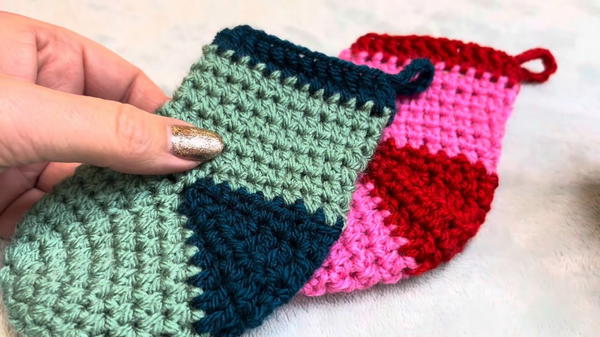
Crochet Mini Christmas Stocking Step-by-Step Pattern
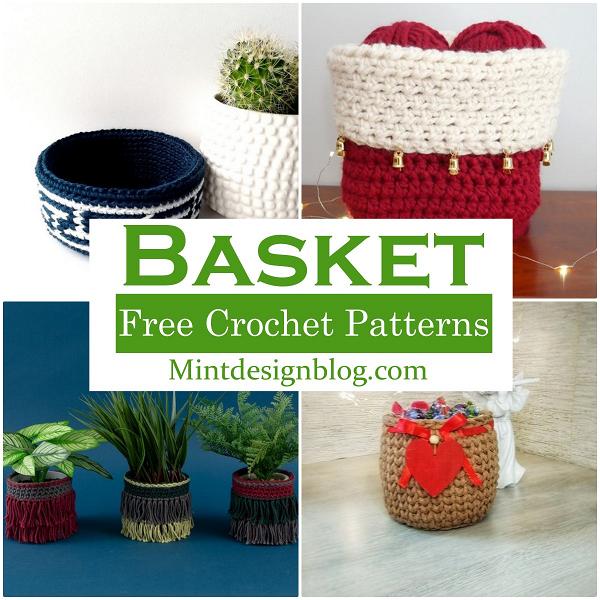
32 Easy Crochet Basket Patterns For Beginners
25 Mug Rug Crochet Patterns For Beginners
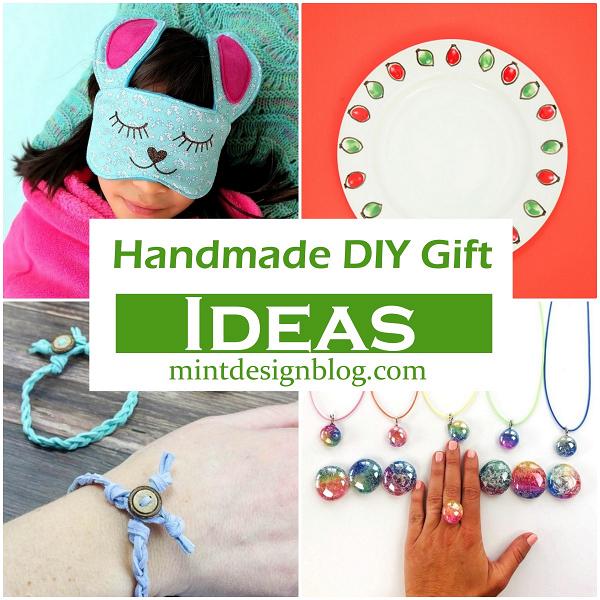
15 Handmade DIY Gift Ideas For Every Occasion