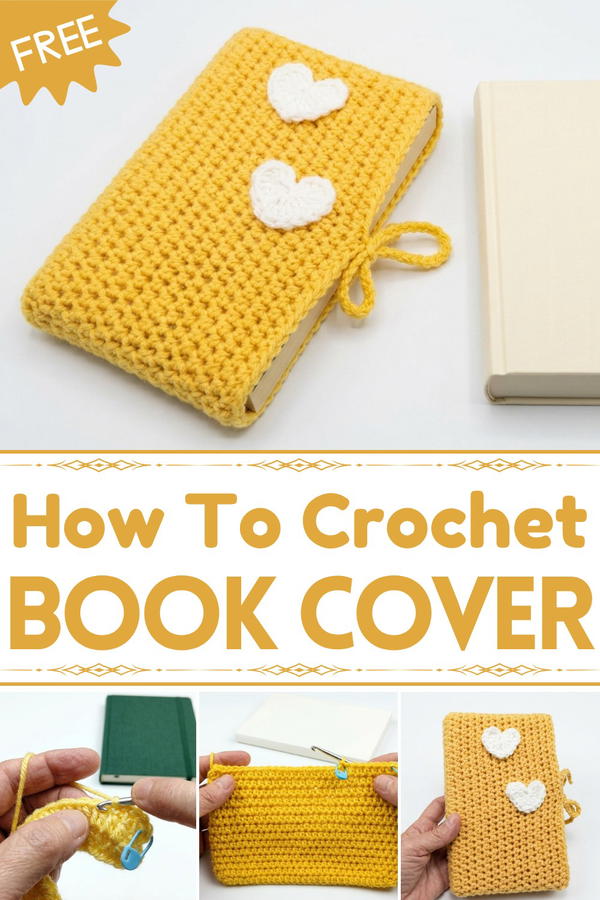
Protect your books in style with this free crochet book cover pattern that’s simple to follow and perfect for adding a cozy and unique touch to your collection.
A book becomes even more delightful when dressed in a charming crochet cover that feels soft to the touch and stands out with its personalized look. Using a free crochet book cover pattern, it's easy to accessorize and protect your favorite book, journal, or notebook with something truly unique. Its beauty lies in the detailed stitches that form a durable yet visually pleasing cover, perfect for enhancing your reading moments.
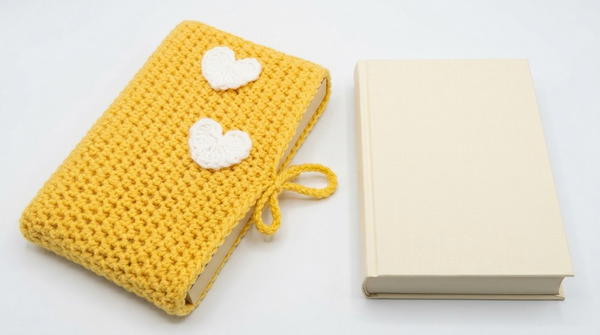
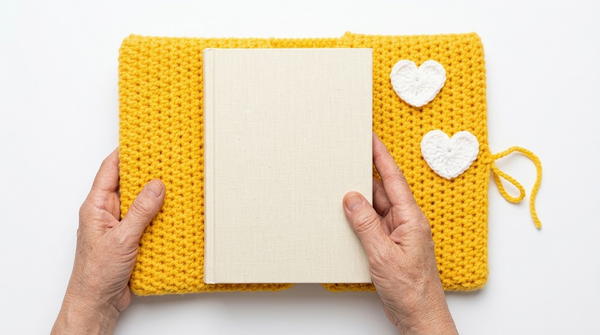
Easy Crochet Book Cover Protector from Free Pattern
With options to choose different colors and textures, this cover turns any book into an eye-catching accessory while keeping it safe from wear and tear. Whether you love working on quick projects or need something thoughtful to gift, this crochet book cover blends style with functionality effortlessly. Designed with simplicity in mind, anyone can follow the process and enjoy the outcome. A crochet book cover not only keeps books safe but also makes them special, creating a meaningful bond between practicality and elegance.
Crochet Custom Book Cover Pattern
Skill Level
Beginner
Finished Size
Custom-fit to the individual book. Ensure measurements are precise to achieve a snug but flexible fit.
Materials
Yarn:
- 100% Acrylic Yarn, DK weight recommended.
- Cotton yarn is also suitable.
Crochet Hook:
- 4.5 mm crochet hook (or adjust hook size based on yarn thickness).
Stitch Markers:
- 4 markers for placement of cords and dividing halves.
Scissors
Blunt Wool Needle:
- For sewing loose ends and attaching cords.
Suggestions for Pattern Customization
- Yarn Choices: Choose colorful or patterned yarn for a fun appearance.
- Lengthened Cords: Add extra chain stitches to make longer ties for decorative bows.
- Embellishments: Decorate the finished cover with hearts, flowers, or embroidery.
Pattern Instructions
Step 1: Measuring and Foundation Chain
Measure the Height of Your Book:
- Place your book vertically on the table and measure its height.
Slip Knot and Chain:
- Create a slip knot, and using the 4.5 mm crochet hook, work a chain until it matches the height of your book.
- Note: Chain length varies depending on the book; for precise results, align the chain against the book as you crochet.
Step 2: Base Row
Row 1 (Foundation Row):
- Skip the first chain. Insert hook into the second chain stitch and work half double crochet (hdc):
- Yarn over, insert hook into stitch, pull up a loop (3 loops on hook), yarn over, pull through all loops.
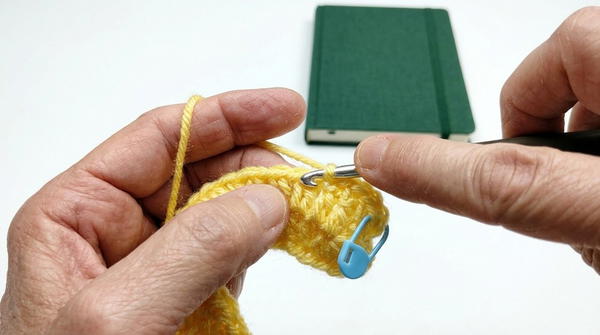
- Mark the first stitch: Place a stitch marker in the first hdc for clarity.
- Skip the first chain. Insert hook into the second chain stitch and work half double crochet (hdc):
Continue Row:
- Work 1 hdc into every chain until the second-to-last chain stitch.
Corner Turn:
- For the last chain stitch, work 6 hdc stitches into the same stitch.
- This creates a rounded corner for the base of the book cover.
- This creates a rounded corner for the base of the book cover.
- For the last chain stitch, work 6 hdc stitches into the same stitch.
Step 3: Reverse Row
Reverse Direction:
- After completing the corner turn, lightly rotate your work.
- Insert hook into the back loop of each chain stitch along the opposite side.
- Work 1 hdc into each back loop until reaching the second-to-last chain stitch.
Second Corner Turn:
- For the last chain stitch, work 6 hdc stitches into the same stitch.
Join Round:
- Connect the last stitch to the marked first stitch with a slip stitch.
- Chain 1 and finish the base.
Step 4: Remaining Rounds
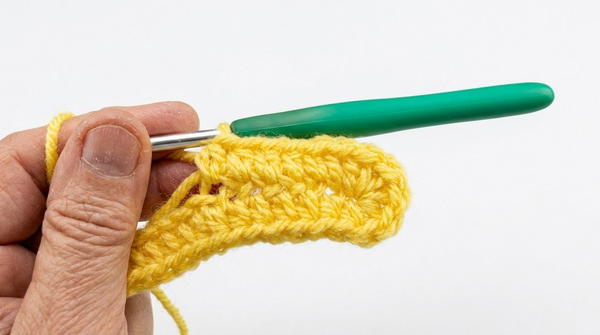
Round 2:
- Begin with 1 chain stitch, then work 1 hdc into each stitch around.
- No increases will be made from this round onward.
- Skip slip stitches and chain stitches at the end of the round to prevent extra stitches.
Mark the First Stitch:
- Use the stitch marker to denote the first hdc of the round.
Repeat Rounds:
- Continue working hdc into each stitch around, ensuring that every round begins with a chain and ends with a slip stitch into the first hdc.
Height:
- Work rounds until the full width of your book is reached.
- Work rounds until the full width of your book is reached.
Step 5: Finishing Edge
Final Chain Stitch:
- At the end of the last round, work 1 chain stitch to secure the edge.
Cut Yarn:
- Pull yarn through the stitch and tighten.
Weaving Ends:
- Use a wool needle to weave in loose ends by threading them through a few stitches inside the cover.
- Trim excess yarn neatly.

Step 6: Divide and Attach Cords
Divide Cover:
- Fold the cover neatly in half to identify the top and bottom sides.
- Use 4 stitch markers to mark the top, bottom, and center points on both sides.
Attach Cord:
- At the center stitch marker, attach yarn and secure it with a knot.
- Insert your hook into the same stitch and pull up the yarn.
Chain for Cord:
- Work 30 chain stitches (or more for longer ties).
- Cut yarn, pull the end through the last chain, and tighten.
Repeat on Reverse Side:
- Attach and create a second cord on the opposite side of the cover.
- Attach and create a second cord on the opposite side of the cover.
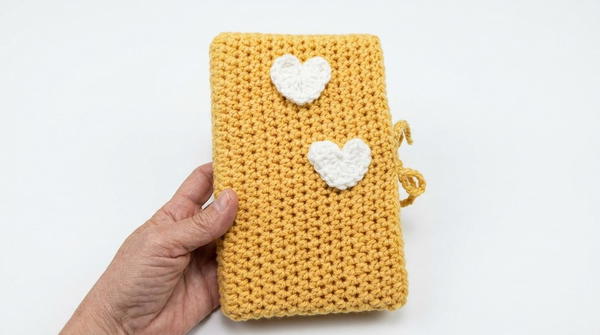
Step 7: Optional Decoration
Crochet Hearts or Flowers:
- Use complementary yarn to create embellishments, such as hearts or flowers.
- Attach them securely to the cover using a wool needle.
Link to Heart Tutorial:
- Refer to your YouTube channel tutorial for heart-making instructions (add link).
- Refer to your YouTube channel tutorial for heart-making instructions (add link).
Tips for Crochet Success
- Stitch Management: Use markers to avoid skipping or miscounting stitches.
- Prevent Stretching: Keep your tension consistent to ensure a snug fit over the book.
- Custom Sizing: Adjust chain and round counts for thicker or thinner books.
Conclusion
This custom-fit book cover is a quick and versatile project that protects your books while showcasing your creativity. Decorate with cords, hearts, or flowers to make it truly unique. With its practicality, it’s perfect for gifting or personal use.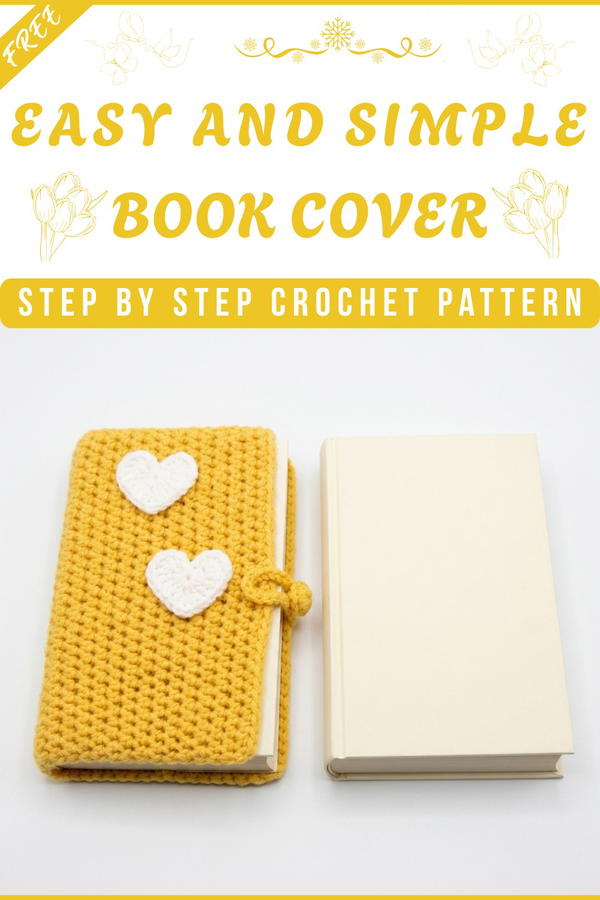
Final Words
Take pride in your finished project and experiment with variations to suit your style. Share your feedback or creations online to inspire fellow crocheters. Don't forget to subscribe for more innovative patterns.


