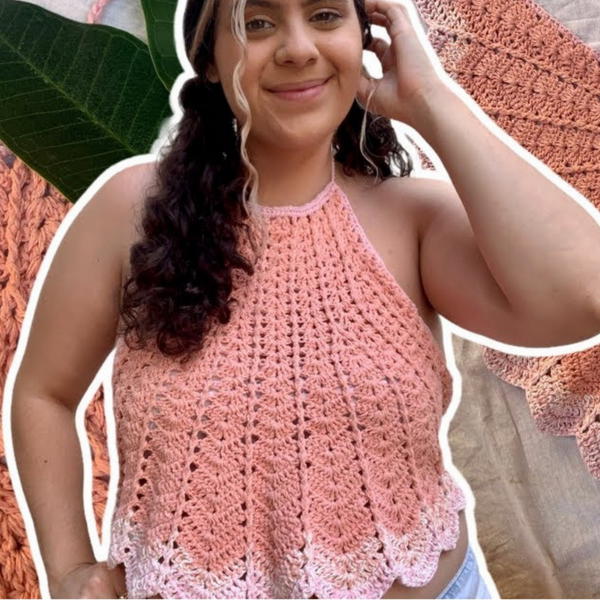
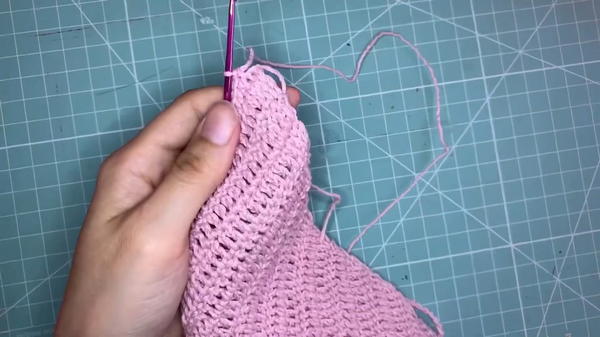
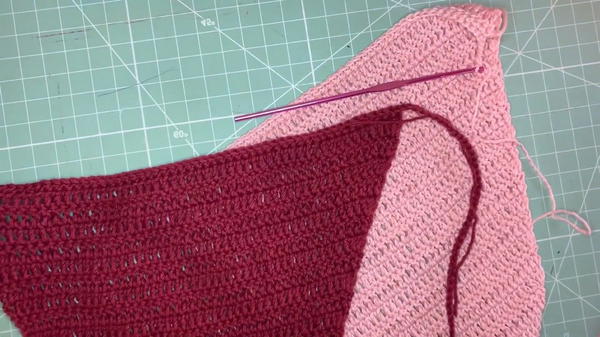
Brighten your wardrobe with a lively two-tone crochet top that combines comfort and charm through a fun, easy-to-follow guide perfect for beginners.
Looking for a fresh and colorful addition to your wardrobe that’s easy to wear? A two-tone top brings together two beautiful shades to create a lively and eye-catching look. This soft and comfy piece feels great on warm days, offering a cool and breathable fit. Its simple style is perfect for casual outings, family time, or relaxed days at the park.
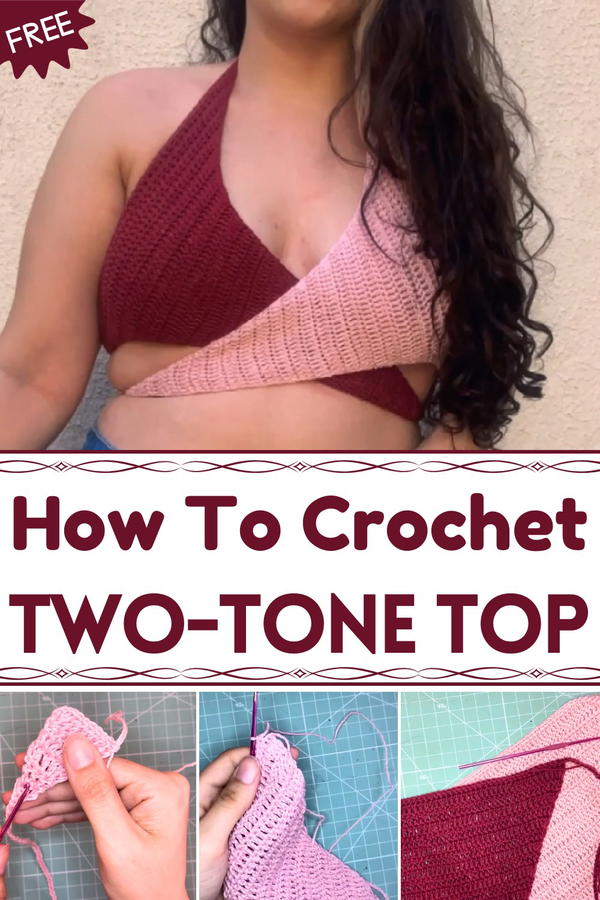
Modern Two-Tone Crochet Top Pattern to Freshen Up Your Look
The neat stitches give it a smooth, sturdy finish while the bright color mix adds a cheerful touch. Easy to move in and pair with jeans, shorts, or skirts, this top brightens up any outfit with a fun and joyful vibe. Whether you want to feel cozy or stylish, this two-tone top suits many occasions with comfort and charm, making it a perfect choice for everyday wear.
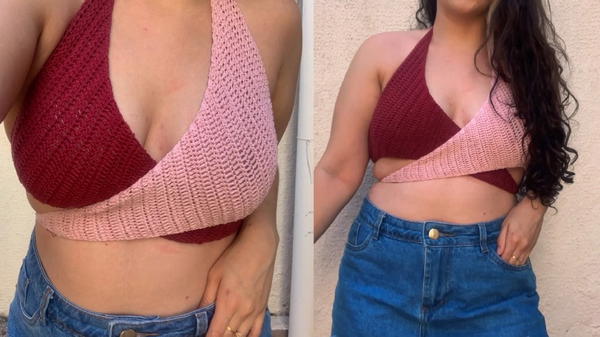
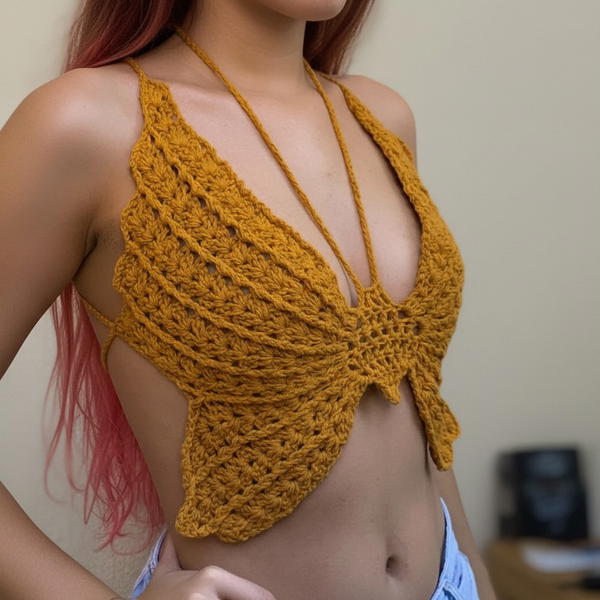
Simple Crochet Colorful Triangle Bikini Top Pattern
Materials
- Charme yarn in your choice of colors (can be single or multiple colors)
- Crochet hook size 2.5mm (smaller hook for tighter and more secure fabric)
- Stitch markers (optional)
- Scissors
- Yarn needle for finishing
Abbreviations
- ch = chain
- dc = double crochet
- st = stitch
- sl st = slip stitch
Special Features
- Made with only basic stitches: chain and double crochet
- Customizable size via stitch and row adjustments
- Colorful, vibrant look with option to use different yarn colors per triangle or row
- Triangle shape build-up with increases at edges
- Chains at triangle corners for tying and adjustability
Step-by-Step Pattern
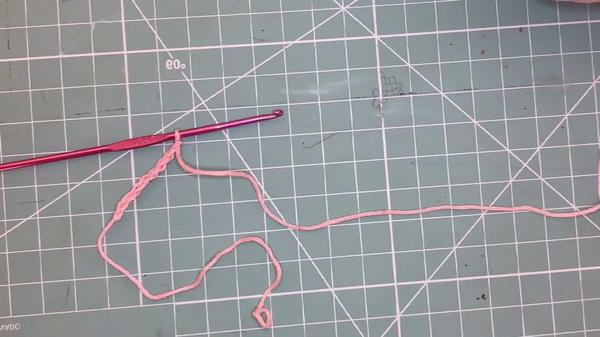
Foundation: Chain Neck Strap
Round 1:
- Chain approximately 40 cm (or your preferred length) for the neck strap.
- You can adjust length as needed – it’s easier to cut yarn later than add more length.
- Fasten off and set aside.
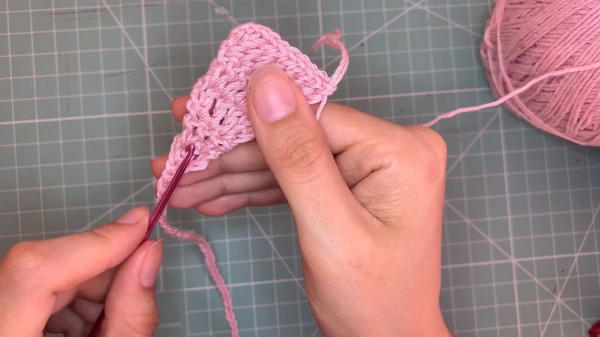
Triangle Base: Starting the First Side
Round 2:
- Start by chaining 3 (counts as first dc).
- In the 4th chain from hook, work 3 double crochet (dc) stitches all into the same chain.
- This forms the starting point of the triangle’s base.
Round 3:
4. Chain 3 and turn your work; this counts as the first dc of the new row.
- Work 1 dc into the first dc below.
- Then work 1 dc into the next dc.
Increase at Edges:
7. At the beginning of each new row, increase by working 2 dc into the first stitch.
- At the end of each row, increase by working 2 dc into the last stitch.
- In between, work 1 dc in each stitch without increasing.
Building the Triangle Shape
Round 4 and Onwards:
10. Chain 3 (counts as first dc), turn your work.
- Repeat the increase pattern: 2 dc in first stitch, 1 dc in each stitch across, 2 dc in last stitch.
- Continue increasing two stitches per row.
Counting Stitches and Rows
Step 13:
13. Track your stitch count per row to customize size. For example:
- Row 1: 4 dc total (counting beginning ch3).
- Row 2: 6 dc total.
- Row 3: 8 dc total, and so on.
Step 14:
14. Continue until the triangle covers the desired chest area.
Completing Both Triangles
Step 15:
15. Repeat the same process to crochet the second triangle. You can choose the same or different colors.
Making the Bottom Cord
Step 16:
16. Chain a length long enough to comfortably tie around your back. This can be approximately equal to your underbust measurement plus extra for tying.
- Attach cord ends to triangles’ bottom corners securely with single crochet or slip stitches.
Finishing Touches
Step 17:
18. Weave in all yarn ends neatly with a yarn needle.
- Adjust neck and back cords for perfect fit.
Level of Difficulty
Beginner – Uses only chains and double crochet stitches with simple and repetitive increases.
Tutor’s Suggestions
- Use stitch markers to mark beginning and end of rows for easier repeat tracking.
- Try on the piece as you progress to ensure proper size and coverage.
- Crochet tightly for swimwear durability, especially using smaller hook size.
- Experiment with colors for a vibrant or monochrome look.
- If you want firmer fabric, consider lining the top or using a sturdier yarn blend.
Uses
- Perfect summer bikini top, pool or beachwear.
- Great project for beginner crocheters wanting wearable skills.
- Customizable for different sizes and color patterns.
Tip
If unsure about size, crochet a small gauge swatch and measure your tension first: count stitches and rows per 10 cm to calculate needed chain length and rows for your perfect fit.
Conclusion
This colorful triangle bikini top pattern is wonderfully simple and versatile, perfect for beginners or anyone who loves quick, customizable projects. Through basic stitches and incremental increases, you can craft a comfy, fashionable crochet top ready to brighten your beach days.