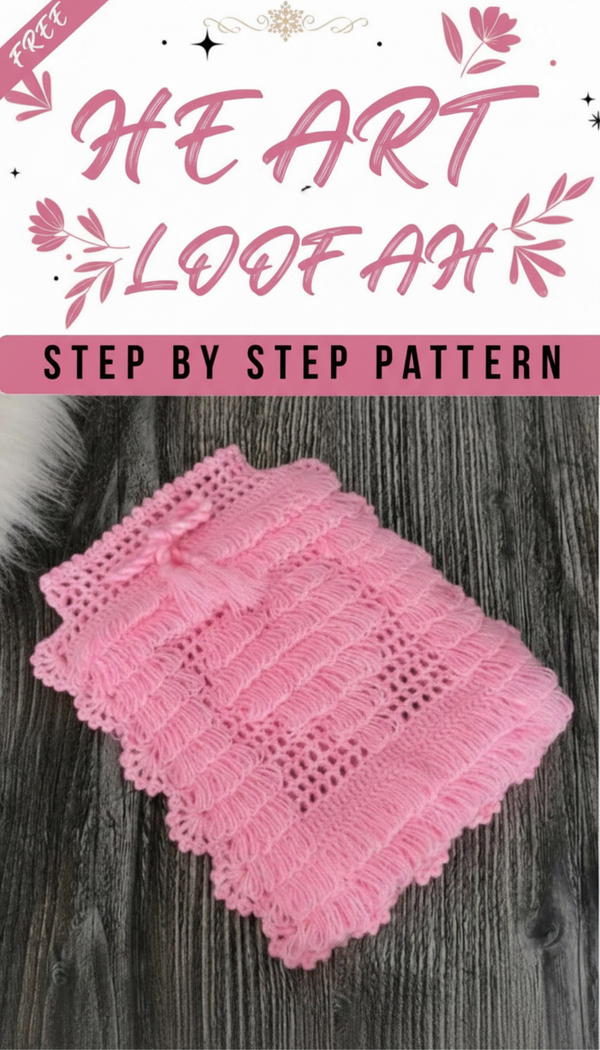
Experience softness and charm with this heart-shaped fringed loofah that turns your daily wash into a warm, joyful moment full of gentle care!
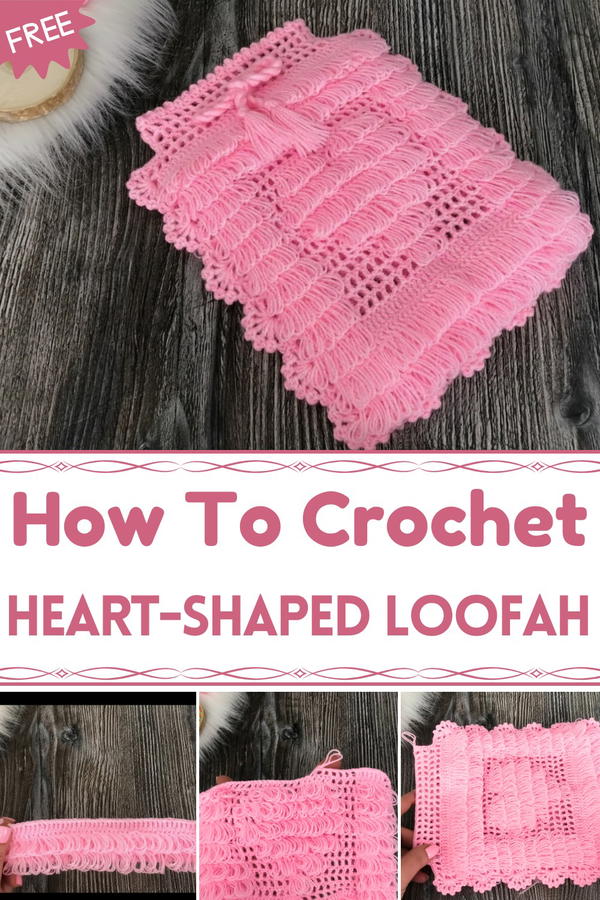
Soft, tactile, and uniquely charming, this heart-shaped fringed loofah transforms everyday bathing into a delightful experience. Crafted with care, its fluffy fringes create a gentle scrub that pampers your skin while the heart design adds a touch of warmth and affection to your routine. Beyond its practical use, this handmade loofah serves as a decorative accent, brightening bathrooms with its playful texture and inviting shape.
Cute Crochet Heart Loofah to Pamper Your Skin
Its vibrant colors and intricate workmanship elevate a simple bath tool into a cozy companion that encourages relaxation and self-care. Perfect as a thoughtful gift or a personal treat, it blends beauty and function effortlessly. Hanging gracefully or resting within reach, this loofah makes every wash feel special, turning small daily moments into joyful rituals filled with softness and charm. Experience the blend of comfort and artistry in a loofah that cares as much as it captivates.
Crochet Three-Piece Tassel Pouch Set Pattern
Special Features:
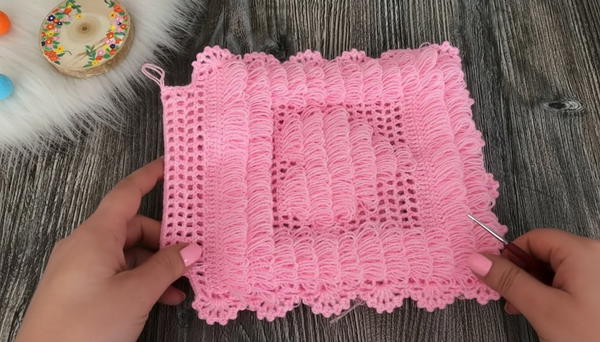
A beautiful three-piece pouch set perfect for trousseaus or stylish storage, features textured square boxes and decorative tassels on both sides, customizable tassel arrangement, and a neat lace edge.
Materials:
- Bonbon fiber yarn (or any preferred yarn)
- Crochet hook size 3 (mm)
- Scissors
- Needle (for weaving ends)
- Optional: Glue for tassel securing
Level: Intermediate
Introduction
Welcome to this charming crochet tutorial where you’ll create a stunning three-piece tassel pouch set. Each pouch is beautifully textured with square motifs and adorned with double-sided tassels that add volume and style. This project is fun and rewarding, suitable for those with some crochet experience looking for a decorative yet functional accessory. Let’s dive into the step-by-step instructions!
Step-by-Step Pattern
Step 1: Foundation Chain
- Start by making a chain of 55 stitches (ch 55).
- This will form the base length of your pouch piece.
Step 2: First Row – Creating Square Boxes
- Work a double crochet (dc) into the second chain from the hook.
- Chain 1 (ch 1).
- Skip one chain stitch, make another double crochet (dc) in the next chain.
- Repeat this sequence of (skip 1 ch, 1 dc, ch 1) across to form 25 square "boxes."
Note: Each "box" is formed by two double crochets separated by chain 1 length.
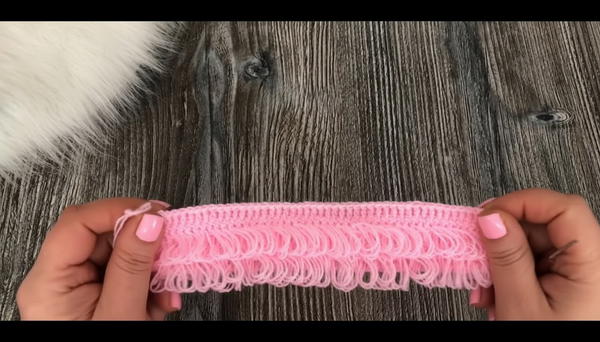
Step 3: Turning Chain and Tassel Placement
- Chain 4 (ch 4), turn your work.
- Begin making tassels by inserting your hook in designated spots (between chains and on top of dc stitches).
- Make tassels by wrapping yarn and pulling through twice to form textured loops (similar to a treble crochet (tr) but looped for tassels).
- Continue tassel formation on both front and back sides for a fuller effect.
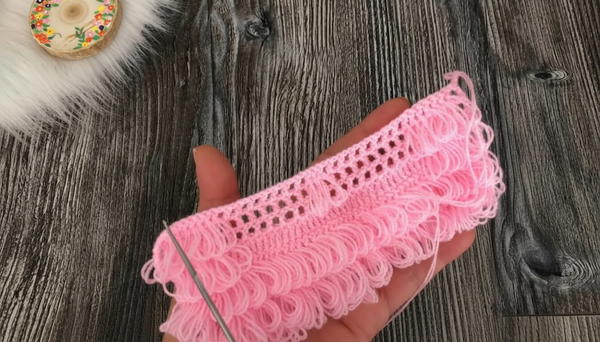
Tutor’s note: You can choose to make tassels on one side only for a lighter look; double-sided tasseling adds fluffiness.
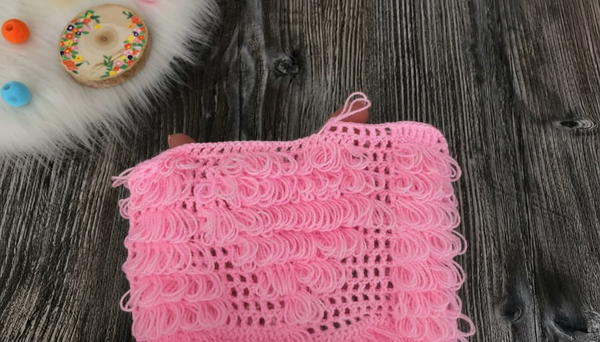
Step 4: Continue Tassel Rows
- Work tassels alternating rows, typically two rows of tassels on the front, then two rows on the back, repeating in this pattern.
- Maintain consistent spacing by adding tassels between chain stitches and on top of doubles.
Step 5: Repeat Square Box Pattern
- After tassel rows, return to creating square boxes as in Step 2.
- Begin with a double crochet (dc) into the next stitches, chaining as before to create new boxes between tassel rows.
- Continue until the piece reaches desired length (example: 17 boxes in one repeat).
Step 6: For Larger/Complex Pouches
- Increase or decrease the number of boxes and tassel rows for size adjustments.
- You may also add more rows of simple square boxes without tassels as needed.
- Work in sequences to maintain symmetry of tassels and boxes.
Step 7: Edge Finishing
- Once your pouch piece is long enough, work a neat edging:
- Use single crochet (sc) stitches along edges to create a clean finish.
- Incorporate a picot stitch pattern or bobble stitches for decorative borders if desired.
- This step adds structure and a refined look.
Step 8: Assembly (Making the Pouch)
- Crochet two identical rectangular pieces following the above steps.
- Stack and join the two pieces together using single crochet (sc) stitches along the sides and the bottom to form a pouch.
- Make sure tassels align and faces are correctly positioned.
Step 9: Adding the Closure or Handles (Optional)
- Crochet cords or use shoelaces threaded through the top opening for closure or handles.
- Tie knots or bows to secure.
- Length can be adjusted for your preference and pouch use.
Step 10: Final Touches
- Weave in all ends thoroughly to avoid unraveling.
- Use a hairdryer on warm setting and gently straighten tassels for neatness.
- Block your pouch gently to shape.
Tutor’s Suggestions
- The tassels can be personalized by length and fullness depending on your style.
- Choose a smooth, fluffy yarn for softness and better tassel formation.
- Keep tension consistent throughout to maintain the pouch’s rectangular shape.
- Use stitch markers to keep track of box and tassel spacing.
Uses
This elegant pouch set can be used for cosmetics, stationery, or as a unique accessory. It also makes an ideal handmade gift for weddings or special occasions.
Pro Tip
If the tassels get tangled or lose shape, carefully separate loops with fingers and use a warm hairdryer to gently “iron” them back into shape for a polished finish.
Conclusion
You’ve now crafted a gorgeous tassel-adorned crochet pouch set full of texture and charm. Whether for gift-giving or personal use, this project blends creativity with function, adding a handmade touch to any collection. Keep practicing and experimenting with tassels for even more stylish effects.