Spark up your style with a Crochet Earring Pattern that stays light, swings freely and makes everyday outfits more fun for parties or casual wear days.
Small in size but big in charm, these earrings bring a delicate touch of handmade beauty to any look. Light and comfortable, they won’t weigh down your ears but will add a splash of color and style that catches the eye. Each earring is carefully crocheted with soft yarn, creating patterns that look like tiny works of art. Perfect for everyday wear or special occasions, they make a simple outfit feel fresh and lively.
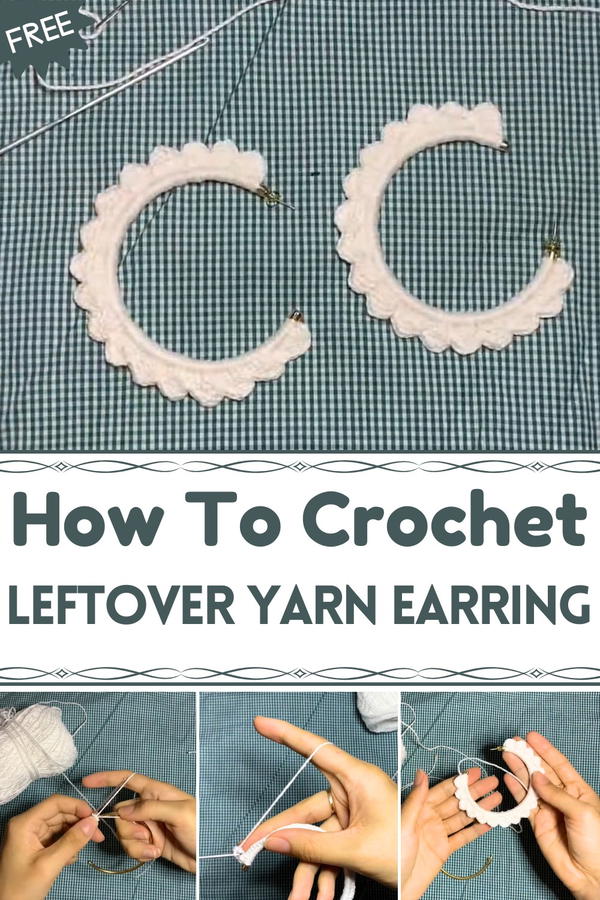
Soft Crochet Earring Pattern for Comfortable Fashion Jewelry
Their unique shapes and colors can match any mood or outfit, making you stand out in a gentle, natural way. Easy to wear and easy to love, they bring warmth and personality without any fuss. Whether you’re gifting them to a friend or treating yourself, these earrings add a lovely, creative sparkle that makes dressing up fun and special for everyone.
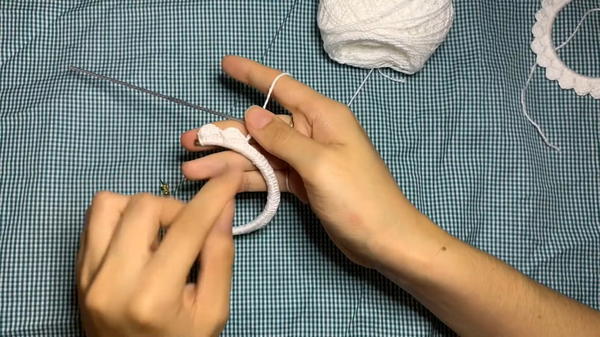
Crochet Covered Ring Pattern
Special Features
- Securely covers ring with neat, tight stitches
- Uses single crochet for dense coverage and double crochet rows for thickness
- Suitable for various ring sizes and yarn types
- Prevents stitch slippage with consistent tension
- Provides solid base for circular and 3D crochet projects
Difficulty Level
Beginner to Intermediate — Requires basic understanding of single crochet and double crochet (high stitches) as well as working stitches around non-yarn surfaces.
Materials Needed
- A ring (plastic, metal, or wooden) of your choice
- Yarn compatible with your hook (preferably cotton or acrylic)
- Crochet hook sized for your yarn (e.g., 3.5mm or 4mm)
- Tapestry needle for finishing
- Scissors
Step-by-Step Pattern
Step 1: Preparing the Ring
- Make sure your ring is clean and free of any sharp edges.
- Hold the ring so that you can crochet comfortably around it.
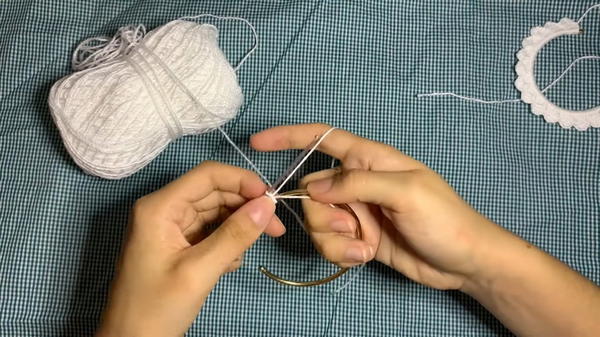
Step 2: Start Single Crochet Covering Round 1
- Attach yarn to the ring by making a slip knot and pulling it through.
- Insert hook inside the ring and pull a loop.
- Work single crochet (sc) stitches evenly spaced around the entire ring.
- Insert hook inside the ring each time to make the sc stitch.
- Pull yarn tight to avoid loose stitches or gaps.
- Continue placing single crochet stitches until you completely cover the ring in one full round.
Step 3: Join Round 1
- Join the last stitch to the first with a slip stitch to complete the round.
- Make sure the stitches lie flat without twisting the ring.
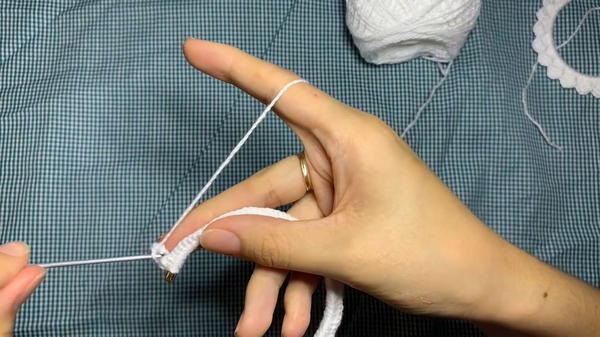
Step 4: Begin Round 2 with Double Crochet Clusters
- Chain 3 to start (counts as first double crochet, dc).
- Turn your work to face you if needed.
- Work 3 more double crochets into the same stitch as the chain 3, for a total cluster of 4 dc.
- Chain 1 to create space before the next cluster.
- Repeat this cluster (4 dc + chain 1) around the ring, working into each stitch of the previous round.
Step 5: Close Round 2
- Slip stitch into the 3rd chain of the initial chain 3 to close the round.
- This forms a neat border with thick stitches over the single crochet base, providing stability.
Step 6: Optional Additional Rounds
- Repeat double crochet clusters with chain 1 spaces as desired to build more height or thickness.
- Count stitches each round to ensure symmetry and avoid misshaping.
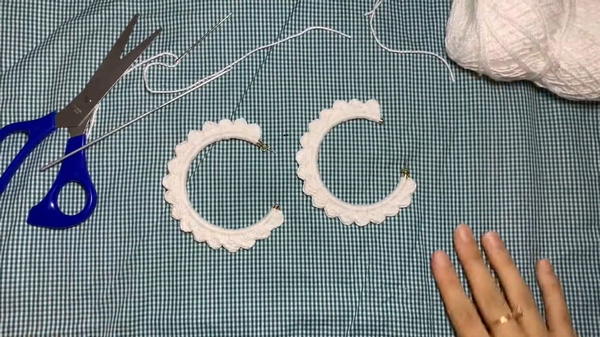
Step 7: Finishing Off
- Slip stitch to finish the last round.
- Cut yarn leaving a tail.
- Thread the tail onto a tapestry needle.
- Weave the tail securely through the stitches, hiding it inside to prevent unraveling.
- Pull yarn snugly but don’t distort stitches.
Tutor’s Suggestions
- Use stitch markers if needed to count stitches in rounds.
- Maintain even tension to prevent gaps or bunching on the ring.
- The base size and thickness can be adjusted by adding or subtracting rounds.
- If your ring is slippery, a quick wrap with some tape helps yarn grip better.
Uses
- Base for crochet baskets, bags, or dreamcatchers
- Foundation for circular wall hangings or decorative pieces
- Secure edge for macramé rings or woven projects
TIP:
To avoid visible gaps between stitches on the ring, try pulling yarn firmly but gently after each stitch. This ensures tight coverage without warping the ring shape.
Conclusion
Covering a ring with crochet stitches builds a strong foundation for many creative projects. Using simple single and double crochet stitches, you create a dense, attractive base that reinforces your work’s structure and durability. With practice, this technique unlocks new possibilities for crocheted home décor, bags, and crafts.


