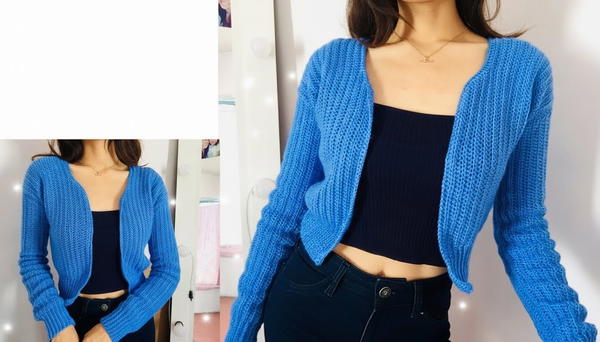
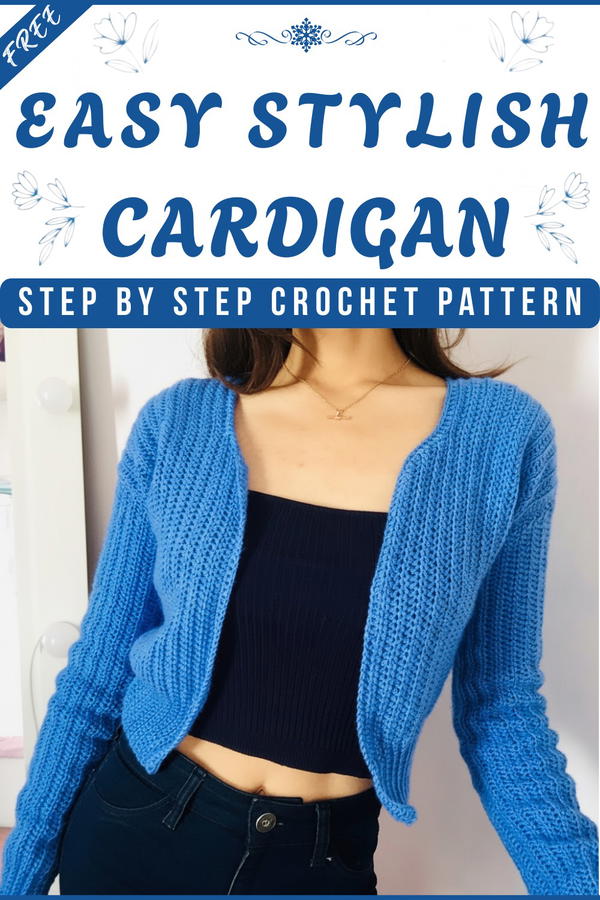
Snuggle into the charm of crochet cardigan pattern that let you showcase your style while staying cozy, comfy, and effortlessly cool all year long.
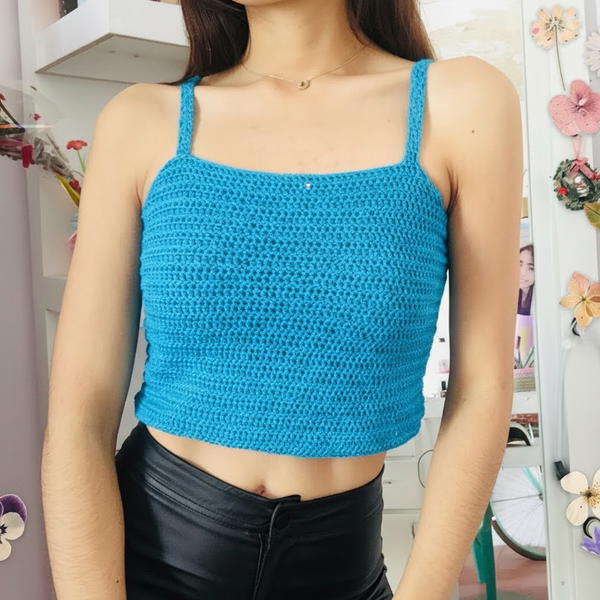
Light & Airy Crochet Cardigan for a Breezy Look
There's nothing cozier than wrapping yourself in a handmade cardigan, and with a free crochet cardigan pattern, you can create a stylish and versatile staple for your wardrobe. From oversized and slouchy designs to fitted and elegant styles, this pattern work wonderfully for layering in any season.
Choose lightweight yarns for breezy summer evenings or chunky fibers for warmth in winter. A crochet cardigan offers both comfort and personality, allowing you to customize every detail, including length, texture, and color. Whether you're a beginner or a seasoned crocheter, this timeless garment is the perfect blend of creativity and practicality.
Materials List
Essential Supplies
- Yarn: 300g of medium-weight (Category #4, worsted weight, 100% acrylic yarn is recommended)
- Crochet Hook: 4 mm
- Accessories:
- Measuring tape (in centimeters)
- Point markers or safety pins
- Scissors
- Yarn needle
Skill Level
Intermediate
Key Abbreviations
- Ch: Chain stitch
- Sl st: Slip stitch
- Sc: Single crochet
- Hdc: Half double crochet
- Dc: Double crochet
- Rep: Repeat
- St(s): Stitch(es)
Special Notes
- Written in US Crochet Terminology.
- The cardigan is constructed in individual panels (front, back, and sleeves), joined together with basic sewing techniques.
- Adjust sizing by measuring the desired length and adjusting the stitch counts and rows accordingly.
- Blocking helps create a more professional finish for edges and seams.
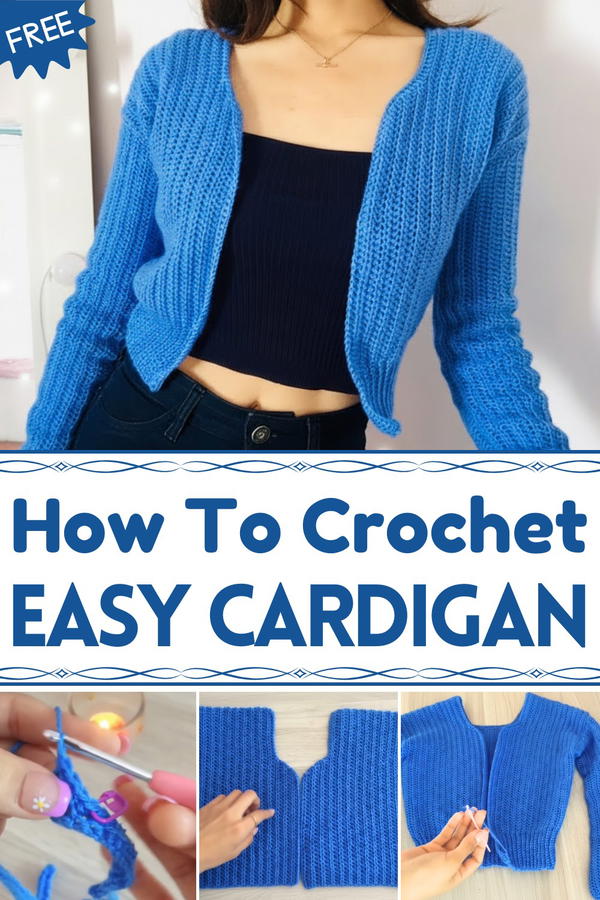
Step-by-Step Pattern Instructions
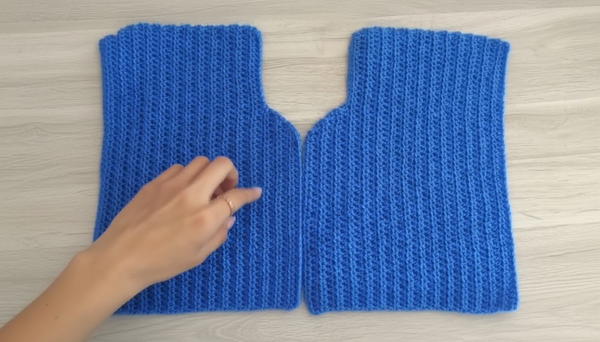
Panel 1: Front Panels (2 identical pieces)
Step 1: Measuring the Length
- Measure from the top of your shoulder to the desired length of the cardigan.
- Example: For a mid-thigh cardigan, this is approximately 80–100 cm.
- Take this measurement and create a foundation chain equal to this length.

Step 2: Foundation Chain
- Create a slipknot to begin.
- Crochet a chain to match the length you measured.
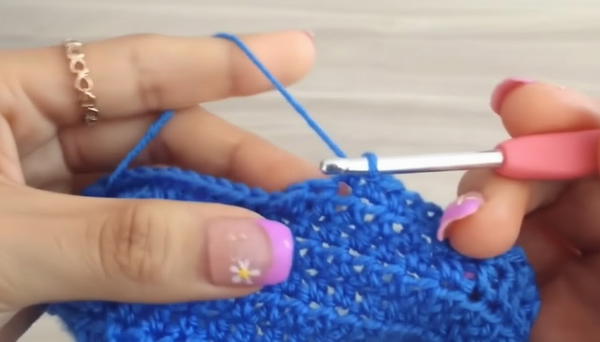
Step 3: Row 1 — Half Double Crochet (Hdc)
- Yarn over, insert the hook into the second chain from the hook, and work hdc.
- Continue working hdc across the foundation chain to the end.
Step 4: Adding Spring Stitches
- After completing the first row of hdc, take the measuring tape and mark 8 cm at the top of the row (this will define where the “spring” section begins).
- Place a stitch marker here.
- The “spring” stitches alternate between Sc and Hdc to create texture.
- The “spring” stitches alternate between Sc and Hdc to create texture.
Step 5: Row 2 — Pattern Adjustment
- Turn your work and begin with a Ch 1.
- Work hdc stitches until you reach the marked passage of 8 cm, then continue with Sc across the remaining stitches.
- After finishing the row, place a stitch marker at the first Sc stitch to track the transition between textures.
Step 6: Row 3 and Beyond — Continue the Sequence
- Hdc in the first section until the stitch marker.
- Sc the single crochet stitches, taking only the back loops for the spring section of texture.
Step 7: Continue Building the Front Panel
- Rep Row 6 until the width of the panel matches half the chest circumference.
- Ensure Row 3 measures the center body (about 16 cm or per personal measurement formula).
Panel 2: Back Panel
The back panel is constructed as a larger rectangle with the same height as the front panels.
Step 1: Foundation Chain and Half Double Crochet Base
- Create a slip knot and chain the same length as the front panel (shoulder to bottom hem measurement).
- Work hdc into the second chain from the hook and across the entire row.
Step 2: Adjusting the Width of Back Panel
- The back panel should be twice as wide as each front panel.
- Continue working in the same stitch pattern used for the front panel:
- Hdc for the bottom section (body width).
- Sc in back loop for the spring section.
Sleeves (Make 2 Identical Pieces)
Step 1: Measure Arm Length
- With your hand on your hip, use your measuring tape to measure from shoulder to wrist (include additional length for a slouchier fit).
Step 2: Foundation Chain
- Make a chain equal to your arm length measurement.
- Mark 8 cm on the chain with a stitch marker for the “spring” section.
Step 3: Sleeve Rows
- Work hdc stitches across until you reach the 8 cm stitch marker.
- Switch to sc in back loop and crochet the spring section.
- Continue alternating between Hdc and sc each row until the circumference fits your arm comfortably.
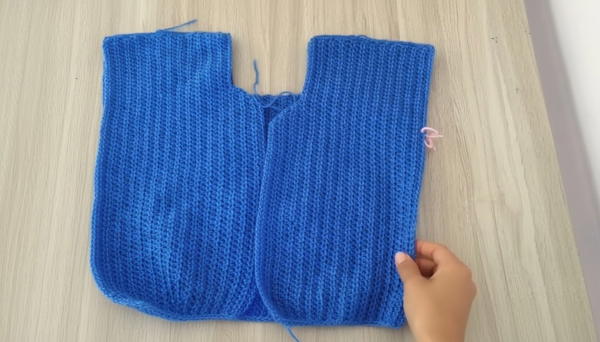
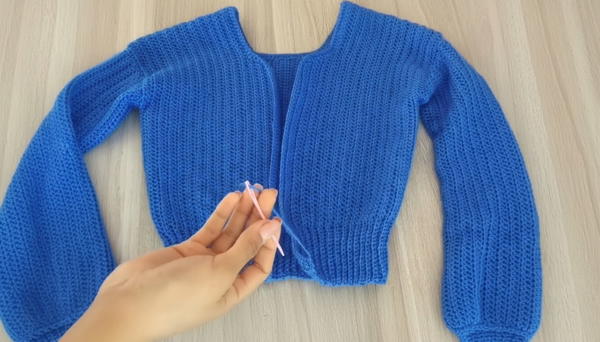
Assembly of Panels
Step 1: Sew Shoulder Seams
- Take the back panel and place it flat. Lay both front panels on top, aligning at the shoulders.
- Use a yarn needle and matching yarn to sew the shoulder seams, ensuring they fit snugly.
Step 2: Attach Sleeves
- Open the cardigan flat with the sleeve openings facing you.
- Pin the center of each sleeve to the shoulder seam and attach it evenly using stitch markers.
- Sew the sleeves into place using a whip stitch or mattress stitch.
Step 3: Side Seams
- Fold the cardigan with right sides facing together.
- Sew the side seams from the hem up to the armpit, continuing along the sleeves for a clean finish.
Final Steps
Adding a Double Crochet Border
- With the cardigan assembled, work a row of double crochet (Dc) stitches along the front opening edges, neckline, and hem.
- This adds structure and creates a polished look.
Finishing Touches
- Use a yarn needle to weave in all ends and hide any loose strands.
- Block the garment for clean edges and an even fit if necessary.
Customization Ideas
Color:
- Add stripes by alternating yarn colors every few rows.
- Use gradient or self-striping yarn for a whimsical effect.
Size Adjustments:
- Adjust width by increasing or decreasing foundation chains according to measurements.
- Modify panel length to create cropped or tunic-style cardigans.
Edging Options:
- Replace the double crochet border with a shell or picot edging for a decorative finish.
Tips for Success
- Test Gauge: Before beginning, crochet a small swatch in hdc to ensure correct sizing.
- Use Stitch Markers: To maintain transitions between Sc and Hdc, make liberal use of markers.
- Assemble with Care: Align all pieces precisely before sewing to avoid uneven seams.
Conclusion
This timeless cardigan, with its versatile design and customizable features, is perfect for any season. The final product has a classic yet modern look that transitions effortlessly from formal to casual outfits. Crocheters of all levels can appreciate its simplicity while exploring their creativity—whether through color, texture, or fit adjustments.
Enjoy wearing your beautifully handcrafted cardigan!
Pattern Variations
- Color Blocking: Add contrast by using a complementary color for the sleeves or edging.
- Oversized Fit: Add more rows and foundation chains to create a cozy, oversized cardigan.
- Sweater-Jacket: Increase yarn weight to create a thicker material similar to a sweater coat.