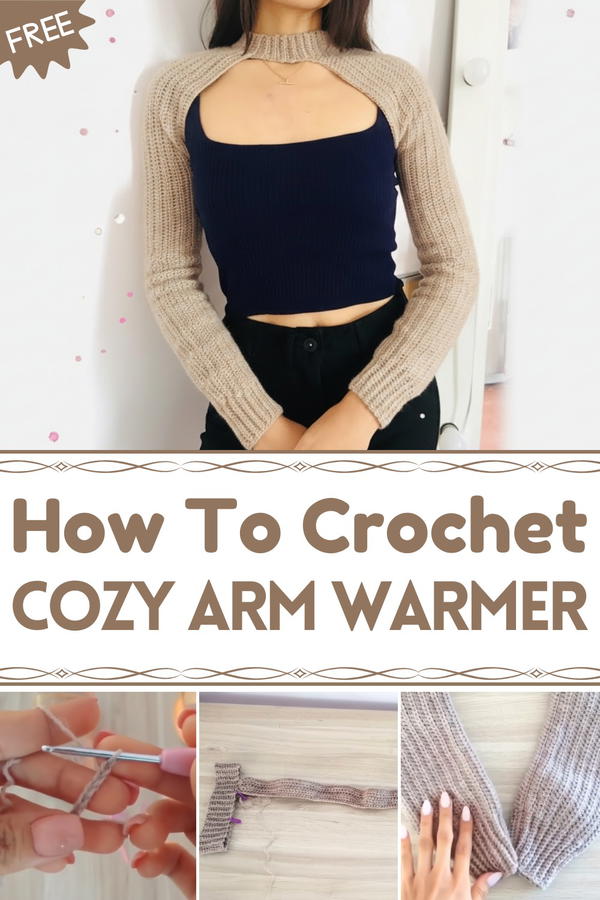
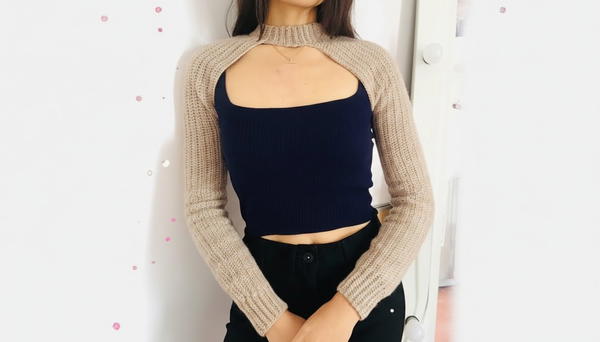
Slip into cozy and stylish crochet arm warmer that keep your hands free while adding warmth and flair to your outfit with endless colors and textures to try.
Cozy Crochet Arm Warmer Patterns You’ll Love to Wear
Add a cozy, stylish touch to your winter wardrobe with a free crochet arm warmer pattern that’s both practical and fashionable. Perfect for chilly days, arm warmers keep your hands free while providing extra warmth, making them ideal for everything from brisk walks to layering over sweaters.
With endless styles to choose from, including sleek fitted designs, chunky ribbed textures, and decorative lace patterns, you can easily match your look. Whether you’re a beginner or seasoned crocheter, this pattern isfun to personalize with bold colors, delicate neutrals, or playful accents.
Stay warm and chic while showcasing your creative flair!
Materials List
- Yarn: Approximately 150g of very fine (fingering weight) yarn
- Crochet Hook: 3 mm
- Tools Needed:
- Stitch markers
- Tapestry needle
- Measuring tape
- Scissors
Skill Level
Intermediate
Key Abbreviations
- Ch: Chain stitch
- Sl st: Slip stitch
- Sc: Single crochet
- Hdc: Half double crochet
- Rep: Repeat
- St(s): Stitch(es)
Special Notes
- Written in US crochet terminology.
- Adapt the height and width of the neck and arms as needed by adjusting chain and row counts.
- Gauge is not critical but may affect the final size.
Step-by-Step Instructions
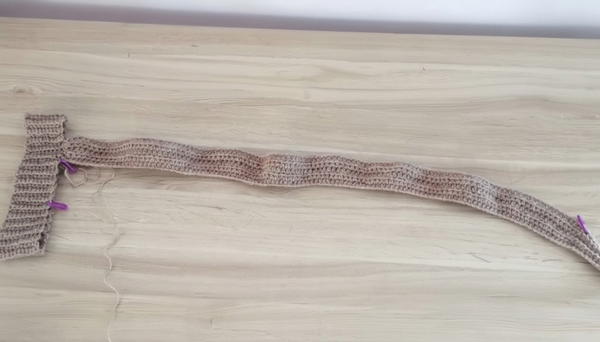
Neckline
Foundation Chain:
- Measure Your Desired Neck Height:
- Determine your neckline height (e.g., 5 cm equals 12 chains).
- Ch 12 (or desired number of chains for your height).
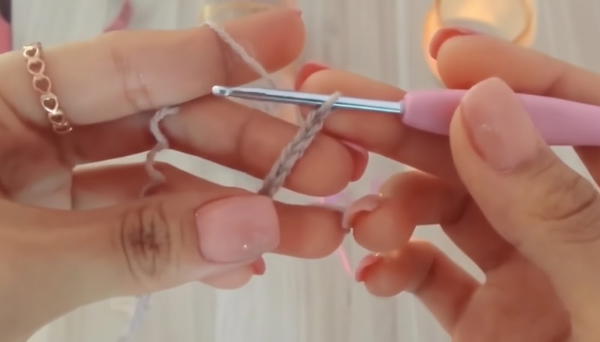
Row 1: Single Crochet Across
- Add 1 more chain for turning.
- Begin in the second chain from the hook and work sc across (total equals 12 sc stitches).
Rows 2–68: Single Crochet in Back Loop
- Turn the work, Ch 1.
- Work sc in the back loop only of each st across.
- Repeat for 68 rows or until fabric measures approximately 34 cm.
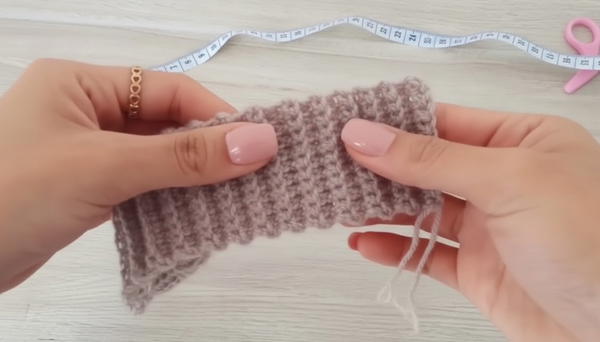
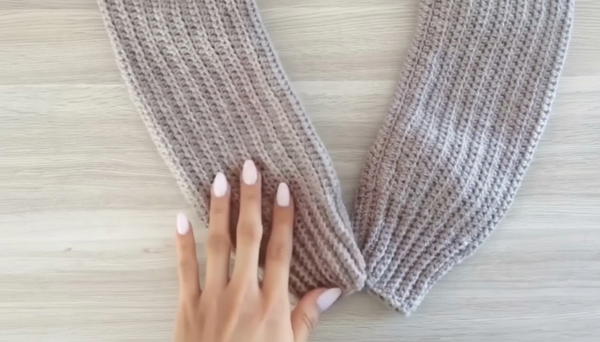
Closing the Neck
Slip Stitch Seam:
- Align the two short ends of the rectangle.
- Using the working yarn, join the ends with sl sts.
- Ch 1, fasten off, and weave in ends.
Sleeves
Foundation for Sleeve:
- With the seam at the back, fold the neck in half and mark the front center with a stitch marker.
- From the center, count 5 sts to each side and mark them. Repeat on both sides.
Creating the Sleeve:
- Attach yarn to marked corner on the neck.
- Ch 120 or desired number for arm length (measure from shoulder to wrist bone).
- Place a stitch marker 6 cm from the end of the chain.
Lower Section: Sc in Back Loop
- Add 1 more chain; begin in the second chain from the hook.
- Work sc to the marked stitch, always in the back loop only.
Upper Section: Hdc Across
- From the marked stitch, switch to hdc across remaining chains.
- Turn at the neck’s end, join with a sl st to the neckline.
Repeat: Sc and Hdc Sequences
- Turn, Ch 1, continue pattern with sc in back loops where applicable.
- Hdc on the remainder.
Closing the Sleeve
Assembly:
- With RS facing, sew arm seam from wrist to the marked point at the neck using a tapestry needle.
- Fasten off yarn, and secure ends.
Conclusion
Congratulations on completing your arm warmers! These customizable warmers provide a snug fit and offer great flexibility in style and length adjustments. Pair them interchangeably with different outfits for warmth and fashion flair.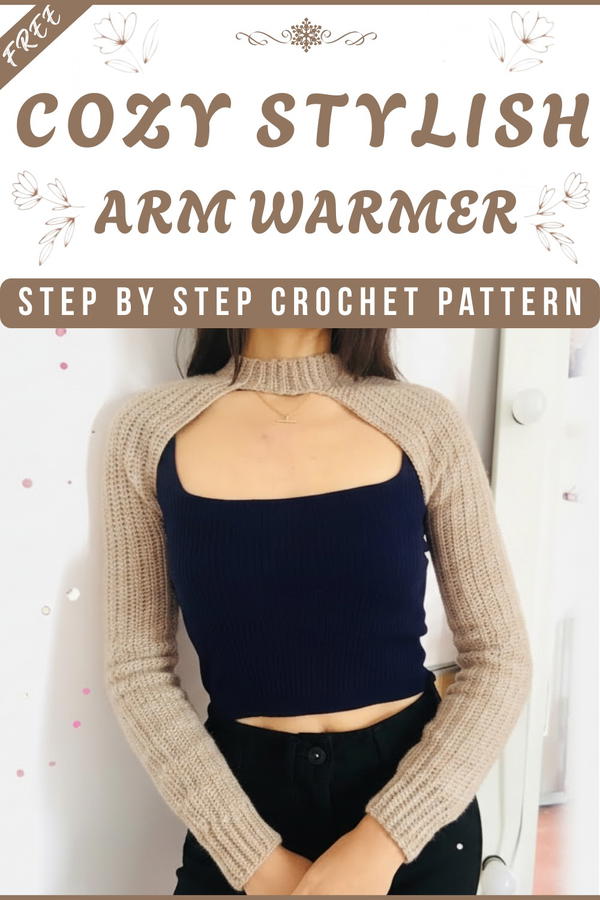
Pattern Corrections & Tips
Correction:
- Ensure your chains are not too tight to maintain flexibility.
Tip:
- Customization: For a longer sleeve, add more chains; for a wider neckline, increase original chain count.
- Comfort: If too tight at initial fit, gently block to stretch.


