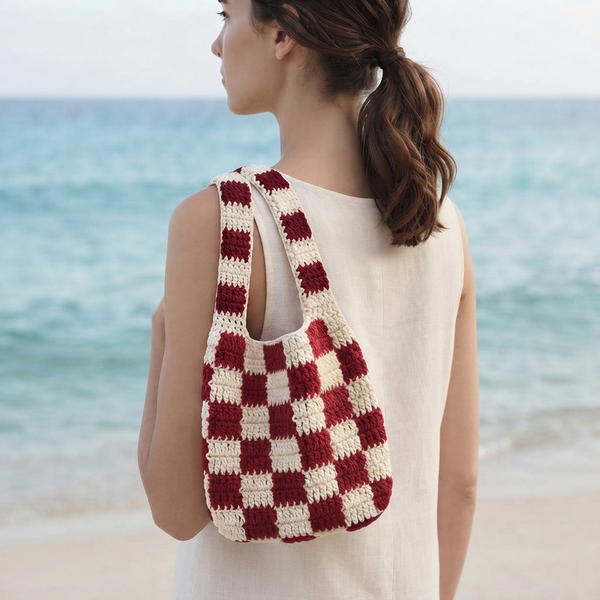
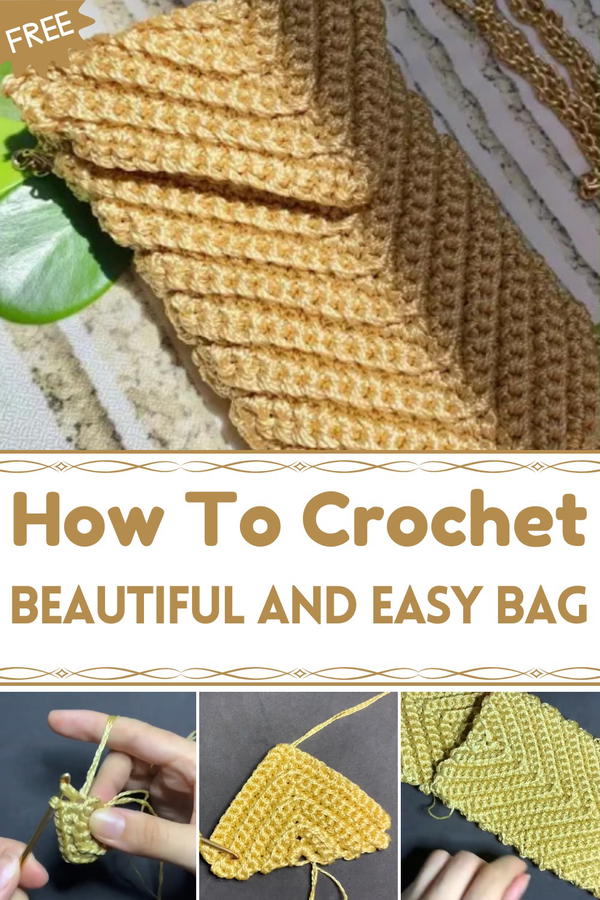
Jazz up your outfit with a Crochet Party Bag Pattern that’s playful, easy to carry, and perfect for parties, celebrations, or fun nights out.
This little bag is both pretty and useful, perfect for carrying your small things when you go out to parties or meet friends. It shines with colorful yarn and fun designs that catch everyone’s eye. The size is just right, not too big or too small, so you can easily hold your phone, money, or makeup without any trouble.
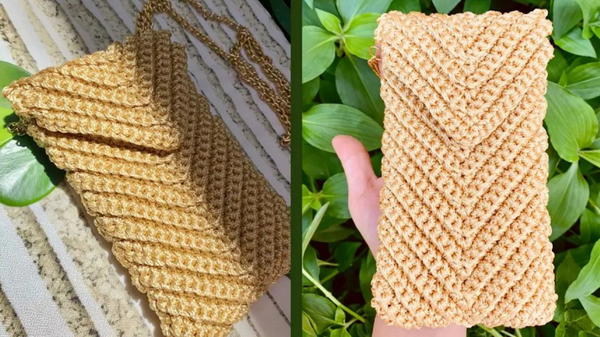
Handmade Crochet Party Bag Pattern to Carry Small Items Safely
Made with simple and easy-to-follow steps, this bag looks fancy but anyone can create it. Its bright colors and neat shape make it a fun accessory that adds a pop of joy to your outfit. You can carry it to family gatherings, festivals, or just when you want to feel special.
Because it’s light and soft, you won’t feel weighed down, and it fits comfortably in your hand or on your shoulder. This bag is not just pretty; it’s made to bring smiles and convenience wherever you go!
Crochet Bag Pattern: Step-by-Step Detailed Guide
Materials Needed:
- Princess Modas polypropylene plastic thread (attack 288)
- Size 3 crochet hook
- Tapestry needle
- Lighter (for burning thread ends)
- Two small rings (for bag handles)
- About 1 meter of sturdy thread/yarn for finishing/sewing
Special Features:
- Uses triple yarn technique for thickness
- Plastic yarn makes the bag durable and shape-retentive
- Beautiful texture with secure stitch placement
- Strong sewn sides with rings for handles
Difficulty Level:
Intermediate – Requires familiarity with magic ring, single crochet, stitch counting, and finishing techniques.
Step-by-Step Pattern:
Step 1: Prepare Triple Yarn
- Pull out three strands from polypropylene yarn tube.
- Hold and join ends to form a triple strand.
- Use this triple yarn throughout the project for increased thickness.
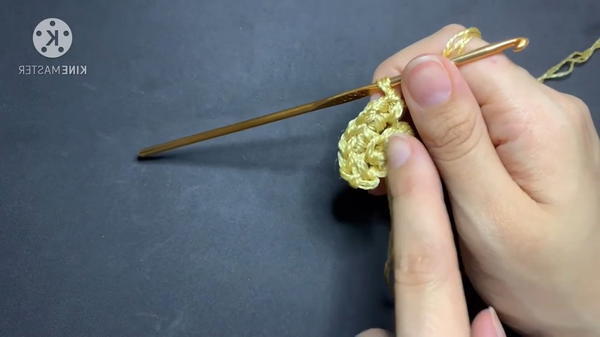
Step 2: Start with Magic Ring (Round 1)
- Create a magic ring leaving a long extra tail for finishing.
- Work 5 single crochets (5 sc) into the ring.
- Pull the ring tight but do NOT close completely (keep a small opening).
Step 3: Work First Round (Round 2)
- Chain 1 to turn.
- Work 5 single crochet (5 sc) stitches inside the initial small ring.
- Maintain stitch tension by holding your finger on the yarn for firmness.
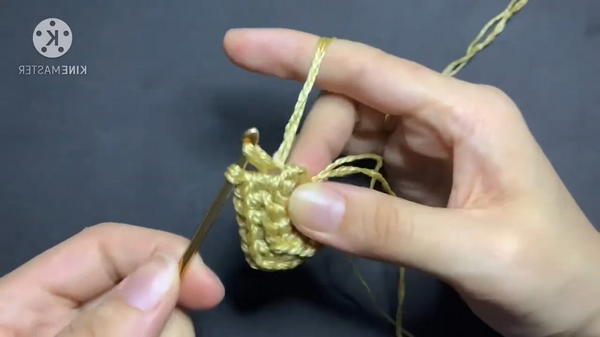
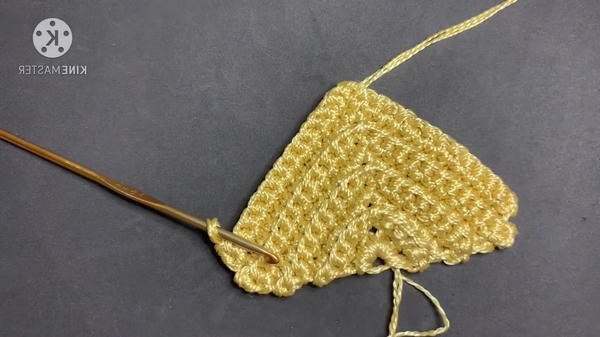
Step 4: Work in Rounds with Stitch Pattern (Rounds 3-7 approx.)
- Turn your work with a chain 1.
- Work into the back loop only of stitches for a neat edge.
- Crochet in the pattern: 1 single crochet, chain 1, 1 single crochet alternating.
- In chain spaces, make increases by placing: single crochet, chain 1, single crochet.
- Use a stitch marker to keep track of rounds to avoid uneven growth.
- Keep your stitches central by working into the marked chains to avoid crooked shapes.
Step 5: Continue Rounds with Increases (Middle Section)
- Continue alternating single crochets and chains.
- Add increases where needed by working sc, ch, sc in chain spaces.
- Always crochet only in the back loops to maintain pattern consistency.
- Count your stitches to ensure all rounds have the same point count on each side.
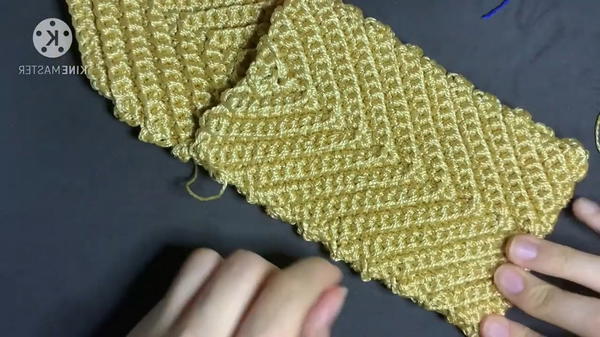
Step 6: Work Until Desired Width
- Keep repeating the stitch pattern and increase rounds until the bag reaches the desired width.
- Typically, the tutor completed around 6 rounds plus initial ones to reach a size proportional to an iPhone or similar.
Step 7: Finish Rounds (Ending Section)
- When you reach the desired width, stop increments.
- Continue crocheting evenly without increases for a few rounds to build height.
Step 8: Final Round and Edging
- Finish your last round by slip stitching and cutting yarn.
- Use your tapestry needle to weave in and carefully burn off the yarn ends with a lighter for a clean finish.
- Turn fabric inside out to secure thread ends invisibly.
Step 9: Sew Bag Sides
- Fold the crochet piece to shape the bag.
- Sew sides with strong yarn/thread using tapestry needle, leaving a small piece at the bottom for tying a knot.
- Secure with tight knots and burn ends to prevent unraveling.
- Sew firmly so no gaps remain.
Step 10: Attach Rings for Handles
- Attach small rings to bag sides where handles will connect.
- Sew the rings firmly onto the bag by passing the needle several times through the ring and stitches.
- Tie multiple knots to ensure no loosening.
- Use a slight opening technique with pliers or needle to fit the rings snugly.
Tutor’s Suggestions:
- Leave extra yarn tail at the start and end for neat finishing.
- Use stitch markers to keep track of rounds and corners.
- Crochet only in the back loop for a neat edge and better texture.
- Be consistent with tension to avoid bag distortion.
- Use lighter carefully to seal polypropylene yarn ends safely.
- Turn bag inside out to hide finishing stitchwork.
Uses:
This durable and charming crochet bag is ideal for carrying small items like phones, keys, or cosmetics. Its unique plastic yarn construction keeps it sturdy, cleanable, and suitable for everyday wear or gift-giving.
Tip:
Practice the triple yarn technique first: Pull 3 separate yarn strands and join to make one thick strand. It makes a massive difference in strength and texture without needing fancy yarns!
Conclusion:
This Crochet Party Bag is a creative and practical accessory, combining beauty with durability. By following step-by-step rounds with increases and careful finishing, you create a one-of-a-kind firm yet flexible bag. Perfect for anyone wanting a handmade, long-lasting piece with charm and style!