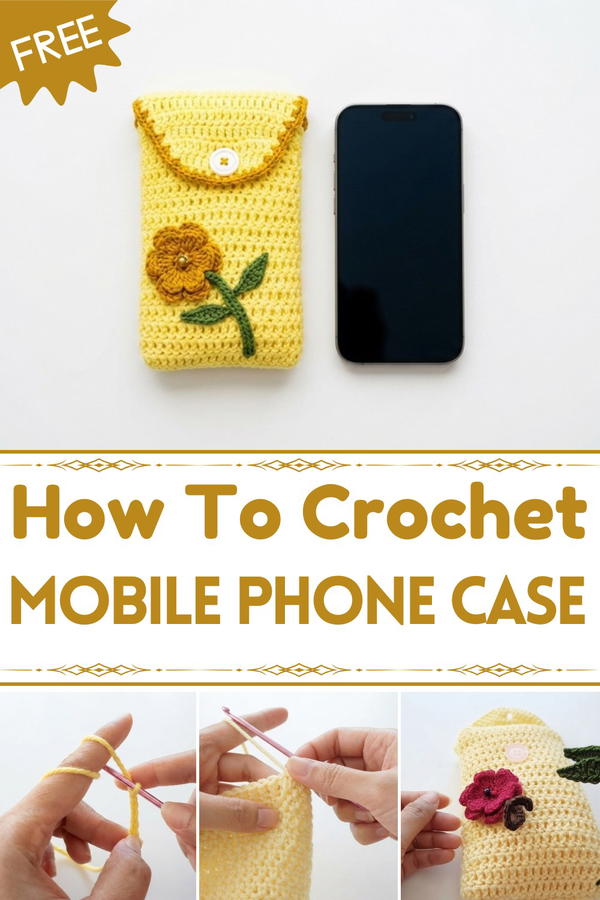
Find a free crochet mobile phone case pattern offering a practical, stylish solution to protect your device while adding a touch of handmade charm.
If you love creating handmade accessories that combine style and function, you’re going to enjoy this free crochet mobile phone case pattern. This simple and charming crochet project lets you make a personalized cover that keeps your phone safe while showcasing your crocheting skills. Whether you’re looking to protect your device or add a cozy touch to your everyday essentials, this pattern is a perfect choice for crochet enthusiasts.
Free Crochet MOBILE PHONE CASE Pattern for Last-Minute Gifts
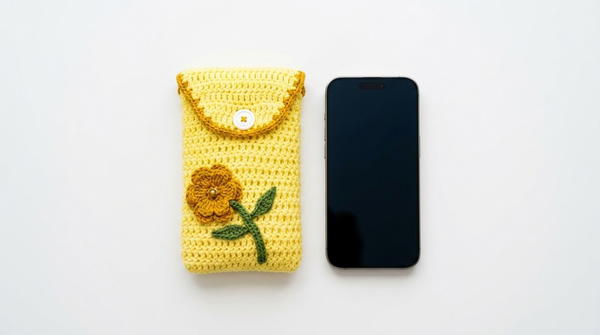
The beauty of this mobile phone case lies in its soft texture and practical design. It fits snugly around your phone, offering protection from scratches and bumps, while the crochet stitches create a warm, inviting look. Typically shaped to match most smartphones, the case features a rectangular form with slightly stretchy fabric, making it easy to slide your device in and out. The standout design elements include neat stitch work and the option to customize with colorful yarn or decorative accents, adding a personal and stylish flair to your phone accessory.
Ideal for beginners and those with some crochet experience, this project mainly uses the single crochet stitch. This fundamental stitch builds a dense and sturdy fabric that is perfect for shielding your phone and helping you develop your crochet technique. The pattern focuses on shaping and maintaining consistent tension, making it accessible and rewarding to complete.
This crochet phone case is not only practical but also makes a thoughtful handmade gift for friends and family. It can brighten up your daily routine, adding a decorative yet wearable charm to your accessories. If you enjoy crocheting small, useful projects that combine creativity with function, this free crochet mobile phone case pattern is a wonderful pick.
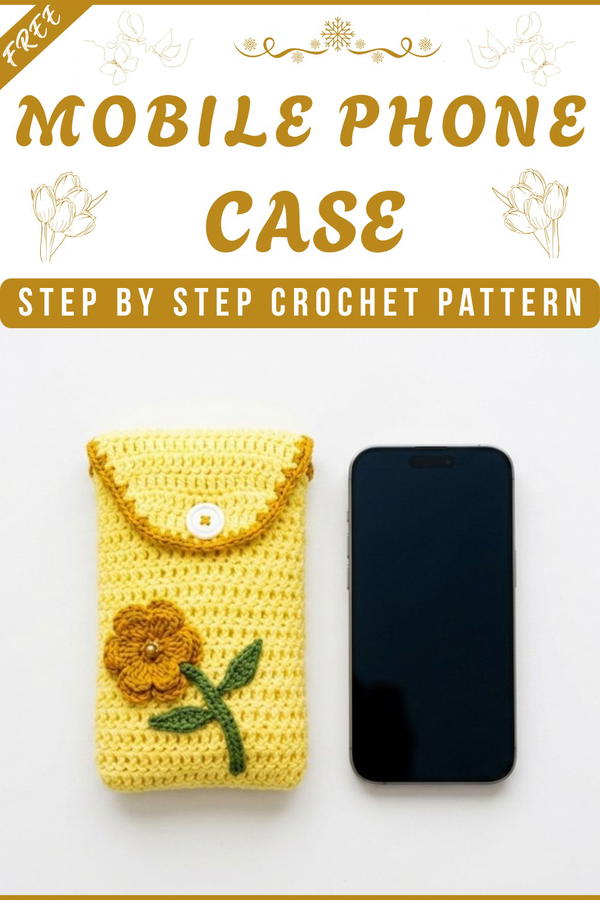
Free Crochet MOBILE PHONE CASE Pattern
Materials
Yarn: Yellow acrylic (or cotton).
Hook: 3.5 mm.
Extras: Button, sewing needle, and optional stuffing/applique.
Stitch Abbreviations
Ch: Chain
Dc: Double crochet
Sc: Single crochet
Dec: Decrease (work two stitches together)
The Crochet Pattern
The Main Body
Round 1: Chain 19 plus 3 turning chains.
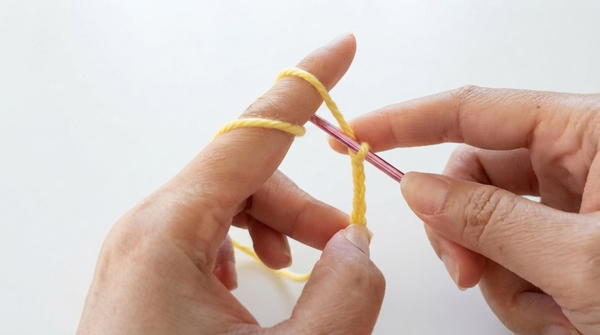
Work 1 dc into the fourth chain from the hook and every chain across. In the last chain, work 2 dc. Consequently, continue working down the other side with 1 dc in every stitch (40 total). Join with a slip stitch.
Round 2: Ch 2, 1 dc in the same stitch. Then, continue with 1 dc in every stitch around (40 total). Join.
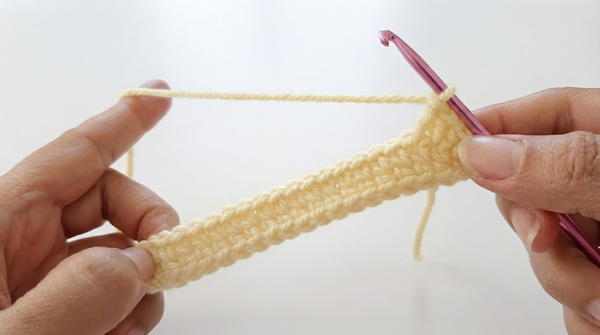
Round 3: Ch 2, 1 dc in the same stitch. Work 1 dc in every stitch around. Join.
The Main Body: Building Height
Round 4: Ch 2, 1 dc in the same stitch. Work 1 dc in every stitch around. Join.
Round 5: Ch 2, 1 dc in the same stitch. Work 1 dc in every stitch around. Join.
Round 6: Ch 2, 1 dc in the same stitch. Work 1 dc in every stitch around. Join.
Round 7: Ch 2, 1 dc in the same stitch. Work 1 dc in every stitch around. Join.
Round 8: Ch 2, 1 dc in the same stitch. Work 1 dc in every stitch around. Join.
Round 9: Ch 2, 1 dc in the same stitch. Work 1 dc in every stitch around. Join.
Round 10: Ch 2, 1 dc in the same stitch. Work 1 dc in every stitch around. Join.
Round 11: Ch 2, 1 dc in the same stitch. Work 1 dc in every stitch around. Join.
Round 12: Ch 2, 1 dc in the same stitch. Work 1 dc in every stitch around. Join.
Again Repeat
Round 13: Ch 2, 1 dc in the same stitch. Work 1 dc in every stitch around. Join.
Round 14: Ch 2, 1 dc in the same stitch. Work 1 dc in every stitch around. Join.
Round 15: Ch 2, 1 dc in the same stitch. Work 1 dc in every stitch around. Join.
Round 16: Ch 2, 1 dc in the same stitch. Work 1 dc in every stitch around. Join.
Round 17: Ch 2, 1 dc in the same stitch. Work 1 dc in every stitch around. Join.
Round 18: Ch 2, 1 dc in the same stitch. Work 1 dc in every stitch around. Join.
Round 19: Ch 2, 1 dc in the same stitch. Work 1 dc in every stitch around. Join.
Round 20: Ch 2, 1 dc in the same stitch. Work 1 dc in every stitch around. Join.
Again Repeat
Round 21: Ch 2, 1 dc in the same stitch. Work 1 dc in every stitch around. Join.
Round 22: Ch 2, 1 dc in the same stitch. Work 1 dc in every stitch around. Join.
Round 23: Ch 2, 1 dc in the same stitch. Work 1 dc in every stitch around. Join.
Round 24: Ch 2, 1 dc in the same stitch. Work 1 dc in every stitch around. Join.
Round 25: Ch 2, 1 dc in the same stitch. Work 1 dc in every stitch around. Join.
Round 26: Ch 2, 1 dc in the same stitch. Work 1 dc in every stitch around. Join.
Round 27: Ch 2, 1 dc in the same stitch. Work 1 dc in every stitch around. Join.
Round 28: Ch 2, 1 dc in the same stitch. Work 1 dc in every stitch around. Join.
Round 29: Ch 2, 1 dc in the same stitch. Work 1 dc in every stitch around. Join.
Round 30: Ch 2, 1 dc in the same stitch. Work 1 dc in every stitch around. Join.
Round 31: Ch 2, 1 dc in the same stitch. Work 1 dc in every stitch around. Join.
Round 32: Ch 2, 1 dc in the same stitch. Work 1 dc in every stitch around. Join.
Round 33: Ch 2, 1 dc in the same stitch. Work 1 dc in every stitch around. Join.
Round 34: Ch 2, 1 dc in the same stitch. Work 1 dc in every stitch around. Join.
Round 35: Ch 2, 1 dc in the same stitch. Work 1 dc in every stitch around. Join.
Round 36: Ch 2, 1 dc in the same stitch. Work 1 dc in every stitch around. Join.
Assembly
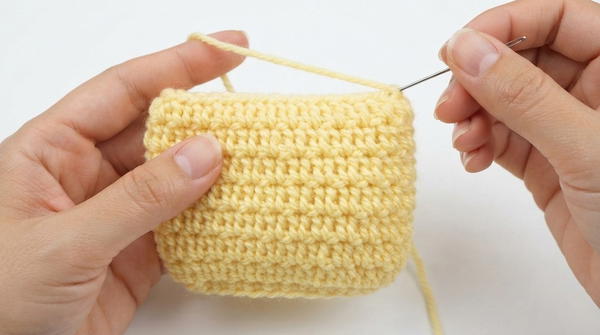
Once the body is complete, fold the work in half. If using stuffing, insert it now. Next, use a needle to sew the side seams using a back-and-forth motion to ensure the edges are secure.
The Flap
To begin the closure, join yarn at the top edge.
Row 1: Work 1 dc in the back post of 21 stitches.
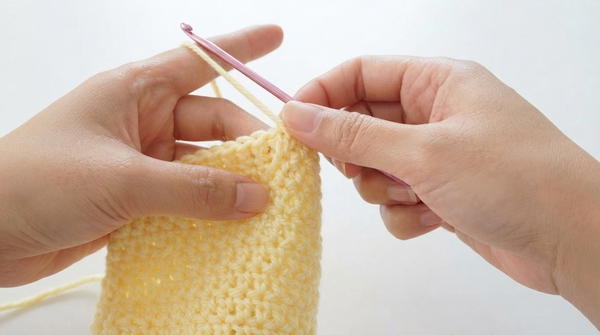
Row 2: Ch 3, then work 1 dc in each stitch across.
Row 3: Ch 3, then work 1 dc in each stitch across.
Row 4: Ch 3, then work 1 dc in each stitch across.
Row 5: Ch 3, then work 1 dc in each stitch across.
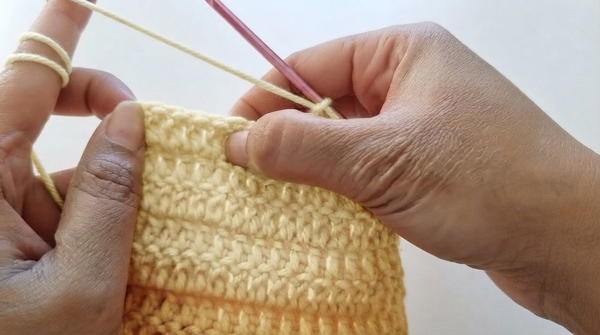
Row 6: Ch 3, then work 1 dc in each stitch across.
Row 7: Ch 2, dec, 17 dc, dec. (19 total)
Row 8: Ch 2, dec, 16 dc, dec. (17 total)
Row 9: Ch 2, dec, 13 dc, dec. (15 total)
Row 10: Ch 2, dec, 11 dc, dec. (13 total)
Row 11: Ch 2, dec, 4 dc, ch 1, skip 1, 4 dc, dec. Finally, fasten off.
Finishing Touches
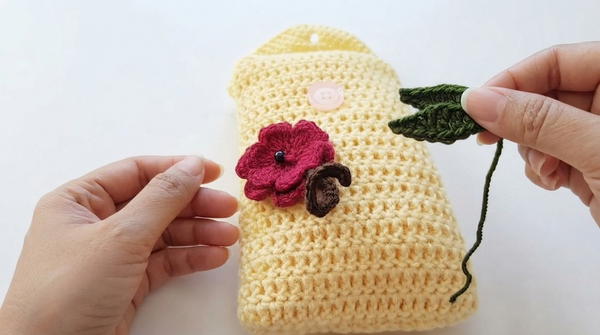
After completing the structure, add a decorative border by working 2 sc into every space along the flap edge. Simultaneously, sew a button on the body to align with your buttonhole. As a final step, attach floral appliques for a personalized, decorative touch.
Conclusion
Your custom cell phone case is now finished. Ultimately, this robust design provides reliable protection while maintaining a stylish look. Feel free to swap yarn colors to match your personal style.