Bring Pikachu to life with this free crochet amigurumi pattern, making it fun and easy to create your own cuddly version of everyone’s favorite Pokémon.
If you’ve ever been charmed by the world of Pokémon and enjoy crocheting, you’re in for a delightful project that combines both passions beautifully. This Free Crochet Pikachu Amigurumi pattern brings to life the beloved electric mouse in a compact, cuddly form that’s perfect for fans and makers alike. The project is a small, stuffed toy crafted with soft stitches that give Pikachu a smooth yet textured finish, just enough to mimic his playful and approachable character.
Free Pikachu Amigurumi Crochet Pattern – Perfect Gift Idea
This amigurumi pattern captures Pikachu’s iconic features: the pointy ears with black tips, rosy cheeks, and that unmistakable tail shaped like a lightning bolt. The overall shape is rounded and plump, making it instantly huggable and toy-like, while the use of simple crochet rounds and color changes help bring out these standout details effortlessly. You can easily customize the size by adjusting yarn thickness or hook size, or adapt the facial expressions slightly for a personalized touch.
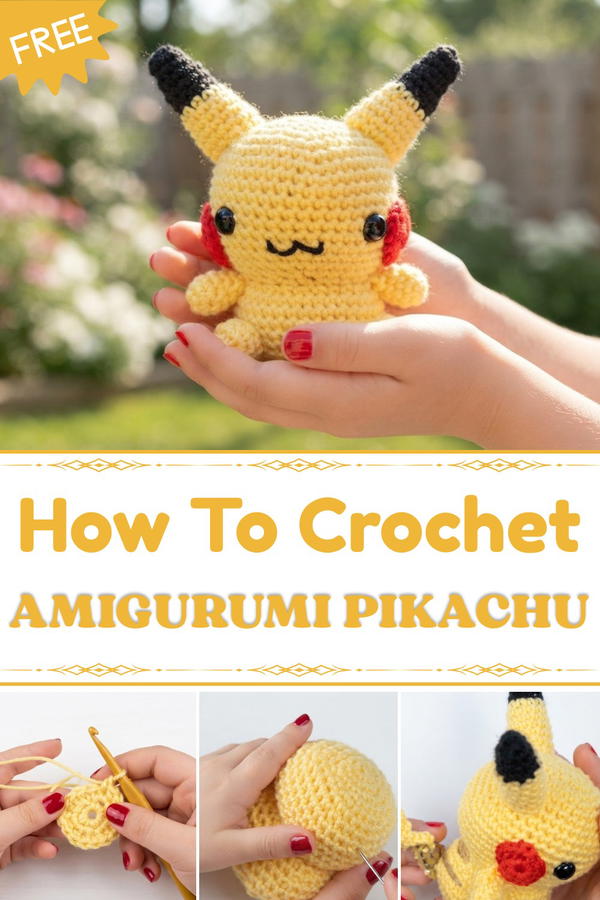
Constructing this pattern involves foundational amigurumi techniques such as magic rings, single crochets in the round, and strategic increases and decreases to shape the body and limbs. One helpful tip is to choose a yarn that balances softness with slight firmness so your Pikachu keeps its shape over time. Acrylic or cotton blends often work wonderfully here, accentuating the neat stitch texture and making it durable for kids or collectors.
The inspiration behind this design stems from childhood nostalgia and a love for creating toys that bring joy and comfort. This pattern is perfect for birthdays, special gifts for Pokémon enthusiasts, or just a charming addition to your crochet collection. Plus, it’s an excellent way to get creative: try different expressions, sizes, or even accessories to make each Pikachu uniquely yours. If you’re ready for a fun, engaging project that blends artistry with fandom, this free pattern might be just what you’re looking for.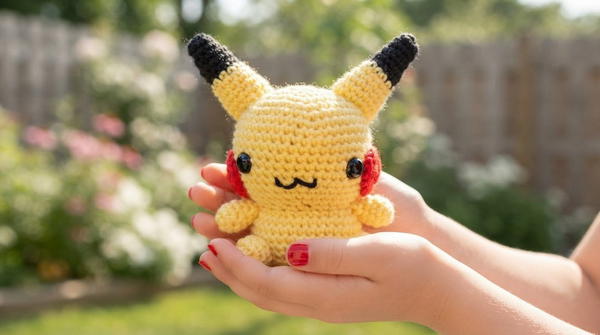
Amigurumi Pikachu Keychain – Crochet Pattern
Recreate Pikachu as a charming amigurumi keychain with this thorough crochet pattern. Following the sequential steps and techniques from the provided video transcription, you’ll work in the round for all main parts, assemble features, and finish with sharp details true to the classic Pikachu appearance.
Quick Overview Of Pattern
- Begin with the head, crocheted seamlessly from the top down.
- Continue to body without breaking yarn, forming characteristic Pikachu shape.
- Crochet and attach all limbs, ears, cheeks, and iconic lightning bolt tail individually.
- Assemble using simple whip stitch, always focusing on symmetry and sturdy construction.
- Embroider, crochet, or add safety eyes, then secure your piece to a keychain ring for on-the-go enjoyment.
Notes
- This pattern employs US crochet terminology.
- For amigurumi, use a firm gauge—crochet tightly to prevent stuffing from showing.
- Small parts are worked separately and sewn on.
- Safety eyes are used, but you may embroider if preferred.
- Invisible decrease technique is used for smooth shaping.
- All rounds are continuous unless stated otherwise; use a stitch marker as needed.
Skill Level
Easy to Intermediate:
Work includes basic amigurumi rounds, increases, and invisible decreases. Minimal embroidery for details.
Materials
- Worsted/DK acrylic yarn: yellow (main), black (ear tips), red (cheeks), brown (tail tip)
- Crochet hook, size 2.5 mm or appropriate for yarn weight
- 12 mm safety eyes (or black yarn to embroider)
- Polyester stuffing
- Yarn needle
- Scissors
- Stitch marker
- Keychain ring
Measurements / Sizing
- Finished Pikachu: approx. 4"–5" (10–13 cm) tall (excluding keychain ring)
Gauge
- Not critical, but head diameter after Round 7: about 2" (5 cm)
- Stitches should be tight enough to prevent stuffing from showing
Stitch Abbreviations
- ch = chain
- sc = single crochet
- sl st = slip stitch
- inc = increase (2 sc in same stitch)
- dec = invisible decrease (sc2tog through front loops only)
- FLO = front loop only
- st(s) = stitch(es)
Special Stitches
- Invisible Decrease (dec): Insert hook into front loop of next 2 sts, yarn over, pull through two loops, yarn over, pull through both remaining loops.
- Magic Ring (alternative): Chain 4, sl st to first chain to form ring.
Pikachu Amigurumi Crochet Pattern
The Crochet Pattern
I. Head
- Round 1: Start with slip knot, chain 4, slip stitch into first chain to form ring. Single crochet (sc) 6 into center. (6 stitches)
- Round 2: Increase in every stitch by crocheting 2 sc in each. (12 stitches)
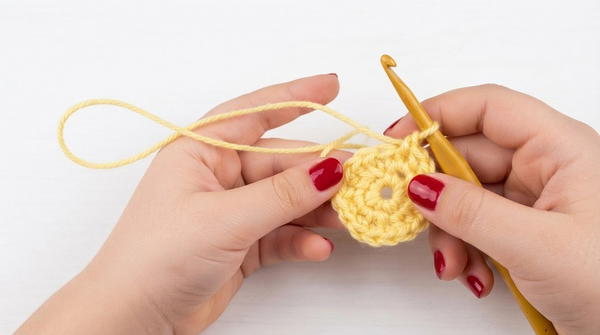
- Round 3: Sc 1, increase in next stitch. Repeat 6 times. (18 stitches)
- Round 4: Sc 2, increase in next stitch. Repeat 6 times. (24 stitches)
- Round 5: Sc 3, increase in next stitch. Repeat 6 times. (30 stitches)
- Round 6: Sc 4, increase in next stitch. Repeat 6 times. (36 stitches)
- Round 7: Sc 5, increase in next stitch. Repeat 6 times. (42 stitches)
- Round 8: Single crochet (sc) around. (42 stitches)
- Round 9: Single crochet (sc) around. (42 stitches)
- Round 10: Single crochet (sc) around. (42 stitches)
- Round 11: Single crochet (sc) around. (42 stitches)
- Round 12: Single crochet (sc) around. (42 stitches)
- Round 13: Single crochet (sc) around. (42 stitches)
- Round 14: Single crochet (sc) around. (42 stitches)
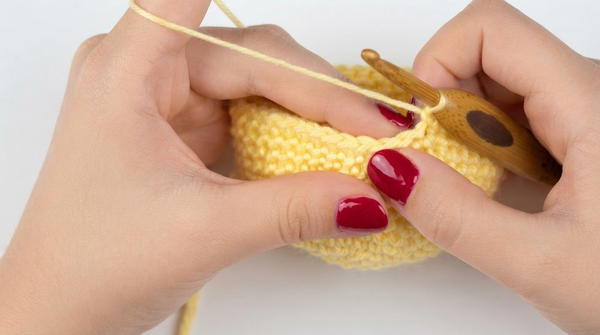
- Round 15: Sc 5, invisible decrease over next 2 stitches. Repeat 6 times. (36 stitches)
- Round 16: Sc 4, invisible decrease over next 2 stitches. Repeat 6 times. (30 stitches)
- Round 17: Sc 3, invisible decrease over next 2 stitches. Repeat 6 times. (24 stitches)
- Round 18: Sc 2, invisible decrease over next 2 stitches. Repeat 6 times. (18 stitches)
After Round 18, embroider face and attach 12 mm safety eyes between Rounds 13 and 14.
Body
- Round 19: Working in front loops only (flo), increase in every stitch around. (36 stitches)
- Round 20: Single crochet (sc) around. (36 stitches)
- Round 21: Single crochet (sc) around. (36 stitches)
- Round 22: Single crochet (sc) around. (36 stitches)
- Round 23: Single crochet (sc) around. (36 stitches)
- Round 24: Single crochet (sc) around. (36 stitches)
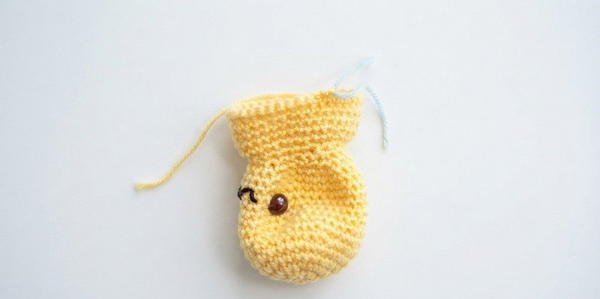
- Round 25: Sc 4, invisible decrease over next 2 stitches. Repeat 6 times. (30 stitches)
- Round 26: Sc 3, invisible decrease over next 2 stitches. Repeat 6 times. (24 stitches)
- Round 27: Sc 2, invisible decrease over next 2 stitches. Repeat 6 times. (18 stitches)
- Round 28: Sc 1, invisible decrease over next 2 stitches. Repeat 6 times. (12 stitches)
- Stuff the body firmly, under-stuff base slightly to help Pikachu sit flat. Sew final opening closed.
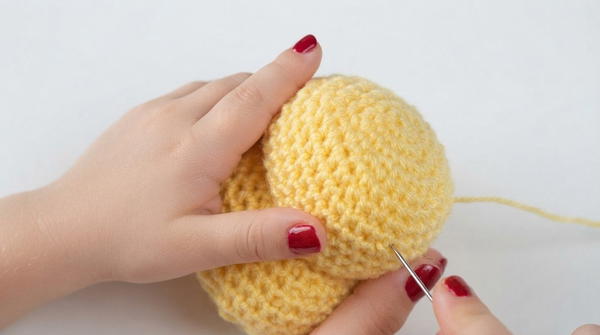
Arms (Make 2)
- Round 1: Slip knot, chain 4, slip stitch loop. Single crochet (sc) 6 into center. (6 stitches)
- Round 2: Sc 1, increase; repeat 3 times. (9 stitches)
- Round 3: Single crochet (sc) around. (9 stitches)
- Round 4: Single crochet (sc) around. (9 stitches)
- Round 5: Single crochet (sc) around. (9 stitches)
- Round 6: Single crochet (sc) around. (9 stitches)
Slip stitch, cut yarn, stuff lightly and sew to body.
Legs (Make 2)
- Round 1: Slip knot, chain 4, slip stitch loop. Single crochet (sc) 5 into center. (5 stitches)
- Round 2: Increase in every stitch. (10 stitches)
- Round 3: Single crochet (sc) around. (10 stitches)
- Round 4: Single crochet (sc) around. (10 stitches)
Slip stitch, cut yarn, stuff and sew to base.
Ears (Make 2)
- Round 1 (Black Yarn): Slip knot, chain 4, slip stitch loop. Single crochet (sc) 6 into center. (6 stitches)
- Round 2: Single crochet (sc) around. (6 stitches)
- Round 3: Sc 1, increase; repeat 3 times. (9 stitches)
- Round 4: Single crochet (sc) around. (9 stitches)
- Round 5: Single crochet (sc) around. (9 stitches)
- Round 6: Single crochet (sc) around. (9 stitches)
- Round 7 (Change to Yellow Yarn): Sc 2, increase; repeat 3 times. (12 stitches)
- Round 8: Single crochet (sc) around. (12 stitches)
- Round 9: Single crochet (sc) around. (12 stitches)
- Round 10: Sc 3, increase; repeat 3 times. (15 stitches)
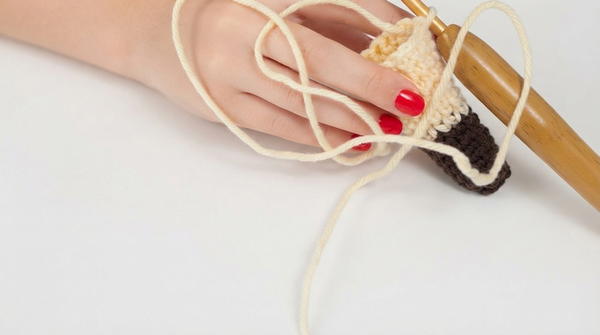
- Round 11: Single crochet (sc) around. (15 stitches)
- Round 12: Single crochet (sc) around. (15 stitches)
Stuff ears lightly and sew onto head top.
Cheeks (Make 2)
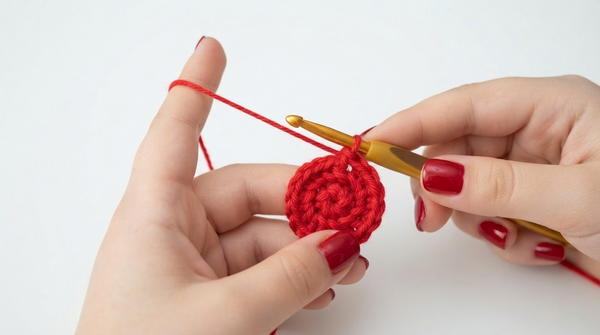
- Round 1 (Red Yarn): Slip knot, chain 4, slip stitch loop. Single crochet (sc) 6 into center. (6 stitches)
- Round 2: Increase in every stitch. (12 stitches)
Tail
- Row 1: Chain 3; single crochet (sc) into 2nd chain from hook, then 2 sc in last chain. (3 stitches)
- Row 2: Chain 1, turn. Single crochet (sc) 2 across.
- Row 3: Chain 1, turn. Single crochet (sc) 2 incorporating yellow yarn.
- Row 4: Chain 3, turn. Sc into second chain, 1 sc next, 1 sc into tail body; change to yellow.
- Row 5: Chain 1, turn. Single crochet (sc) 4.
- Row 6: Chain 1, turn. Single crochet (sc) 2.
- Row 7: Chain 1, turn. Single crochet (sc) 2.
- Row 8: Chain 5, turn. Sc into 2nd chain from hook, then 3 sc in remaining chains, and 2 sc into tail body. (6 stitches)
- Row 9: Chain 1, turn. Single crochet (sc) 6 across.
Assembly & Finished Size
- Pin all parts (ears, arms, legs, cheeks, tail) symmetrically before sewing.
- When sewing, attach using back loops only to avoid puckering.
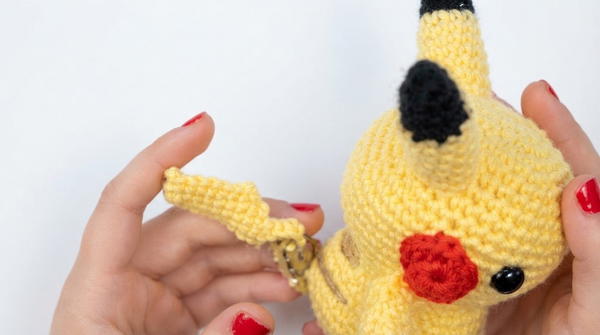
- Hide all yarn tails inside by weaving needle through stuffing before trimming ends.
- Finished Pikachu is sturdy, handheld sized, with firm stuffing in head and slightly under-stuffed base for sitting upright.
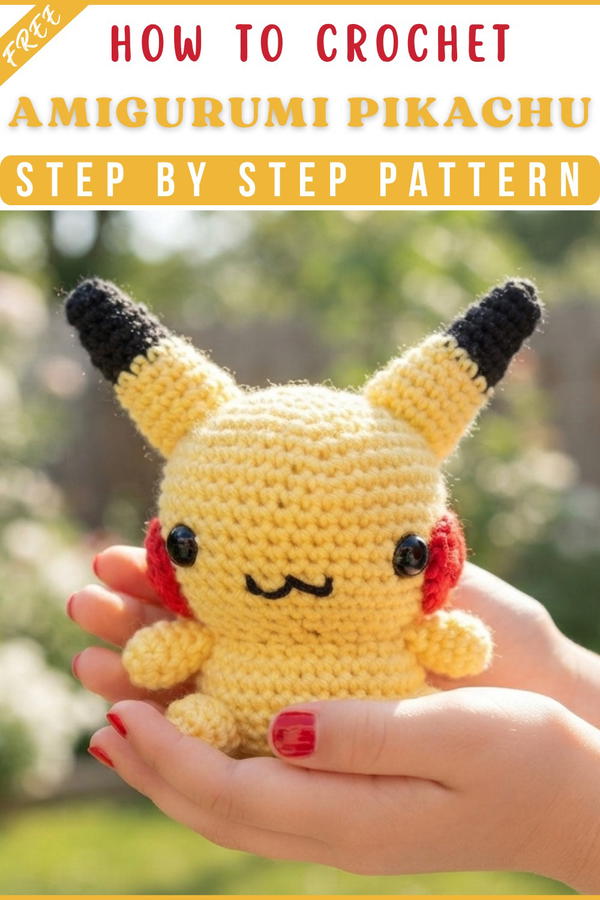
Assembly & Finished Size
- Pin all parts (ears, arms, legs, cheeks, tail) in place for best symmetry before sewing.
- Attach each with a whip stitch through back loops only.
- Hide yarn tails inside body using yarn needle and stuffing.
- Finished Pikachu stands 4–5 inches tall, sits upright, and is sturdy.
- Sew or attach a keychain ring securely to the head or back.
Conclusion
With each part carefully crocheted and assembled, you’ve captured Pikachu’s friendly and recognizable shape in adorable amigurumi form. This pattern provides a satisfying project for beginners and intermediate crocheters alike, elevating both skills and spirits.
Attach your Pikachu to a keyring for daily joy, or gift it to another Pokémon fan—they’ll cherish your handmade creation.