Cast spooky charm with this Free Crochet Halloween Witch Hat Pattern, full of playful handmade details that make festive costumes truly enchanting.
As the Halloween season approaches, the allure of a handmade witch’s hat brings with it a charm that is impossible to resist. Crocheting this stylish piece is not only an enjoyable activity but also opens up opportunities for personal creativity. Whether it's part of a costume for trick-or-treating, a delightful addition to baby photoshoots, or simply a seasonal décor accessory, this hat is as functional as it is whimsical.
Handmade Crochet Halloween Witch Hat You Can Display
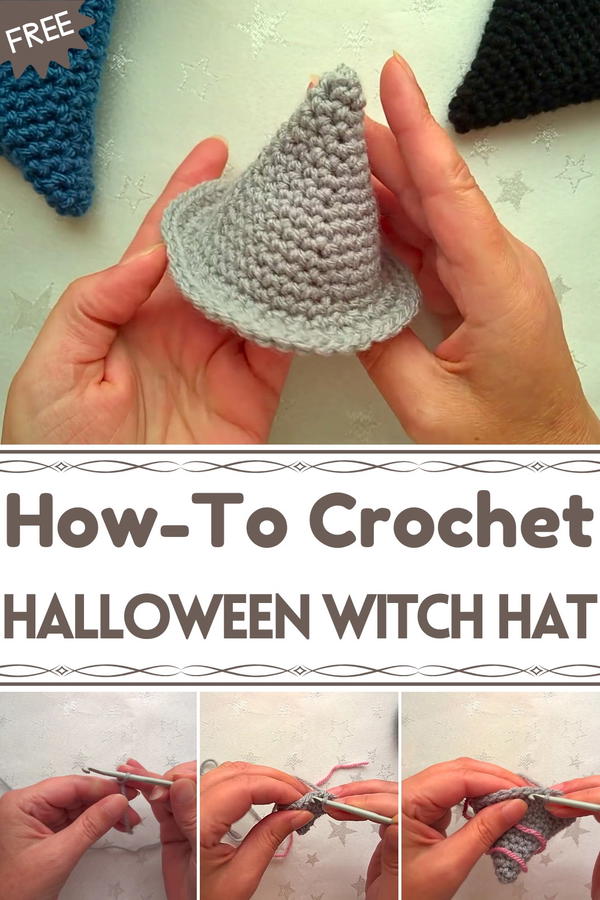

The crochet witch’s hat stands out with its unique structure, a pointed cone paired with an elegant brim that gently flares outward. Built using simple and repeatable steps, like working in rounds and gradual increases, this pattern follows the rhythm of the four-times table, ensuring precision and symmetry.
Starting from a magic loop, the stitches grow steadily, combining foundational techniques such as single crochets (US) or double crochets (UK) and a clever use of the front loops to create the brim’s defined edge.
Enhancements like colored yarn for star embellishments or even dangling hair strands offer creative touches to make each hat unique. From its practicality to its visual appeal, this witch’s hat is a captivating project—perfect for bringing seasonal magic to life.
Step-by-Step Details
Materials Needed
- Yarn: Double-knit yarn (DK) works well; the tutor suggests using thicker yarn for a stiffer, more structured hat. An alternative is Aran yarn for larger sizes.
- Hook: 4mm crochet hook (US G/6) for DK yarn. Use a 5mm hook for Aran yarn.
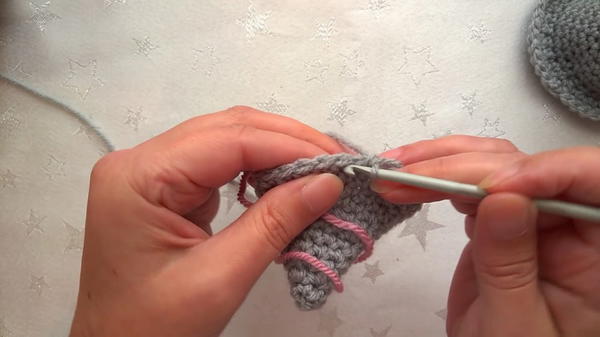
- Marker Yarn or Clips: To mark the last stitch of each row.
- Optional Additions: Alternate colored yarn for decorative stars or hair strands.
Special Features of the Witch’s Hat
- The hat starts with a narrow cone shape, making it suitable for customization to fit various head sizes and shapes.
- When adjusting the size, you work primarily in the four-times table for consistent increases, making it mathematically straightforward.
- A ridge loop detail at the brim helps the edges flare outward.
Tutor's Suggestions
- Thicker Yarn for Structure: Using thicker yarn results in a stiffer hat, which holds its shape better.
- Head Measurement: Ensure the hat’s circumference is larger than the head to allow it to sit nicely.
- Decorative Options: Add stars, hair strands, or other embellishments for extra charm.
Uses of the Witch’s Hat
- Perfect for Halloween costumes or themed parties.
- Ideal for props in baby photoshoots.
- Can be adapted into less structured versions for creative play or charity work.
Tip
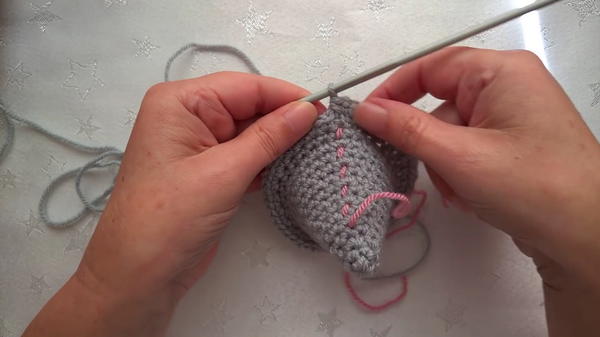
To avoid unnecessary tension or large gaps in your project, carefully undo marker yarn either with your hook or the back of a needle. Rushing can damage your stitches and undo hours of effort when finishing the brim or final rounds.
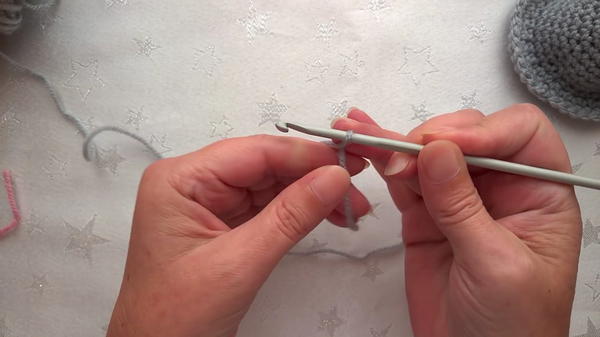
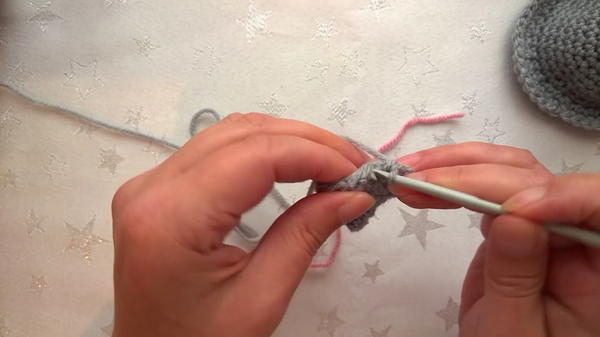
Step-by-Step Instructions
Crocheting a witch’s hat is a fun and creative project that can be adapted for various purposes, from Halloween costumes to whimsical photoshoots. This tutorial focuses on making a smaller version of the hat for demonstration while sharing guidance on how to scale it up for adult or larger sizes. With simple techniques and easy-to-follow steps, this project is beginner-friendly but allows room for customization.
Conclusion
Crocheting a witch’s hat is a versatile project that balances creativity and simplicity. The tutorial allows beginners to engage with basic techniques while providing room for more advanced crocheters to customize proportions, designs, and embellishments.


