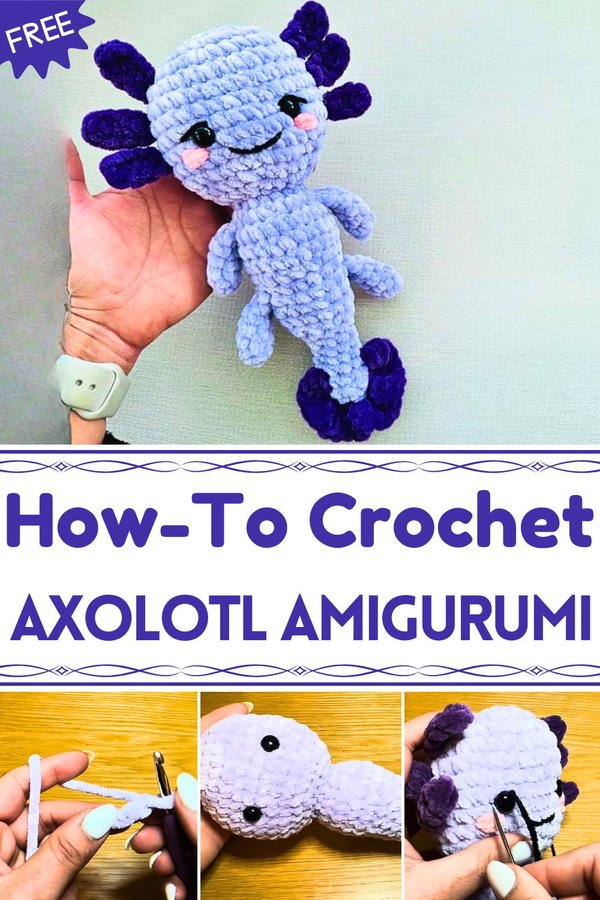
Stitch adorable charm with this Free Crochet Axolotl Pattern bringing to life a cute aquatic friend perfect for gifts display or cuddly companions.
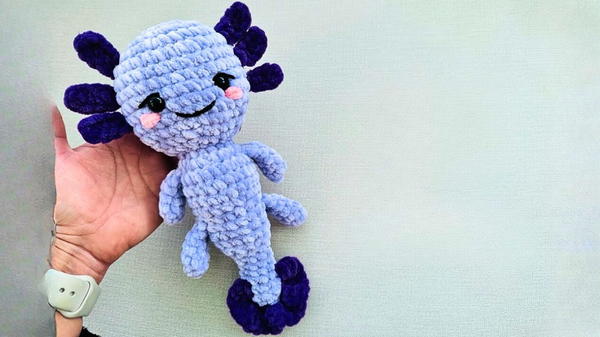
Few creatures can spark instant joy quite like the axolotl, with its permanent smile and whimsical frilly gills that seem almost too charming to be real. Often called the “smiling salamander,” it has become a favorite symbol of playfulness and cheer. The Free Crochet Axolotl Pattern captures this lovable amphibian in soft, huggable form, turning its unique features into a delightful handmade companion. With its rounded body and gentle textures, it instantly stands out as a fun project that brings character and warmth into any collection.
Whimsical Crochet Axolotl Pattern for Smiles and Joy
The charm of this axolotl extends far beyond its appearance. Children will adore it as a cuddly toy or bedtime friend, while adults may enjoy keeping it as an amusing desk companion or decorative accent at home. Its comforting softness and lightweight size make it perfect for carrying around, gifting, or displaying with pride.
Another wonderful benefit lies in its versatility, it works equally well as a thoughtful present for birthdays, themed events, or simply to brighten someone’s day. The Free Crochet Axolotl Pattern combines playful charm with practical uses, ensuring that this little salamander spreads happiness wherever it finds a place, whether in a toy box, on a shelf, or in loving hands.
Step-by-Step Guide: Cute Axolotl Crochet Pattern (https://youtu.be/62DlY38t404)
Introduction
In this delightful video tutorial, the instructor walks you through how to crochet an adorable axolotl, a whimsical and cuddly plush toy perfect for both gifting and displaying. Combining detailed instructions and helpful tips, this tutorial makes it fun and approachable to create your own handmade charm inspired by these adorable aquatic creatures. With its intricate parts—head, body, dorsal fin, gills, arms, and legs—the project is an exciting way to expand your crochet skills while making something irresistibly cute.
Special Features
- Realistic Detailing: The piece includes distinct features like a dorsal fin and delicate gills, giving the axolotl a lifelike and playful design.
- Customization: Choose your favorite yarn colors to personalize the plushie, such as bright or pastel shades for a fun and vibrant look.
- Beginner-Friendly Techniques: Although the project involves several mini components, the tutorial relies on simple stitches like single crochets and increases, making it less intimidating even for beginners.
Materials Needed
To create your axolotl, you will need:
- Yarn:
- Plush yarn in your main color of choice for the body and head.
- Contrasting yarn for the dorsal fin and gills.
- Pink yarn for blush details.
- Black yarn for facial embroidery (optional).
- Tools:
- Crochet hook (5mm recommended).
- 12mm safety eyes (can also use larger, depending on style).
- Stitch marker, darning needle, scissors, and fiberfill stuffing.
Step-by-Step Instructions
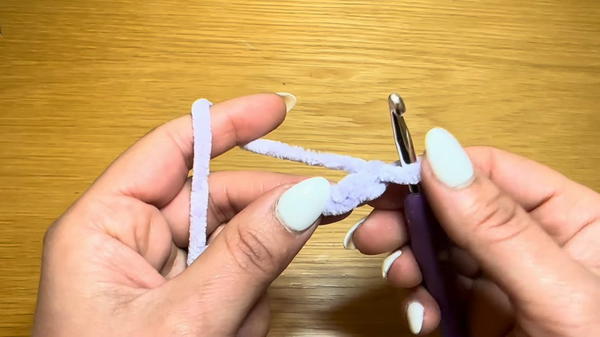
1. Creating the Head
- Start with a slip knot and chain two. Alternatively, use the magic circle technique.
- Inside the second chain, work 8 single crochets (SC) for the first round.
- Pull the yarn tail to close any gaps between stitches.
- For the next rounds:
- Round 2: 8 increases (2 SC in each stitch).
- Round 3: Alternate 1 SC and 1 increase.
- Round 4: Alternate 3 SC and 1 increase.
- Rounds 5–11: Work a steady 30 SC for shaping.
- Insert safety eyes between Rounds 8–9, leaving 5–6 stitches between them. Secure with backings.
- Decrease the stitches to close the head. Gradually stuff with fiberfill for firm form before completing the base.
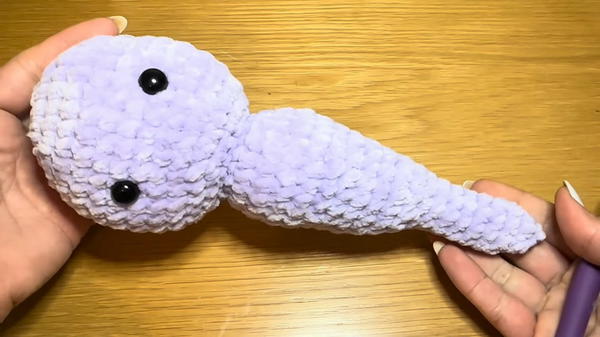
2. Making the Body
- Start directly from the head’s remaining stitches after closure.
- Work consistent increases and decreases to shape the body:
- Begin with rounds of increases (building to 24 stitches).
- Alternate with rows of steady SC to create even shaping.
- Gradually decrease toward the tail.
- Before closing the body, fill it with fiberfill, pressing gently to give it structure.
3. Tail Finishing
The tail tapers off naturally as you decrease stitches, finishing with a secure knot. Stuff lightly to avoid overstretching.
4. Arms and Legs
- Chain 2 and work 6 SC into the second chain.
- Create several rounds of steady SC to form cylinder-shaped limbs.
- Slip-stitch the top to close off each limb.
- Make 4 identical pieces (2 arms and 2 legs).
- Attach limbs to the body using a darning needle and yarn, ensuring symmetry.
5. Gills and Dorsal Fin
- Gills:
- Chain 5, and work 3 half-double crochets (HDC) into each stitch of the chain.
- Add a SC in the final chain.
- Make 6 gills (3 for each side of the head) and attach with a yarn needle. Leave an even gap between each.
- Dorsal Fin:
- Chain 10, skip 2, and work 3 double crochets (DC) into each stitch.
- Secure to the back of the body with yarn, pinning placement before sewing for accuracy.
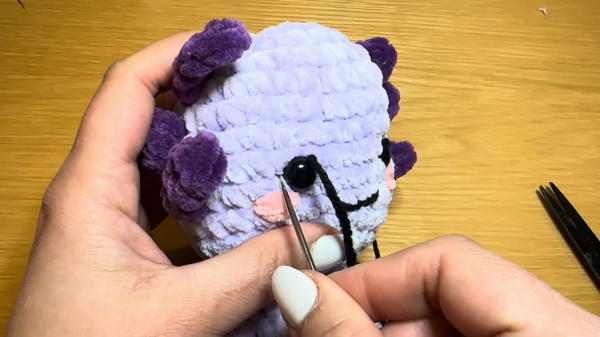
6. Facial Details
- Use pink yarn for a soft blush effect under the eyes, creating two small stitched ovals.
- Embroider a cute smile with black yarn, adding small curved lines for a cheery expression.
Tutor's Suggestions
- Stitch Marker: Use a stitch marker to track the start of rounds to maintain organization. In its absence, substitute with a scrap of yarn or a paper clip.
- Consistent Stuffing: Add fiberfill little by little during stitching to ensure the toy remains evenly shaped.
- Securing Pieces: Attach all small components (e.g., arms, legs, gills) securely with multiple passes of yarn to prolong durability.
Level of Difficulty
Beginner-Intermediate:
This project is beginner-friendly as it consists mostly of single crochets, increases, and decreases. However, assembling the multiple smaller components requires patience and attention to detail, making it slightly challenging for absolute beginners.
Uses of the Finished Project
- Gifting: The axolotl makes an adorable handmade gift for children or plushie enthusiasts.
- Decor: Use it as a whimsical décor item for nurseries, desks, or cozy corners.
- Collectible: A great addition to a collection of DIY plush toys or crochet art.
A Tip for Success
While assembling the axolotl, pre-pin components like arms, legs, and gills into place before stitching to ensure symmetry. This will make your finished project look polished and professional.
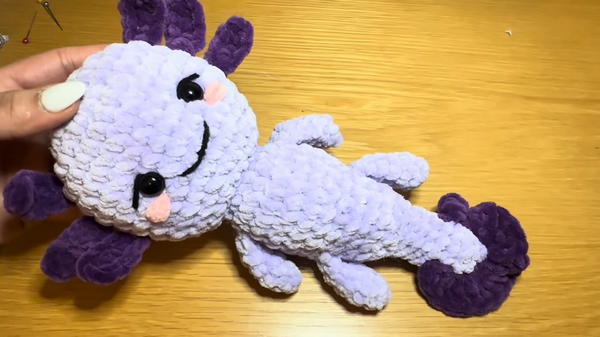
Conclusion
This cute axolotl crochet tutorial is a delightful exploration of creativity, where simplicity meets craftsmanship. With its unique gills, dorsal fin, and cheerful face, it is sure to bring joy to anyone who sees it. Whether you’re crocheting it as a gift, a collectible, or simply for fun, the end result will leave you smiling.


