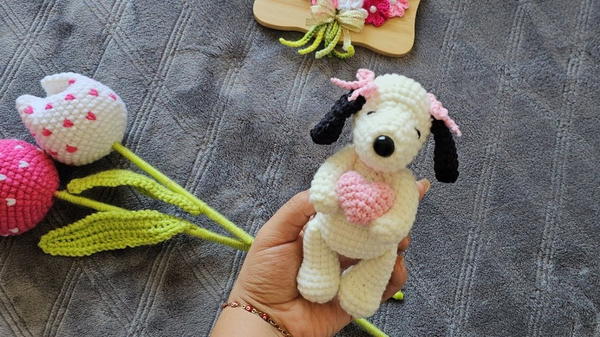
Celebrate playful nostalgia with the Free Crochet Snoopy Pattern, a cute and charming creation use for décor, gifts, or adding whimsy to any space.
Tucked away in the world of creativity exists a project that brings together the simplicity of yarn and the timeless appeal of an iconic character, Snoopy. With his floppy ears, endearing expression, and a tiny heart in his paws, this crochet Snoopy pattern is a delightful way to combine artistry and nostalgia. Perfect for gifting, decorating, or even just enjoying as a rewarding hobby, this project offers a chance to create something truly special with your own hands.
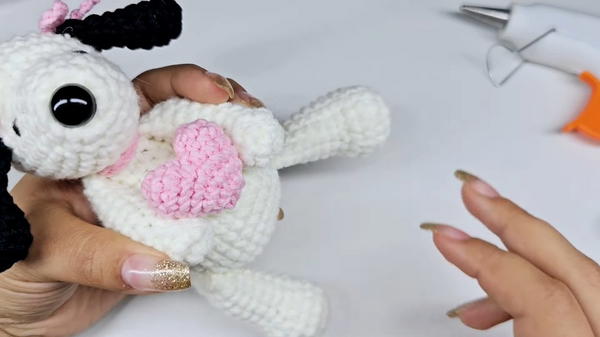
Cute Crochet Snoopy Pattern for Quick Fun Projects

Easy to follow and customizable, this project is perfect for intermediate crocheters, though determined beginners may find it manageable with a little practice. In the end, the crochet Snoopy becomes much more than a crochet, it becomes a cherished creation, carrying with it a story of patience, love, and creativity.
The process of making this adorable Snoopy figure is straightforward yet deeply satisfying. The pattern begins with crocheting the body, shaped through circular rows of single crochets, enhanced by gradual increases and decreases to achieve smooth, rounded contours.
The highlight of this design, a crocheted heart, is made by alternating rows of single crochets and shaping techniques, giving Snoopy a heartwarming detail.
His floppy ears, begun with a magic ring and carefully stitched rows, add a playful charm, while safety eyes and a carefully sewn nose give him his expressive, lovable features.
Here’s a comprehensive breakdown of the video, based on the information you provided:
Step-by-Step Guide to Crocheting a Charming Snoopy Amigurumi
Introduction
Creating a Snoopy-inspired amigurumi is as fun as it is rewarding. This adorable crochet project is a perfect combination of playfulness and artistry. Featuring Snoopy’s iconic look—complete with a heart, bows, and a lively scarf—this crochet piece makes for a delightful decoration or a thoughtful handmade gift. Whether you’re an experienced crocheter or a beginner with an adventurous spirit, this project teaches valuable stitches and assembly techniques to help you turn yarn into a lovable character.
This tutorial guides you step by step, from basic crocheting of the Snoopy body and facial features to assembling and accessorizing. With patience and attention to detail, you can create something truly unique that brings joy to everyone who sees it.
Materials Needed
To complete this project, you will need:
- Yarn: White, black, red (or pink, depending on your preference), and a contrasting color for the bows.
- Crochet hook (size as recommended for your chosen yarn).
- Safety eyes and nose buttons for Snoopy’s face.
- Needle for assembly and sewing.
- Stuffing material to fill the character.
- Scissors.
Step-by-Step Instructions
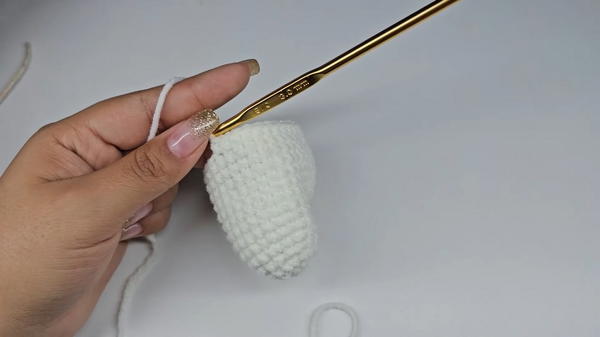
Part 1: The Body
- Begin with the body’s base: Crochet six rows of single crochets around, with one stitch in each space. This forms the base structure.
- Shaping the body:
- For the next row, alternate three single crochet stitches and one decrease, repeating until the round is complete.
- Continue to shape the body by reducing to two single crochet stitches followed by a decrease in the next row.
- Further reduce with one single crochet and one decrease in the next round.
- For the last round, complete six decreases to shape the top.
- Close the top: Using a needle, insert into the chains from each stitch, pull to tighten, and seal the opening.
Part 2: The Ears
- Start with a magic ring: Create six single crochets in the magic ring to form the ear base.
- Increase stitches: Crochet an increase in each space of the next round to expand the size. This results in 12 stitches.
- Create the ear length: Crochet three rows with one single crochet in each space (no increases or decreases).
- Shape the ear:
- Crochet two single crochets followed by a decrease for the next round.
- Then make one single crochet in each space for the next row.
- Fold and finish: Fold the ear in half and single crochet along the edge to join the sides. Leave a yarn tail for sewing.
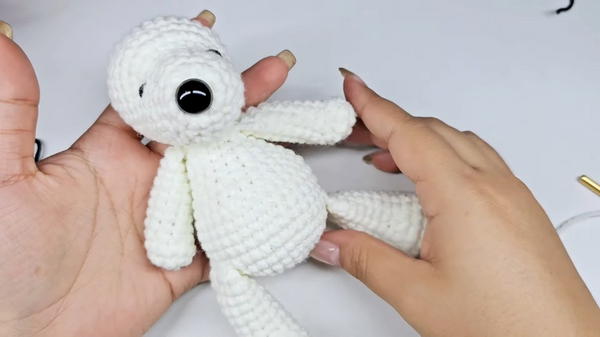
Part 3: Facial Features
- Add the safety eyes and nose: Place the eyes in round 7 and the nose appropriately to mimic Snoopy’s facial expression.
- Secure the features: Use thread to tighten the placements of the eyes and nose, creating tiny knots at the back and tucking them into the stuffing.
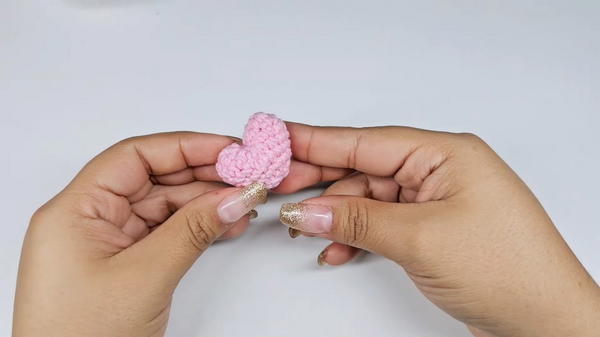
Part 4: The Heart
- Start the heart: Create a magic ring with six single crochets.
- Increase the heart size: Alternate single crochet and an increase for the next round.
- Shape the heart: Add rows of single crochets (no increases) followed by two single crochet stitches and one decrease in alternating rounds.
- Finish and stuff: For the final row, crochet six decreases and close tightly with a needle.
Part 5: Assembly
- Position the head and ears: Using a needle and thread, position and attach the head to the body securely. Sew the ears symmetrically on either side of the head.
- Add the heart: Sew the heart onto Snoopy’s hands or chest, ensuring it’s positioned neatly.
Part 6: Accessorizing
- Crochet Snoopy’s scarf:
- Use pink or red yarn to chain 28 stitches. Adjust the length according to your preference, and close with a slip stitch.
- Secure the ends and hide any extra yarn for a clean finish.
- Make the bows: Chain 28 stitches, tie the chain into a loose knot, and shape it into a symmetrical bow. Make two bows and sew one onto each ear.
Special Features
- Realistic Details: The use of safety eyes and a separate crocheted nose allows for a more lifelike Snoopy.
- Personalized Accessories: The scarf and pink bows give this project a playful, customizable touch.
- Compact and Lightweight: Perfect for a gift or a decorative item.
Level of Difficulty
Intermediate
- Suitable for crocheters with some experience but beginners willing to practice basic shaping techniques can also attempt it.
Tutor’s Suggestions
- Work in good lighting to ensure your stitches are even and tight, especially when creating small features like the heart and ears.
- Use a stitch marker to track the beginning of each round, making it easier to keep your place in the pattern.
- When assembling Snoopy, take your time. Align the elements symmetrically before committing to sewing, as small misalignments will be noticeable.
Uses
- A lovable handmade gift for Snoopy fans or children.
- A decorative piece perfect for desks, shelves, or nurseries.
- A thoughtful, one-of-a-kind collectible item.
Tip
When closing the final stitches of the body or heart, pull the yarn gently but firmly to avoid gaps. After securing the knots, use a needle to tuck any excess yarn into the piece for a neat and polished look.
Conclusion
This Snoopy amigurumi crochet project is a delightful way to bring the iconic character to life in yarn form. With its charming little heart, playful bows, and snug scarf, Snoopy is sure to leave lasting impressions on anyone who sees it. While slightly challenging in its attention to detail, every stitch adds to the build of a lovable keepsake.


