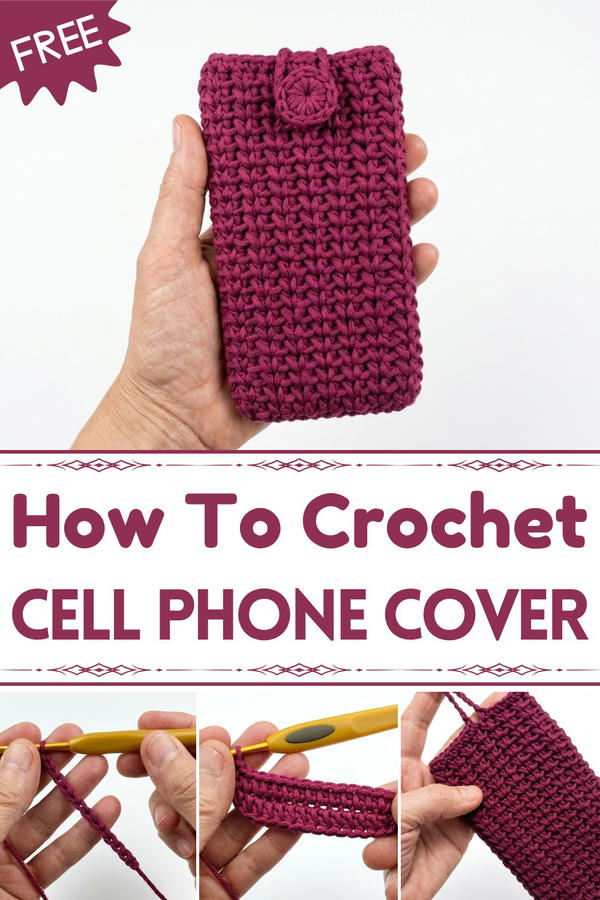
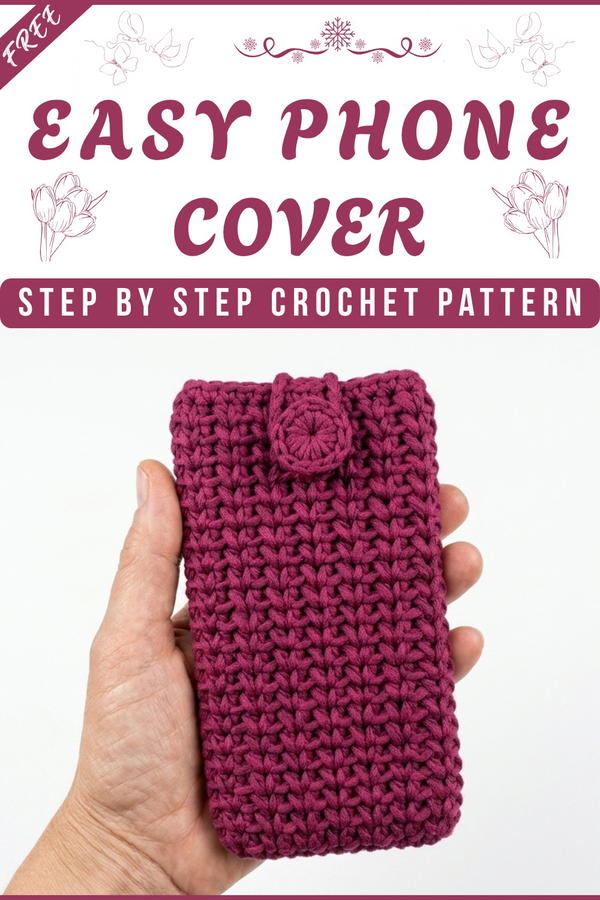
Keep your phone secure and stylish with a free crochet cell phone holder pattern that’s perfect for everyday use and showcases creativity with every stitch.
Carrying your phone in a unique and handmade accessory can turn heads and serve an essential purpose. A crochet cell phone holder isn’t just a practical way to protect your phone; it’s a charming addition to your daily routine. With soft yet sturdy yarn, this holder can comfortably fit your device while keeping it safe from scratches and minor bumps. Using a free crochet cell phone holder pattern, you can design this beautiful piece to match your personal style, choosing vibrant colors, elegant stitches, or even adding creative details like decorative buttons or tassels.
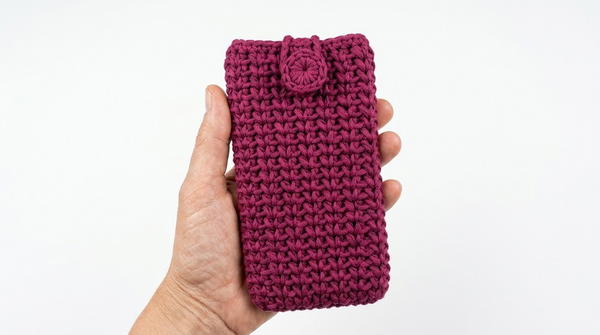
Easy Crochet Cell phone Holder Pattern for Active Lifestyle
It not only keeps your phone secure but also gives you the convenience of going hands-free with its strap or handle design. This handmade holder is lightweight, durable, and perfect for carrying a phone during quick errands, outdoor trips, or around the house. Whether you’re new to crochet or experienced, this pattern helps you create something functional and visually appealing in no time.
Crochet Handy Cell Phone Holder Pattern
Skill Level
Beginner to Intermediate
Finished Size
- Width: 10 cm (4 inches)
- Height: 16 cm (6.3 inches)
- These measurements accommodate most standard-sized cell phones. Adjust dimensions as needed for larger or smaller phones.
Gauge
- 10 cm x 10 cm (4 x 4 inches): Approximately 14 stitches and 10 rows in half double crochet (hdc).
Materials
Yarn:
- 100% Cotton Yarn (DK weight recommended).
- Example color: Dark Brown.
- Adjust yardage based on personalization (approximately 50 g required).
Crochet Hook:
- Size: 3.5 mm (or adjust size to meet gauge).
Stitch Markers:
- To mark the first stitch of new rounds.
Scissors
Blunt Wool Needle:
- For weaving in ends and sewing the button.
Button:
- Hand-crocheted button (instructions provided), or use a store-bought button.
Customization Ideas
- Color Choices: Use multiple colors for stripes or an ombré effect.
- Larger Sizes: Adjust the starting chain and number of rows for larger devices such as tablets.
- Handle Variations: Add a shoulder strap or wrist loop for portability.
Pattern Instructions
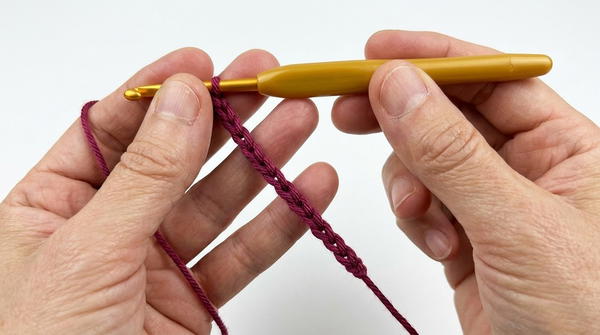
Step 1: Foundation Chain
- Using a 3.5 mm hook, create a slip knot.
- Chain 15 stitches:
- Ensure the chain length matches the width of the phone, leaving slight room for ease.
- Add 2 extra chains for turning.
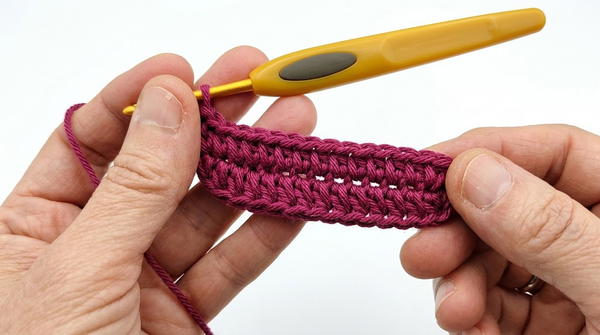
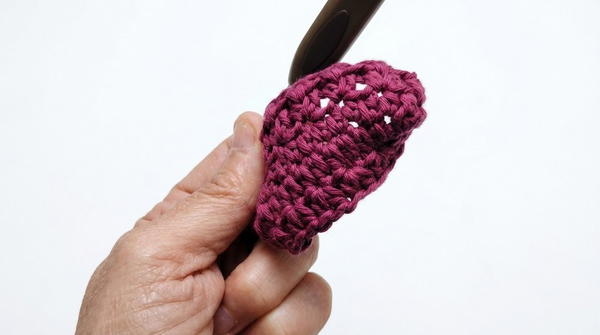
Step 2: Base Round
Row 1:
- Yarn over; skip the first 2 chains.
- Insert hook into the 3rd chain and work 1 hdc.
- Place hdc stitches into each chain across until reaching the penultimate chain.
Corner Turn:
- On the last chain, work 3 hdc stitches into the same space to create a rounded corner.
Opposite Side:
- Rotate the foundation chain and work 1 hdc into each stitch on the opposite side.
- Work 1 sl st into the first hdc of the round to join.
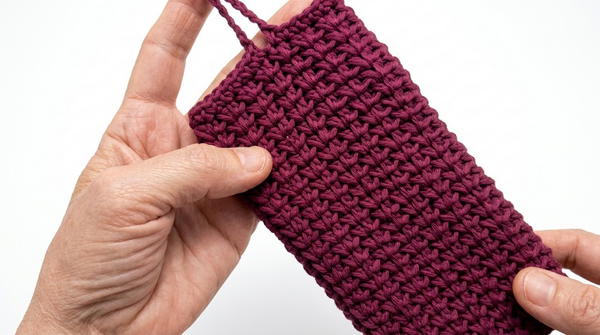
Step 3: Textured Stitch Pattern
Round 1: Start Textured Groups:
- Chain 2 (counts as the first hdc).
- Insert hook into the same stitch and work 1 hdc.
- Skip the next stitch.
- Work a pair of 2 hdc into the next stitch.
Continue Working Groups:
- Skip 1 stitch; in the next stitch, create another pair of 2 hdc stitches.
- Work in this pattern until reaching the end of the round.
- Slip stitch into the first hdc pair to join.
Repeat for Each Round:
- Begin each round with Chain 2.
- Work pairs of hdc stitches into the space between hdc groups from the previous round.
- Repeat until you have completed 24 rounds, or until the cell phone holder reaches the desired height.
Step 4: Button Loop
Create Button Loop:
- After completing the textured pattern, chain 1 and begin a round of sc stitches.
- Work 1 sc into each stitch for 8 stitches.
- Create a loop by chaining 16 chains and skip the next stitch.
- Continue with sc stitches until reaching the end of the round.
Invisible Closure:
- Cut the yarn and pull the last loop to fasten off.
- Use a wool needle to secure the end and hide it.
Step 5: Crochet Button
Foundation Ring:
- Create a magic ring or chain 4, and join the loop with a slip stitch.
Round 1:
- Work 6 sc into the ring; pull gently to close the magic ring.
Round 2:
- Work 2 sc into each stitch around (12 sc).
Round 3:
- Work 1 sc into each stitch around.
- Continue until the desired button size is achieved.
Finishing:
- Slip stitch to close the round.
- Cut the yarn, leaving a long tail to sew the button onto the bag.
Sew Button:
- Use the yarn tail to securely sew the button onto the bag opposite the loop opening.
- Use the yarn tail to securely sew the button onto the bag opposite the loop opening.
Finishing Touches
Weave in Ends:
- Use a wool needle to neatly hide all yarn tails inside the project.
Steam Blocking (Optional):
- Lightly steam block the finished piece if necessary to even out stitches.
- Lightly steam block the finished piece if necessary to even out stitches.
Conclusion
This cell phone holder is a versatile and practical project that combines simplicity with style. With its textured stitch pattern, crocheted button, and customizable strap, it makes an excellent gift item or personal accessory.
Tips for Success
Ensure Accurate Measurements:
- Place your phone over the foundation chain to confirm size before adding textured rounds.
Stitch Marker Usage:
- Always mark the first stitch of each round to maintain clean, accurate edges.
Customization:
- Add a crossbody strap or wrist loop by attaching chains to the sides.
Important Remarks
- Adjust Tension: Use a slightly tighter tension to prevent stretching and ensure your phone holder holds its shape.
- Test Button Loop: Before sewing the button, confirm that the loop securely fits the button for proper closure.


