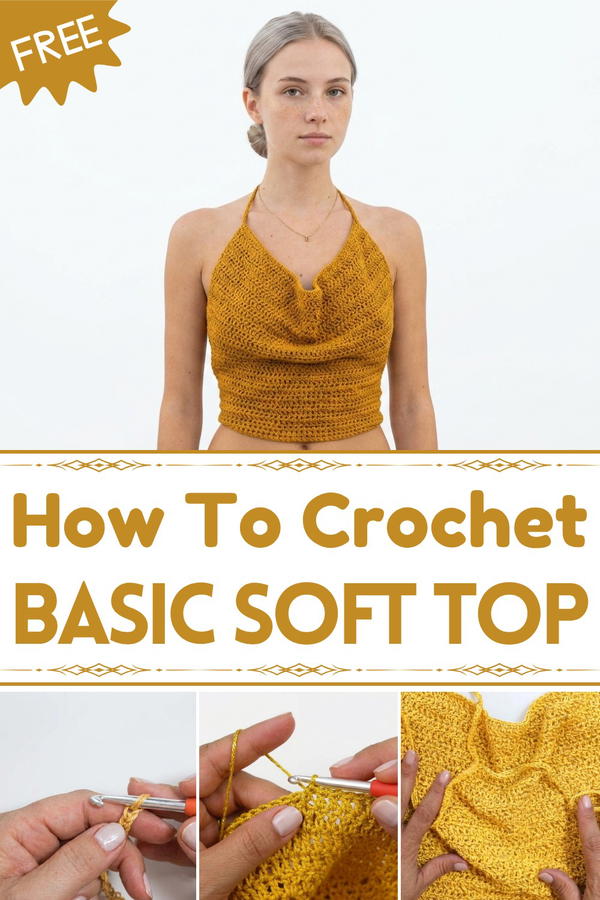
Try this free crochet top idea and enjoy a comfy, stylish design that’s simple to follow and perfect for adding a unique touch to your everyday look.
Slipping into something light, soft, and airy that feels just right for a warm, sunny day. A crochet top is not just clothing—it’s a beautiful blend of comfort and unique style. Made with soft yarn and delicate stitches, it offers a handmade charm that stands out in the best way. Its lightweight and breathable design keep you cool while adding a touch of elegance to your everyday look. Pair it with jeans, shorts, or skirts, and you have a versatile outfit ready for anything, whether it’s a casual outing, a beach day, or even just relaxing with friends.
Free Crochet Top Pattern With Step-by-Step Instructions
What makes it even more special is its personalized fit and an array of designs that range from simple to detailed, offering something for every taste. With its natural and effortless beauty, it suits different occasions and easily becomes a favorite in any wardrobe. This charming piece doesn’t just look good, it feels good to wear, combining practicality with a stylish edge that's sure to leave you loving every bit of it.
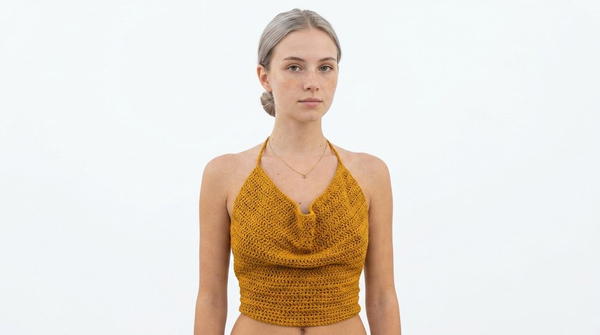
Soft and Easy Crochet Top
Materials Needed
Yarn:
- Weight: 5 ply cotton yarn with golden lurex detail for added shimmer.
- Color: Color of your choice.
- Approximately 200g (depending on size).
Hook:
- 6mm (US J/10) crochet hook for the body of the top.
- Optional: Use a smaller hook (e.g., 5.5mm) for the laces if you want them firmer and less stretchy.
Additional Materials:
- Scissors for cutting the yarn.
- Tapestry needle for weaving in ends.
Skill Level
Intermediate to Advanced: This pattern uses basic crochet stitches and involves customizing measurements, making it suitable for intermediate-level crocheters or ambitious beginners.
Key Abbreviations (US Crochet Terminology)
- ch = Chain
- sc = Single Crochet
- sl st = Slip Stitch
- dc = Double Crochet
- st = Stitch(es)
Special Notes
Customization:
- Adjust the length and width of the top to match your body measurements.
- Be mindful of how you want the garment to fit (loose or snug).
Tension & Hook Selection:
- A 6mm hook produces a loose, slightly lacy texture, perfect for a breezy top. If you prefer a tighter fabric, use a smaller hook like 5mm.
Symmetry:
- Ensure the straps and laces are evenly placed for a balanced final look.
Pattern Instructions
Step 1: Take Measurements
- Measure the distance from shoulder to shoulder. For reference, the pattern uses 45cm (18 inches).
- Determine the desired length of the top. For a crop-top style, aim for a height just above the navel. Here, the height is 35cm (14 inches).
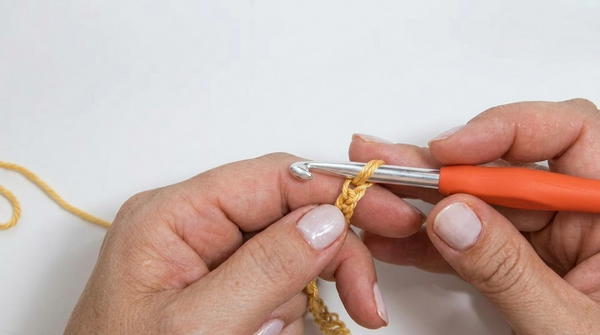
Step 2: Foundation Chains & First Row
- Start by making a chain equal to the shoulder-to-shoulder measurement (e.g., 45cm). For the pattern example, this is 45cm in chains.
- Be sure to chain tightly to avoid a wavy foundation row.
- Once your chains are finished:
- Yarn over and insert the hook into the 3rd chain from the hook.
- Work 1 dc into the 3rd chain and every chain across.
- At the end of the row:
- You will have a foundation row of double crochets.
- You will have a foundation row of double crochets.
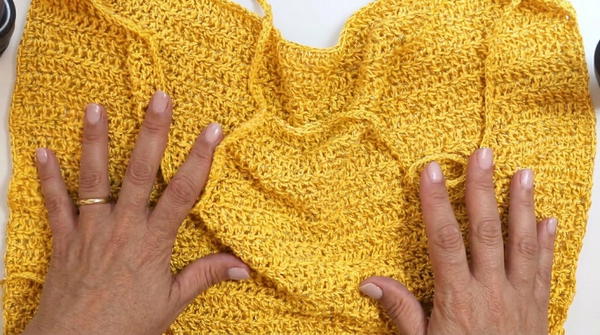
Step 3: Build the Length
- Chain 3 at the start of each row (counts as the first dc). Then, turn your work.
- Work 1 dc into each st across.
- Repeat these steps in row by row fashion until your top reaches the desired height (e.g., 35cm/14 inches, approximately 40 rows).
- Keep your tension even to ensure a rectangular shape.
- Note: The fabric will have a loose and slightly perforated texture if worked with a 6mm hook.
Step 4: Add Laces for the Bottom Closure
- At the end of the last row, chain 120 chains for the first lace string.
- Turn back along the chain: Work 1 sl st in each chain all the way back to the base of the top.
- Once finished, proceed to work along one side of the top.
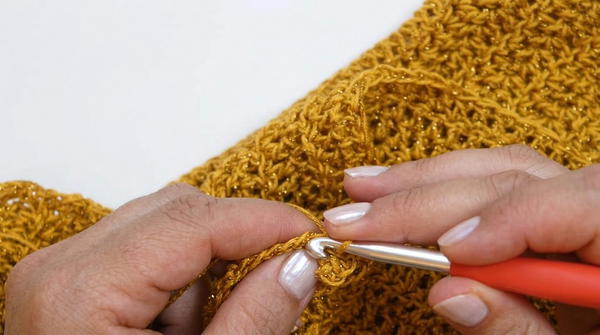
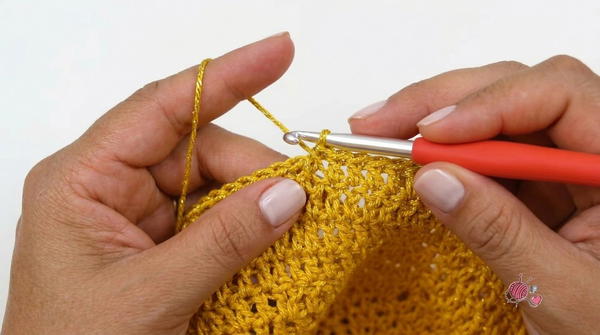
Step 5: Work the First Side of the Top
- Work sc evenly along the side edge.
- Insert the hook into available gaps between rows.
- Your placement won’t be perfectly aligned due to the nature of crochet edges, but aim to create even spacing. Use approximately 1 sc per row for guidance.
- At the other end of this side:
- Chain 100 chains for the first neck strap.
- Work sl sts back into each chain to complete the strap.
Step 6: Work Across the Top Edge
- Continue working sc stitches along the top until you reach the next corner.
- Here, chain 100 chains for the second neck strap, and work sl sts back into each chain, as before.
Step 7: Work the Opposite Side
- Now, continue working sc stitches down the second side of the top until you reach the opposite bottom corner.
- When you reach the bottom corner:
- Chain 120 chains.
- Work sl sts back into each chain to complete the second lace string.
Step 8: Final Touches
- After returning to the base of the final lace, work sc evenly across the bottom edge of the top to provide a seamless finish.
- Join with a sl st in the last st.
Step 9: Fasten Off and Weave in Ends
- Cut your yarn and pull the tail through the last loop to fasten securely.
- Use a tapestry needle to weave in all loose ends, ensuring the edges are tidy and smooth.
Customization Ideas
- Color Options: Use two colors for the straps and laces to provide contrast to the main body of the top.
- Length: Extend the top below the navel or shorten it into a bralette style — adjust for your preferred fit.
- Straps: Replace the neck straps with adjustable ties for more versatility.
Conclusion
This elegant, crochet top is both simple and chic — a quick project for intermediate crocheters that yields impressive results. With its breathable design and adjustable laces, the top is ideal for summer wear or layering over casual outfits. Customize the size, texture, or color to suit your preferences and style.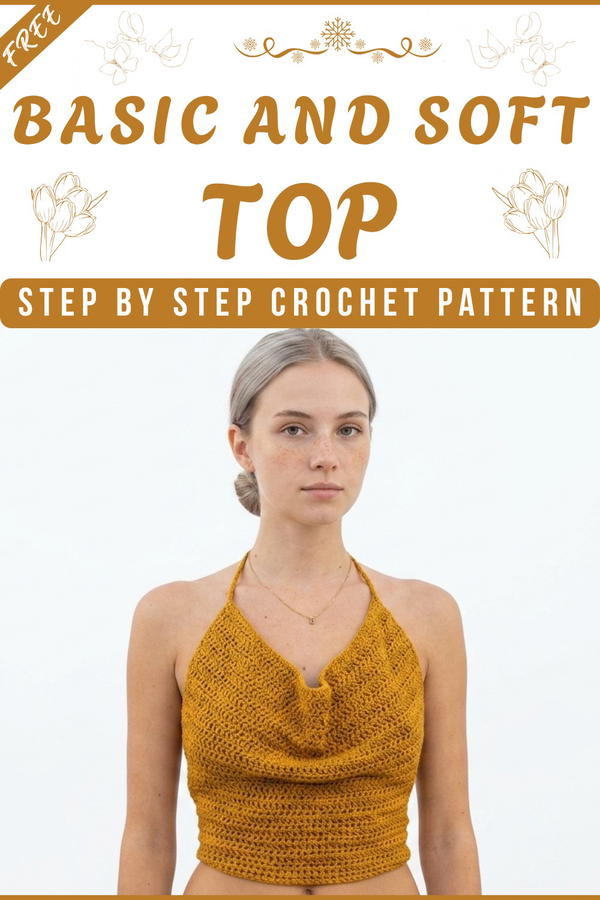
Pattern Correction
- Always verify your chain counts for laces, straps, and foundation rows to ensure symmetry.
- Maintain a consistent tension to avoid uneven edges. Slight blocking can help smooth any inconsistencies.
Tips for Success
- Measure Often: Continuously measure your crochet fabric against your intended dimensions (both width and length).
- Tidy Edges: For a professional finish, consider working a border of sc stitches along any visible edge.
- Blocking: Light blocking will even out the fabric and relax the crochet stitches for a more polished look.


