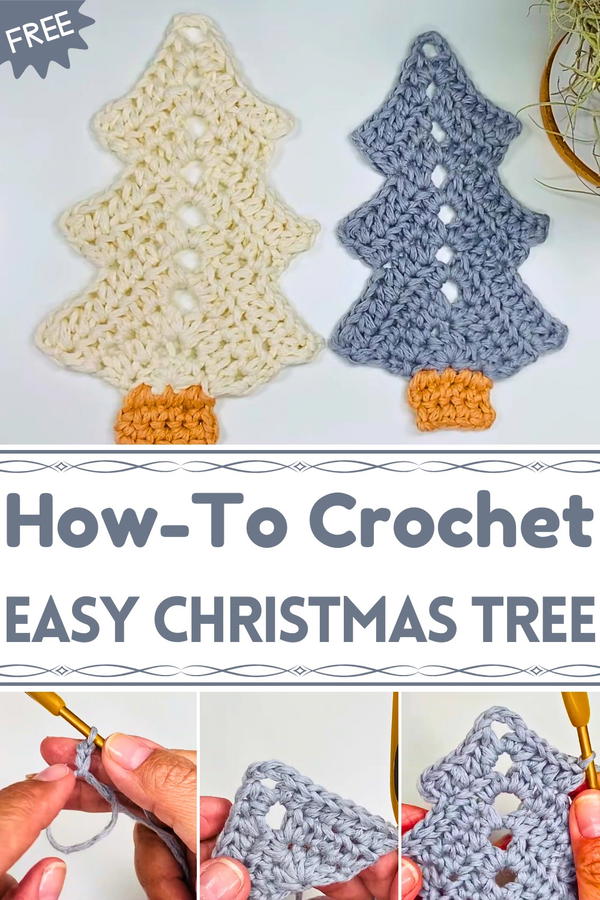
Twinkle festive cheer with this Free Crochet Christmas Tree Pattern, perfect for adding handmade charm and holiday magic to your home décor.
Soft twinkling lights reflected off tiny ornaments as a handmade Christmas tree sat proudly on a cozy mantel, drawing smiles from everyone in the room. The Free Crochet Christmas Tree pattern brings this same warmth and charm into homes, offering a festive touch that lasts year after year. Its layered, textured stitches mimic the fullness of real pine, while remaining light, durable, and easy to display anywhere—from tabletops to shelves. Beyond decoration, this charming tree becomes a creative outlet, turning simple yarn into a joyful centerpiece that sparks conversation and admiration.
Cozy Charm Crochet Christmas Tree Pattern for Holiday Cheer
The process of crocheting it provides a soothing, mindful activity, perfect for quiet winter afternoons. Once finished, it can be personalized with small ornaments, beads, or tiny stars, adding unique flair to holiday celebrations. This crochet tree also makes an ideal gift, bringing handcrafted warmth and cheer to friends and family.
Its versatility extends beyond seasonal use, as smaller versions can serve as tabletop décor, festive accents for desks, or thoughtful tokens for holiday events. Combining creativity, functionality, and festive cheer, the Free Crochet Christmas Tree pattern turns ordinary spaces into inviting, merry spots filled with color and texture, making every holiday moment feel more magical and personally meaningful.
Special Features
- Festive and Versatile Design: These crochet Christmas trees can be used as ornaments, gift toppers, or even as part of table décor.
- Beginner-Friendly: The project involves simple stitches like the half-double crochet (HDC) and single crochet (SC), making it perfect for those still learning.
- Customizable: You can experiment with different yarn colors or add embellishments like beads for a unique flair.
- Quick Project: Each tree takes minimal time to complete and can be made in batches for various uses.
Materials Needed
- Yarn:
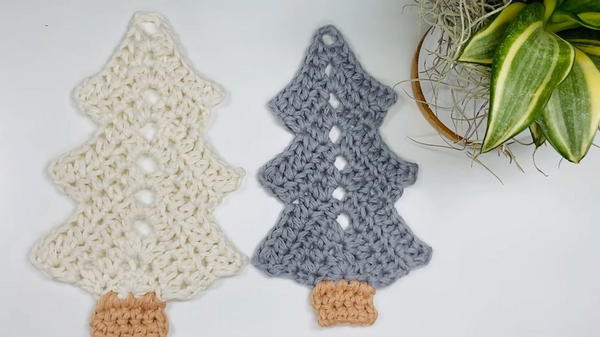
- Main colors: Cream, gray, and dark khaki.
- Optional: Brown yarn for the trunk of the tree.
- Crochet Hook: 4mm hook.
- Other Tools:
- Scissors.
- Wool needles for finishing and hiding threads.
Difficulty Level
Beginner-Friendly to Intermediate: While most of the stitching is simple, the process involves some repetitive steps and turning your work, which can be slightly challenging for complete beginners.
Step-by-Step Instructions
1. Creating the Tree Base
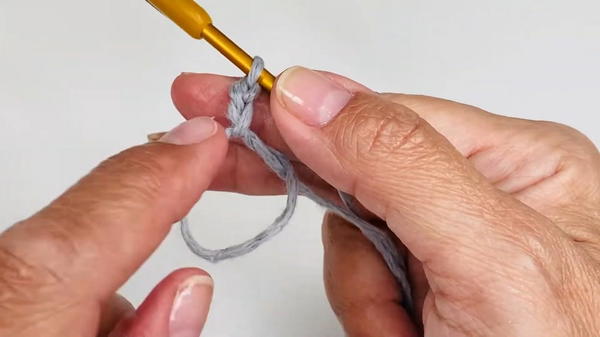
Step 1: Start with a Magic Ring
- Make a slip knot in the yarn by wrapping the yarn around your fingers and creating a small loop.
- Insert the hook into the loop, capture the yarn from behind, and pull through to create a hoop.
Step 2: Single Crochet (SC) Foundation
- Chain 1 and make 2 additional chains for height.
- Crochet 7 half-double crochets (HDC) into the magic ring. Pull the tail to close the ring tightly.
2. Building the Tree Layers
Step 1: First Layer of the Tree
- Chain 2 to begin the next row. Turn your work.
- In the first stitch, make 2 HDC to create an increase.
- Continue with single HDCs across until the last stitch, where you again make 2 HDC.
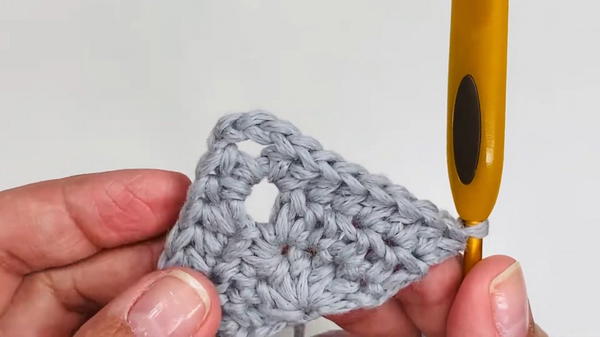
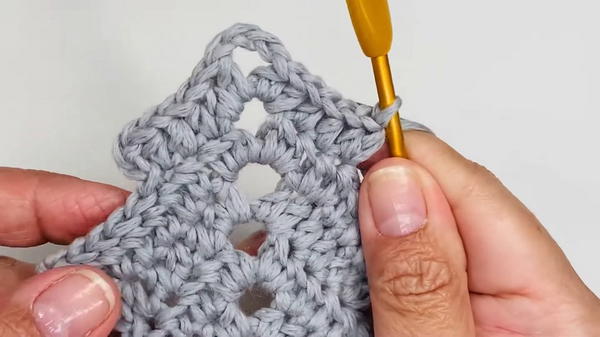
- In the center stitch of the row, create 2 HDC, chain 3, 2 HDC for the tree’s “peak.”
Step 2: Second Layer
- Chain 2, turn, and repeat the same process as the first layer:
- Make 2 HDC in the first and last stitches.
- At the center peak (the chain-3 space), make 2 HDC, chain 3, 2 HDC.
Step 3: Third Layer and Additional Layers (Optional)
- Chain 2, turn, and follow the same pattern:
- Increase at the beginning and end.
- Repeat the center peak pattern.
- If you want a taller tree, you can add additional rows, maintaining the same stitch pattern.
3. Finishing the Tree Top
Step 1: Slip Stitch Sides
- Once the tree layers are complete, add slip stitches to smooth the top edges. This gives the tree a polished look.
Step 2: Cutting and Hiding Yarn Ends
- Cut the yarn, leaving enough length to thread through the wool needle and hide the end.
- Use the wool needle to weave the yarn through the back of the work, ensuring it doesn’t distort the tree shape.
4. Creating the Tree Trunk
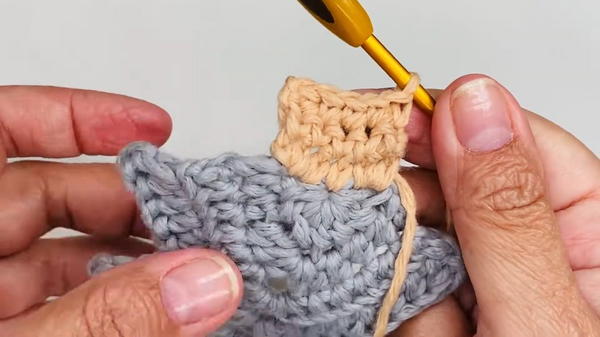
Step 1: Attach Brown Yarn
- Attach the brown yarn at the bottom of the tree with a slip stitch for the trunk.
Step 2: Crochet the Trunk
- Chain 1.
- Work 5 single crochets (SC) at the base of the tree.
Step 3: Second and Third Rows
- Chain 1, turn, and crochet 5 SC across. Repeat this once more to complete the trunk.
Step 4: Finish and Hide Ends
- Cut and hide the ends of the yarn. Use the wool needle to secure any loose ends at the back of the work.
Tutor’s Suggestions
- Work Tightly: Keep your stitches tight, especially at the base, for a sturdy and polished finish.
- Use a Stitch Marker: For beginners, marking the first and last stitches of each row can help avoid confusion when turning the work.
- Don’t Overstuff: If you want to add dimension using stuffing, do so sparingly to maintain the shape of the tree.
Uses of the Crochet Tree
- Gift Toppers: Attach the tree to wrapped gifts for a personal touch.
- Christmas Ornaments: Add a loop of yarn or thread to hang it on your tree.
- Home Décor: Incorporate it into centerpieces, garlands, or mantel displays.
- Holiday Crafts: Use it as part of a themed holiday wreath or card.
Conclusion
Creating a mini crochet Christmas tree is a delightful and rewarding project, perfect for adding a handmade touch to your holiday season. With minimal materials and beginner-friendly techniques, you can craft beautiful decorations in no time. Whether you’re using these trees to top gifts or decorate your home, their charm is sure to bring joy to those around you.
Final Tip
When creating the layers of the tree, work carefully in the chain-3 space at the peaks. This ensures that the tree maintains its triangular shape, and the separation in each row is consistent.


