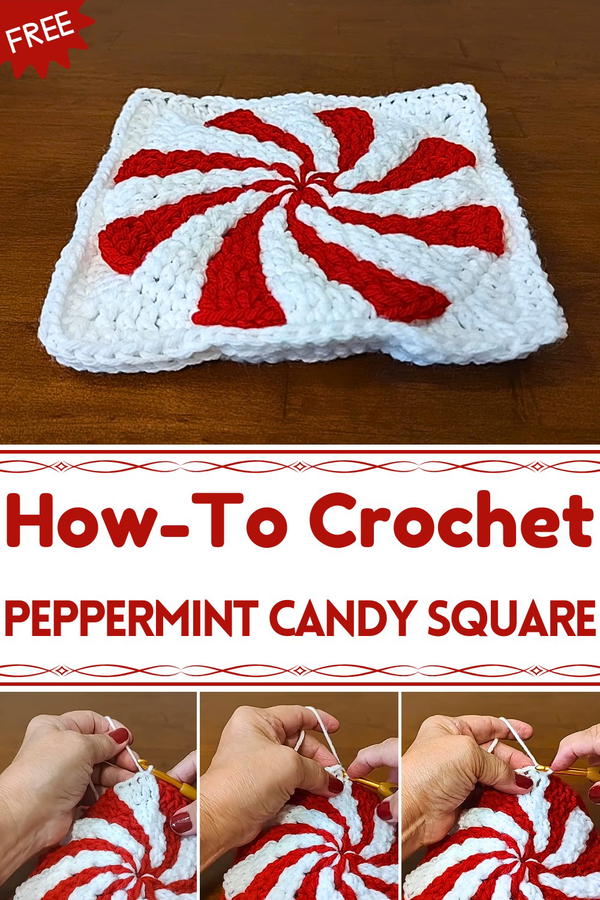
Sweeten your crafting with the Free Crochet Peppermint Candy Square Pattern, a colorful and fun project perfect for décor, blankets, or festive charm.
Bright stripes of red and white have long captured the cheerful spirit of holidays and cozy gatherings, reminding many of the simple pleasures of festive treats. With the Free Crochet Peppermint Candy Square Pattern, that classic charm can now be woven into practical and decorative creations. Each square offers a playful pop of color, making it ideal for blankets, table runners, or whimsical coasters.
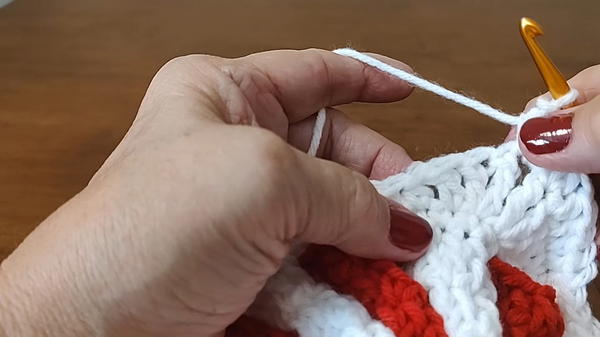
Modern Crochet Peppermint Candy Square that Pops on Display
Beyond aesthetic appeal, these crochet squares provide versatility: they can be joined to form larger home décor items, sewn onto bags or pillows for a cheerful accent, or even used as festive wall hangings. Beginners will find the step-by-step guidance approachable, while seasoned crocheters can experiment with different yarn textures or color contrasts to suit any occasion.
The repetitive motion of working through each square also offers a calming, meditative rhythm, turning a simple crafting session into a mindful break from daily routines. Additionally, these handmade squares are perfect for thoughtful, personalized gifts, adding a splash of warmth and creativity to someone’s home. Combining functionality, charm, and tactile satisfaction, this pattern makes it easy to infuse everyday spaces with playful elegance, bringing both joy and utility through a small, yet impactful, handcrafted piece.
![]()
Materials Needed
- Yarn: Mainstay yarn in red (Color 2) and white (Color 1).
- Crochet Hook: 5.5 mm.
- Scissors: For cutting yarn.
- Ready-Made Throw Blanket (optional): A red backing throw (from Walmart). This is used to sew onto the back of the peppermint throw to avoid weaving in ends.
Special Features
- Simplified Square Design: Uses square patterns instead of hexagonal ones, reducing assembly time.
- Backed Blanket Option: Adding a throw blanket as backing eliminates the need to weave in ends.
- Festive Theme: The peppermint candy motif is perfect for holiday decorations and gifts.
- Join and Border Options: Jackie recommends using a backward half-double crochet in red for joining squares and adding a border, enhancing the red accents of the throw.
Difficulty Level
This project is suitable for confident beginners to advanced crocheters. Basic knowledge of foundational stitches such as single crochet, double crochet, half-double crochet, and slip stitch is required. The inclusion of triple crochet may offer a slightly more challenging twist for newer crocheters, but Jackie’s clear explanations make it approachable.
Tutor's Suggestions
- Use a stitch marker to keep track of corners and stitch counts.
- Maintain loose tension on slip stitches in Row 12 as you'll be working into them in the next row.
- Don’t worry if your square doesn’t lie flat during initial rows—it will straighten out once joined into larger blocks.
- Add a red fabric backing (like a throw blanket) to simplify the project and eliminate the need to weave in the ends.
Step-by-Step Instructions
Rows 1–10
Jackie suggests referencing her earlier four-part video tutorial to complete the first 10 rows. This part forms the circular base that will eventually transform into a square peppermint motif. You can find the link in her video description.
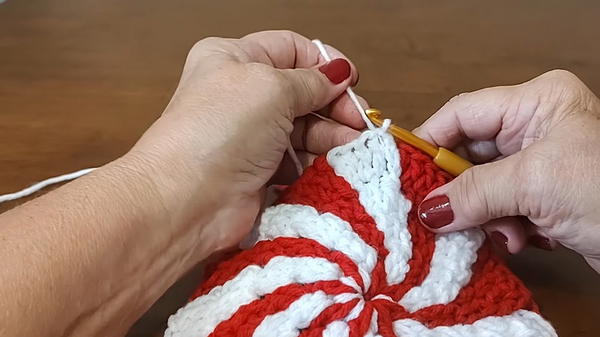
Row 11: Begin the Transition to Square Shape
- Attach the Red Yarn (Color 2): Slip stitch into the top of the initial chain-3.
- Single Crochets:
- Chain 1 and make 1 single crochet in the same stitch.
- Continue with 1 single crochet in the next 3 stitches (4 single crochets total).
- In the gap, add 1 more single crochet (making 5 single crochets in total).
- Behind Chain Space: Move behind the adjacent chain-5 space of Color 2 and make 5 single crochets.
- Skip Stitches in White Yarn: Skip the first white stitch and work 1 single crochet each into the next 4 stitches. In the gap, place the 5th single crochet. Work behind the red yarn (Color 2) for the next chain-5 space with 5 single crochets.
- Repeat Pattern: Continue this process across the row.
- Close the Round: At the end of Row 11, you should have 80 single crochets. Slip stitch to the first single crochet to close the row.
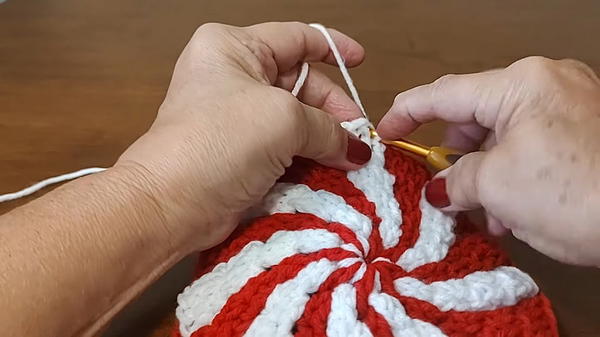
Row 12: Create the Corners
- Start with a Chain: Chain 3 (acts as a double crochet).
- First Corner:
- In the same stitch, make 1 triple crochet.
- Chain 1 and skip to the next stitch. In this stitch, make another triple crochet, followed by a double crochet.
- This forms the first corner using two stitches.
- Transition Stitches:
- In the next stitch, make 1 double crochet.
- Next, make 1 half double crochet.
- Follow with 1 single crochet each into the next 2 stitches.
- Slip Stitches: Slip stitch into the next 10 stitches (loosen tension for easier work in Row 13).
- Repeat in Reverse Order: After the slip stitches, reverse the pattern:
- 2 single crochets, 1 half double crochet, 1 double crochet.
- Create the next corner: 1 double crochet and 1 triple crochet, chain 1, then another triple and double crochet in the following stitch.
- 2 single crochets, 1 half double crochet, 1 double crochet.
- Finish Row 12: Repeat the pattern. Slip stitch at the end to join the row.
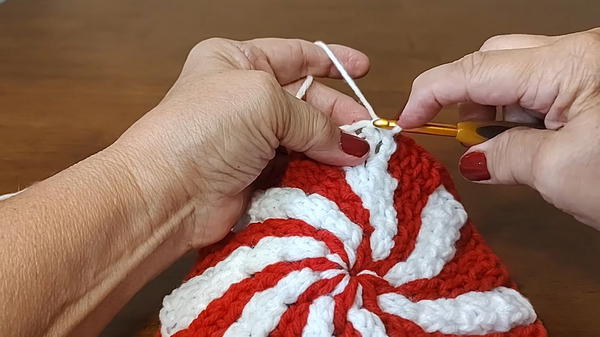
Row 13: Finalize Square Shape
- Corners: In each corner chain-1 space:
- Chain 1, make 1 half double crochet, 2 chains, and 1 more half double crochet.
- Half Double Crochets & Single Crochets:
- Make 1 half double crochet in the next 5 stitches.
- Follow with 1 single crochet in the next 12 stitches.
- Make another 5 half double crochets.
- Repeat Pattern: Continue the corner-half double-single-half double sequence until the round is complete.
- Finish the Row: Slip stitch into the starting half double crochet. Chain 1, fasten off, and weave in the yarn ends.
Uses and Applications
- Decorative Blanket: Perfect for a Christmas throw to add seasonal charm to your living space.
- Gift: A thoughtful and festive holiday present.
- Functional Uses: Can be used as a cozy blanket for the family during the winter holidays.
Tip
When working Row 12’s slip stitches, don’t pull the stitches too tight. Loose tension here makes it easier to add stitches in Row 13, preventing unnecessary frustration.
Conclusion
Jackie’s peppermint Christmas throw is a beautiful and time-efficient way to crochet festive blankets for the holidays. By adapting the hexagonal peppermint motif into squares, Jackie not only reduces the assembly time but also offers a fun and approachable project.


