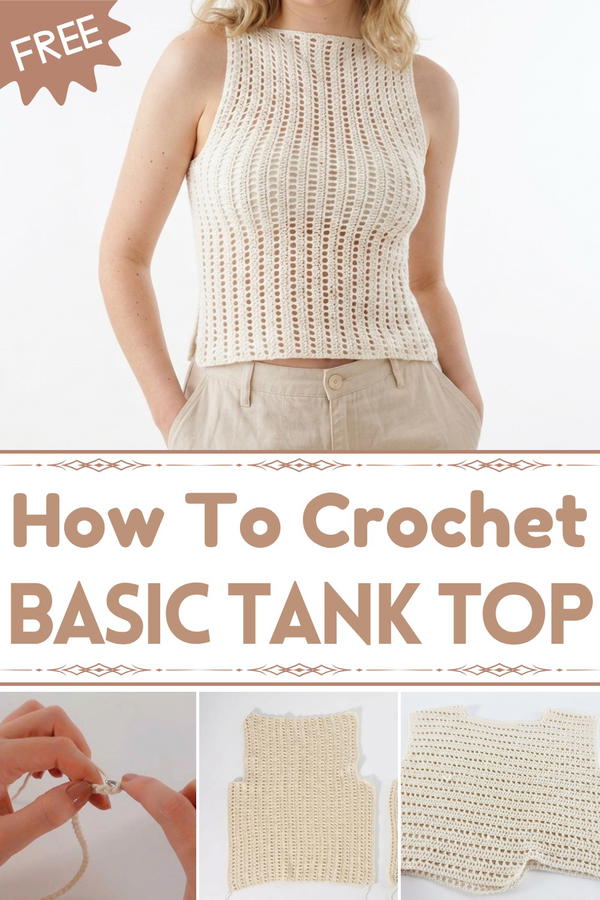
Make a stylish crochet tank top that's light, comfortable, and perfect for sunny days, adding a personal and unique touch to your summer outfits effortlessly.
There’s something truly special about creating a stylish and lightweight tank top with just a hook and some yarn. This piece of clothing blends simplicity and elegance, making it a perfect choice for sunny days or casual outings. It feels soft, looks unique, and offers endless possibilities when it comes to picking patterns and colors.
Free Crochet Tank Top Pattern Easy for Hot Summer Days
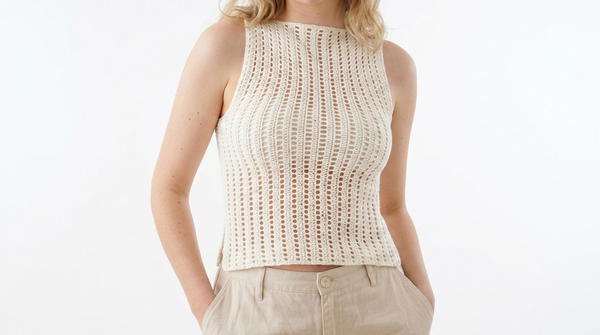
Whether you’re dressing up for a picnic or need a breezy outfit for a warm afternoon, this tank top is versatile and fits any occasion. Its open and airy design not only keeps you cool but also adds a handmade charm that store-bought clothes simply can’t match. From chic minimalistic looks to playful colorful patterns, it’s a creative way to express your personal style. Anyone can learn to crochet it, making this crochet tank top is a rewarding and practical addition to your wardrobe.

Crochet Easy Tank Top Ever
Materials Needed
Yarn:
- 4-ply cotton yarn, approximately 4 balls (or ~400–500 yards).
- Suggested: Lightweight yarn for breathable texture.
Hook:
- 4mm (US G/6) crochet hook for the body.
- Optional: A slightly smaller hook for finishing edges, such as 3.5mm.
Additional Materials:
- Scissors for cutting the yarn.
- Tapestry needle for weaving in loose ends.
Skill Level
Intermediate to Advanced: This design involves alternating stitch patterns, slip stitching for assembly, and precise panel construction.
Key Abbreviations (US Crochet Terminology)
- ch = Chain
- sc = Single Crochet
- sl st = Slip Stitch
- dc = Double Crochet
Special Notes
Customization:
- Adjust the chain count for panel width and height according to your preferred fit.
- Ensure chain counts remain multiples of two for the gappy double crochet rows.
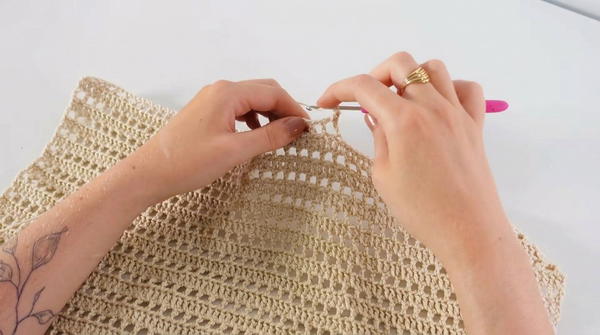
Alternating Rows:
- The body of the top alternates between solid double crochet rows and gappy double crochet rows for texture and breathability.
Stitch Assembly:
- Panels are joined using slip stitches for a clean seam.
Magic Knot:
- Use magic knots to attach new balls of yarn seamlessly during the project.
Pattern Instructions
Step 1: Start the First Panel
Foundation Chain:
- Begin by chaining 60 (or adjust for desired height from waist to underarm, keeping the count a multiple of two).
- Add one extra turning chain.

Row 1: Solid Double Crochet Row
- Skip the last chain and work 1 dc into the second chain from the hook.
- Continue working dc in each chain across the row.
Row 2: Gappy Double Crochet Row
- Chain 3 to turn (this counts as the first dc + chain space).
- Skip 2 stitches (1 for the chain space and 1 for the gappy stitch).
- Work 1 dc into the next stitch.
- Chain 1 and skip 1 stitch.
- Repeat: [dc, ch 1, skip 1 stitch] across the row.
Step 2: Build the Width of the Side Panel
- Alternate rows of gappy double crochet and solid double crochet until you've reached your desired width for half of the side panel.
- Refer to measurements — the pattern sample uses 4 rows for the side panel.
Step 3: Extend the Height
- Chain 40 at the end of the last side panel row.
- Work back down the chain following the alternating rows in your pattern (solid double crochet or gappy double crochet).
- Continue crocheting rows at this extended height until the top is the width you desire for one panel.
- For the sample, this involved 31 rows at the taller row length.
Step 4: Side Panel on the Opposite End
- Match the height of the first side panel.
- Work 60 dc stitches (or equal to the original foundation chain count).
- Alternate 4 rows between gappy and solid double crochet to match the bottom side panel.
Step 5: Secure the Ends
- Finish by chaining, cutting the yarn, and pulling it through the loop to form a knot.
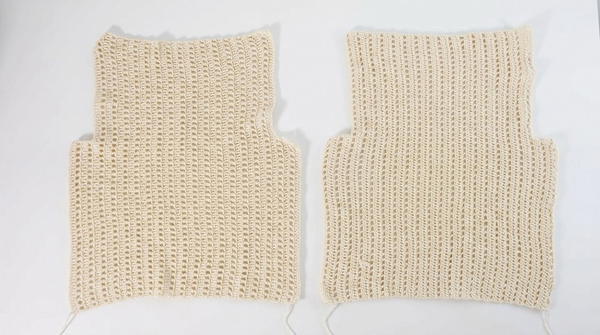
- Repeat Steps 1 through 4 to create the second panel.
Step 6: Assemble the Panels
Stitch the Shoulders
- Turn both panels inside out.
- Align the top edges of each panel and attach the yarn to the shoulder corner with a slip stitch.
- Slip stitch through the top edges of both panels for 5 rows (or adjust based on your desired neck hole width).
- Secure the yarn with a chain and make a knot.
- Repeat on the other shoulder.
Stitch the Sides
- Start slip stitching at the top of the armpits.
- Align the side edges and slip stitch through corresponding stitches all the way down.
- Leave a 10-gap slit at the base (or stitch the sides fully closed based on preference).
- Secure the yarn with a chain and knot.
- Repeat on the opposite side.
Step 7: Finish the Edges
Neckline:
- Attach the yarn at a point along the neck hole using slip stitches.
- Work sc stitches evenly around the entire neck hole.
- For every row of double crochet, work 2 sc stitches to account for height.
- Slip stitch into the starting stitch, secure the yarn, and form a knot.
Armholes:
- Attach the yarn at a point along the armhole using slip stitches.
- Work 1 sc into the top of each stitch and 2 sc into the side edges of stitches around the armhole.
- Place your stitches evenly to ensure smooth edges.
- Slip stitch into the starting stitch, secure the yarn, and form a knot.
- Repeat for the second armhole.
Conclusion
This crochet tank top design is perfect for summer wear or layering. Using universally easy stitches like double crochet and single crochet, you can customize your top for different styles, fits, or body shapes. Whether you prefer a snug fit or a loose breezy garment, this project is adjustable through chain counts and stitch placements.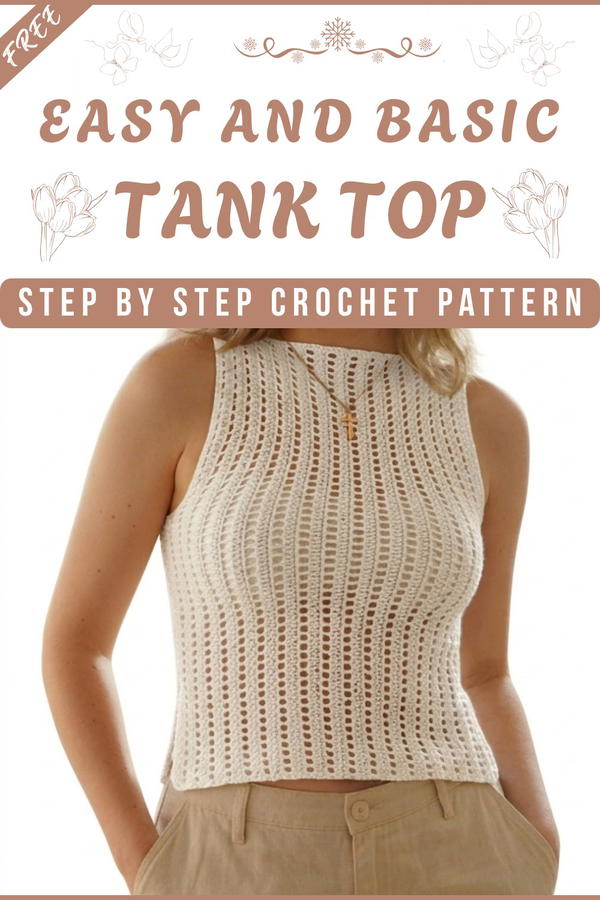
Pattern Correction
- Ensure chain counts are consistent and follow the multiples of two for gappy double crochet rows.
- For wider/slimmer panels, increase or decrease initial chain counts evenly across both panels.
Tips
- Measurements: Take accurate body measurements to ensure the top fits comfortably. Account for ease in the bust or waist area as needed.
- Edge Finishing: Optional single crochet rows around the neck and armholes remove raw edges and provide a clean border.
- Slits: For added design flexibility, adjust the side slit lengths for varied looks.


