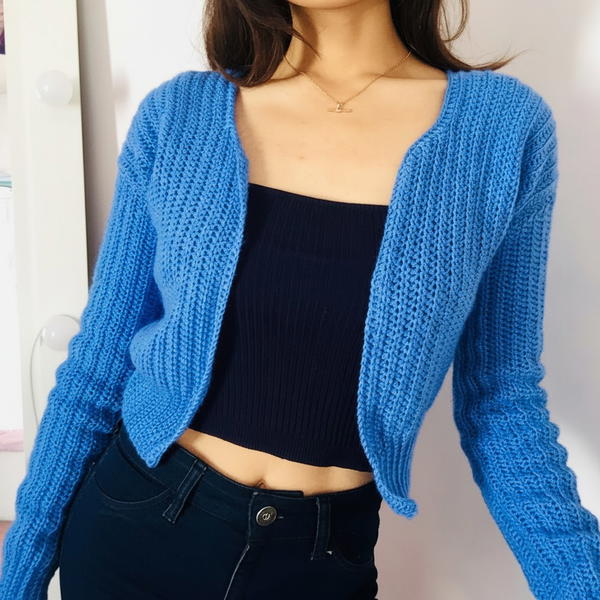
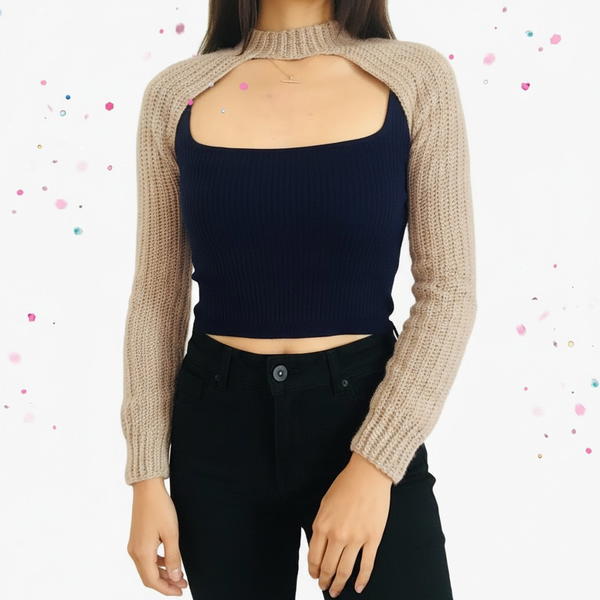
Stitch a stylish crochet top perfect for any season while having fun with colors and textures to create a unique piece that’s fashionable and endlessly versatile.
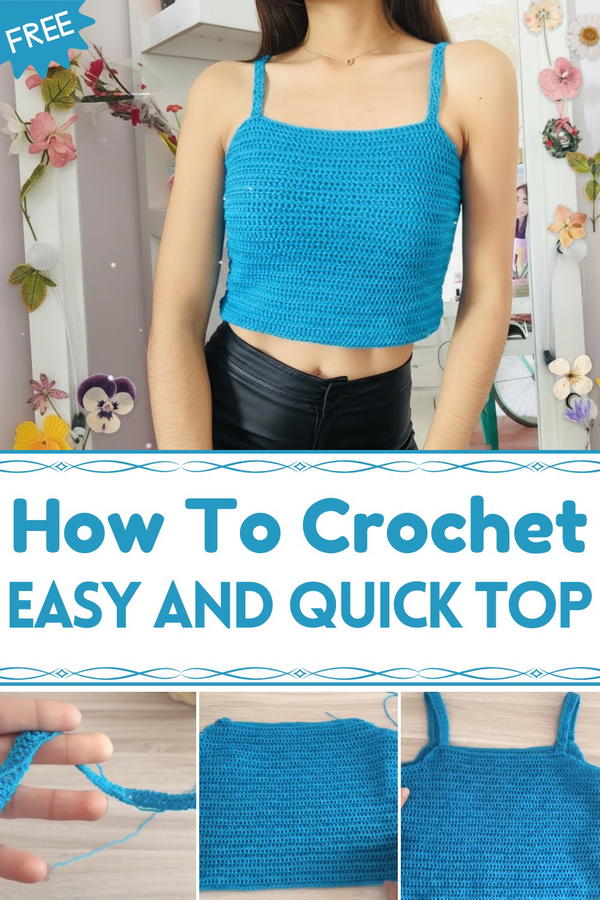
Timeless Crochet Top Pattern That's Always in Style
Spice up your closet with a free crochet top pattern that’s packed with personality and charm! Perfect for sunny beach days, coffee dates, or layering on a chilly evening, this top let you show off your unique style with a handmade touch. From sassy crop top to flowy boho vibes, there’s something for everyone, just pick your favorite colors and yarn to make it truly yours.
Whether you’re a newbie or a crochet pro, these patterns are easy to follow and oh-so-fun to personalize. Who said comfy can’t be cute? Let’s stitch up some magic and turn heads everywhere you go.
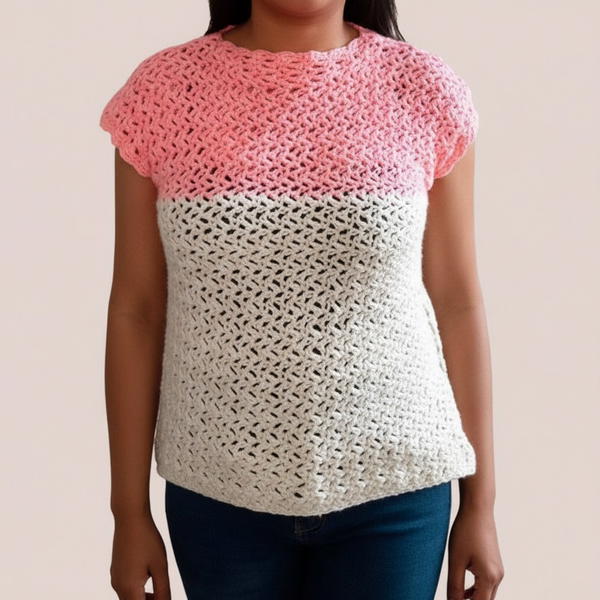
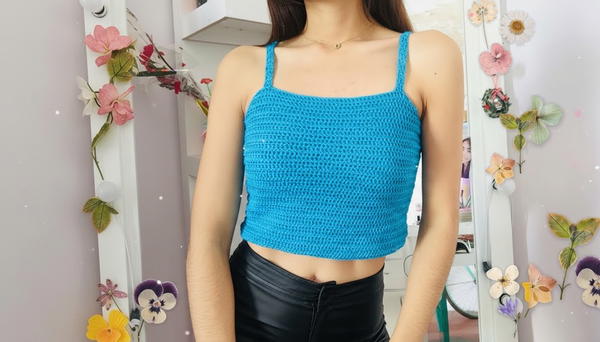
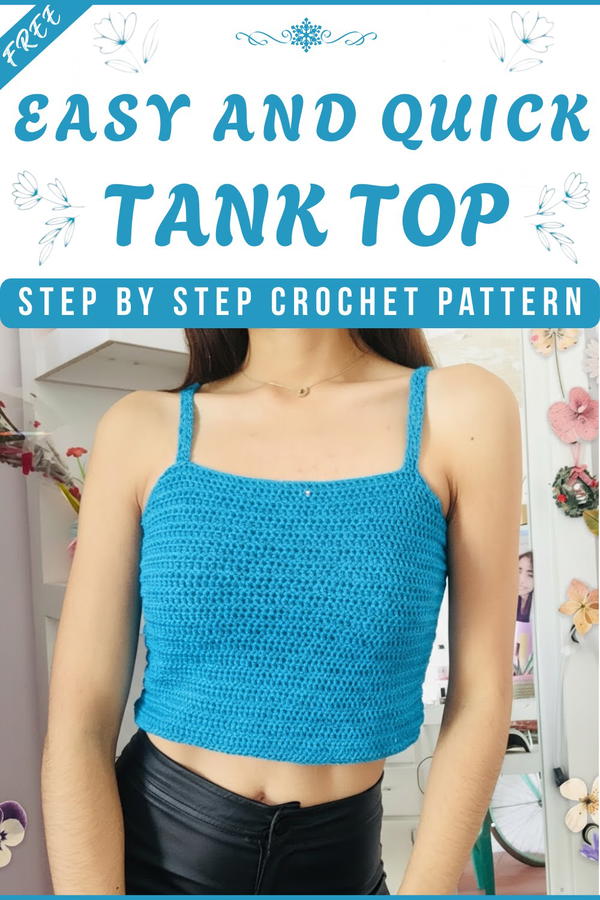
Crochet Tank Top Pattern with Straps
Materials List
Essential Supplies
- Yarn: Crystal yarn (Super Fine – Fingering Weight Yarn); approximately 150g
- Crochet Hook: 3.5 mm
- Accessories:
- Measuring tape
- Stitch markers
- Tapestry needle
- Scissors
Skill Level
Intermediate
Key Abbreviations
- Ch: Chain stitch
- Sl st: Slip stitch
- Sc: Single crochet
- Dc: Double crochet
- Rep: Repeat
- St(s): Stitch(es)
Special Notes
- This pattern is written in US Crochet Terminology.
- The top is constructed with two identical rectangular panels stitched together at the sides. The straps are added later.
- Adjust sizing by changing the number of foundation chains and rounds worked depending on your personal measurements.
- Take time to block the finished project for a polished shape.
Step-by-Step Instructions
Panel Creation
Step 1: Measure Your Waist
- Use a measuring tape to find the circumference of your waist.
- Divide this measurement by two. This represents the width of one panel.
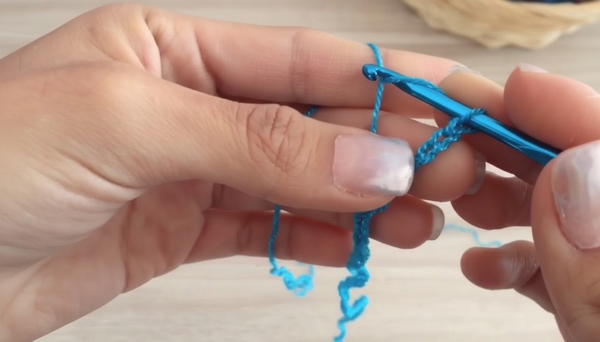
Step 2: Foundation Chain
- Make a slipknot and, using your yarn, chain 70 (or desired number based on your measurements). Ensure chains measure about half your waist circumference.
- Example: If your waist is 62 cm, your chain should measure 31 cm.
- Example: If your waist is 62 cm, your chain should measure 31 cm.
- Add 2 extra chains for turning.
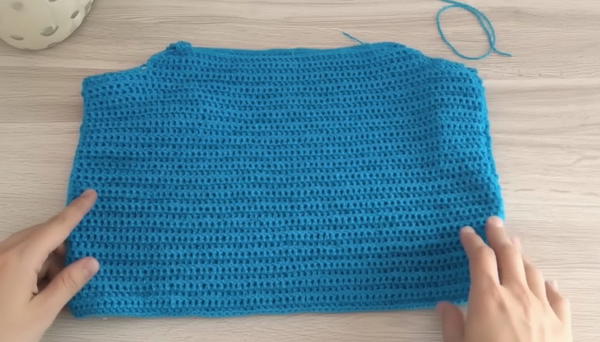
Step 3: Row 1 — Double Crochet
- Yarn over, insert hook into the fourth chain from the hook, and work a double crochet.
- Continue working double crochet into each chain across.
Step 4: Row 2 — Double Crochet
- Turn your work and chain 2.
- Begin working double crochet into the first available stitch.
- Continue across the row, maintaining 70 stitches (or number from Row 1).
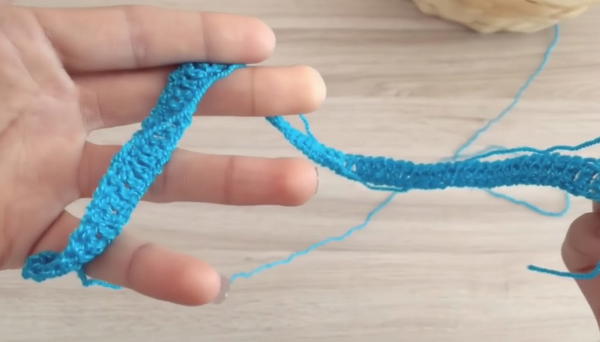
Step 5: Repeat Rows
- Repeat Row 2 until your piece measures approximately 25 cm or reaches 36 rows (or desired length).
Panel Shaping (Decreases)
Step 6: Start Decreasing
- To shape the edges, slip stitch into the first 10 stitches on each side.
- Work double crochet stitches across the remaining stitches, ensuring that 10 stitches are left unworked at the end of the row.
Step 7: Adding Decreases
- Turn your work and chain 2.
- Begin the row with 2 decreases:
- Yarn over, insert into the first stitch, pull through two loops.
- Yarn over again, insert into the next stitch, pull through two loops; pull through the remaining three loops on the hook.
- Continue working double crochet across until there are 4 stitches remaining.
- Work 2 consecutive decreases at the end of the row.
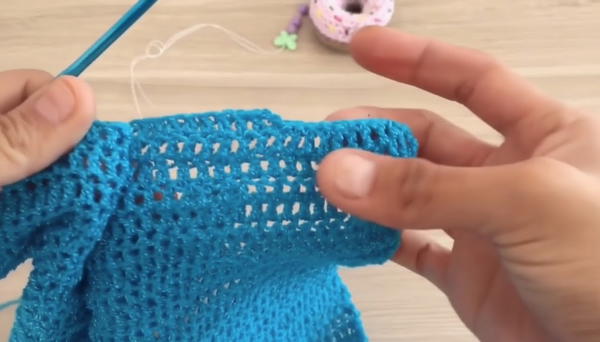
Step 8: Low Edge Stitch
- Once the shaping is complete, work a row of single crochet, taking only the back loop strand.
- Turn and repeat the single crochet sequence for a polished edge.
Panel Assembly
Step 9: Sew the Rectangles Together
- Place the completed panels together with the right sides facing inward.
- Using your tapestry needle, sew along both sides but leave the top section open (about 20 cm) for armholes.
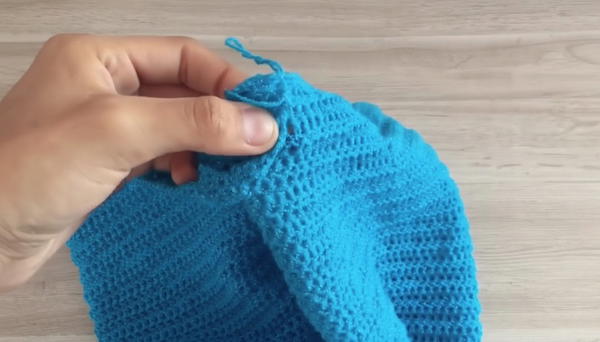
Creating Straps
- Position yourself at one corner on the top part of the seam.
- Attach yarn and chain 2 to start the strap foundation.
- Work 4 double crochet stitches into the adjacent available stitches.
Step 10: Strap Rows
- Turn your work, chain 2, and work double crochet stitches across the 4 stitches.
- Continue this sequence for 26 rows or until the strap measures approximately 21 cm.
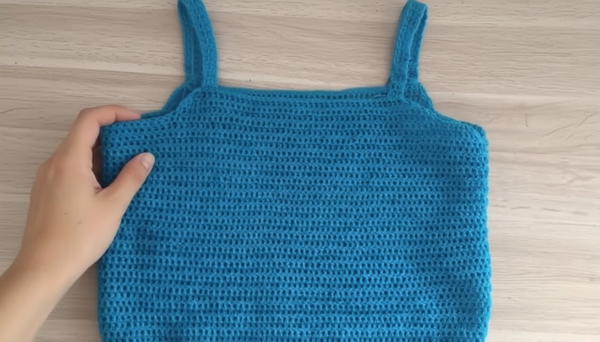
Step 11: Attach Straps
- Sew one end of the strap to the front corner of the panel and the other to the back corner using the tapestry needle.
- Repeat for the second strap.
Finishing Touches
- Weave in any remaining loose threads using your tapestry needle.
- Block the finished top for smooth edges and improved drape.
Customization Ideas
Color Variations
- Use gradient yarn or alternate rows in different colors to add depth and personality to the top.
Size Adjustments
- Width: Add or reduce foundation chains to suit your measurements.
- Length: Increase the number of rows to extend coverage.
Detailed Straps
- Incorporate decorative stitches (like puff stitches or shells) into the straps for added texture.
Tips for Success
- Take the time to track measurement changes carefully to ensure the best fit.
- Always plan armhole and strap placement before sewing for balance and symmetry.
- Wash and block the top before wearing for a professional finish.
Conclusion
This lovely top is simple yet functional, offering a lightweight option for warmer months. The final product features clean lines, durable straps, and options for customization tailored to individual preferences. Pair it with high-waisted skirts, shorts, or jeans, or layer it over a tank for ultimate versatility. Enjoy showcasing your handmade creation!
Pattern Variation
Colors
Try using multiple vibrant colors for a striped or color-block effect. Adjust the sequence every 4–6 rows or vary the strap color to stand out.
Size
To make the top for children, teens, or plus sizes:
- Use a smaller or larger foundation chain count to match the desired measurements.
- Adjust the strap length accordingly to ensure comfort and proper fit.