Keep cozy and chic this winter with the Free Crochet Turtleneck Cowl Pattern, featuring a snug neck design and graceful texture for everyday comfort.
A chilly breeze sweeps through the air, and you wrap yourself in something soft, cozy, and stylish, feeling the warmth spread instantly. That is the magic of a crocheted turtleneck cowl. This stunning design combines beauty and functionality in one piece that is perfect for keeping you warm during cold days while adding a touch of elegance to your outfit. The Free Crochet Turtleneck Cowl pattern is a versatile accessory, blending modern fashion with timeless crochet work. Its soft drape pairs beautifully with casual or formal wear, giving it endless uses throughout the seasons.
Turtleneck Cowl Free Crochet Pattern : for Any Size
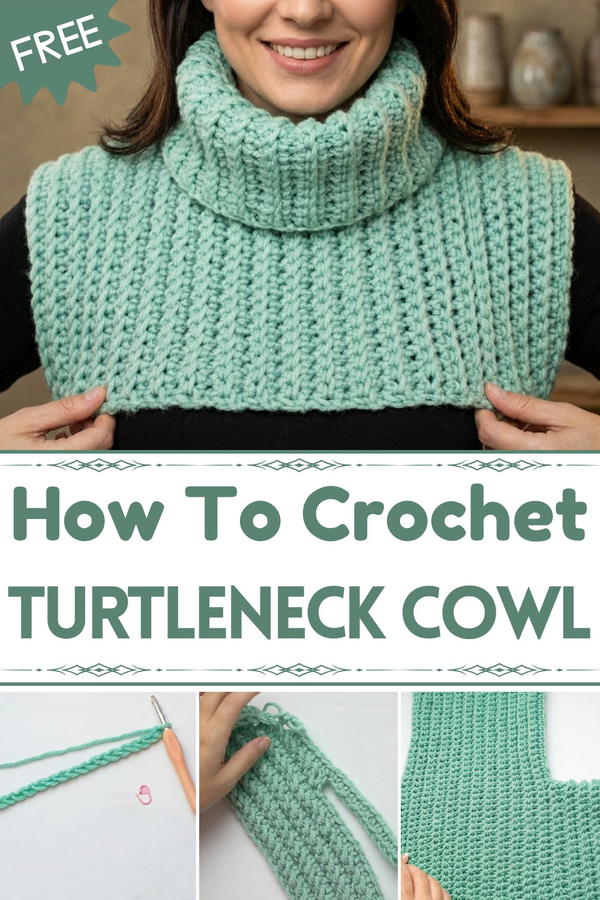
Made with intricate stitches and a snug turtleneck design, the cowl's rich texture is not only eye-catching but also effortlessly comfortable. Its appearance is like a warm hug soft and snug against the neck, while the flared edges cascade gracefully over the shoulders. Perfect for anyone looking to stay stylish and warm, this cowl works as a winter essential or a chic accessory for fall outings.
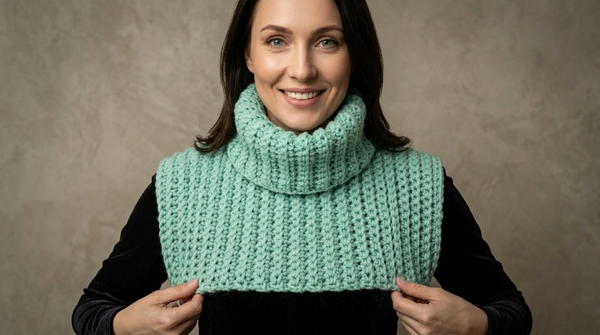
Crochet Seamless Turtleneck Cowl Pattern
Materials Needed
Yarn:
- Type: Alize Super Lana Maxi or any bulky-weight yarn of similar composition.
- Amount: Approximately 3 balls (100g per ball, 100m/109yd per ball).
- Fiber Content: 25% wool, 75% acrylic.
Hook: 8 mm crochet hook.
Notions:
- Sewing Needle (large-eyed for yarn) for finishing edges and attaching buttons.
- Smaller Sewing Needle (for button attachment).
- Scissors.
- Stitch Markers.
- Optional: Buttons (2, approximately 2cm/1inch in diameter).
Skill Level
Intermediate to Advanced (basic stitch knowledge required, featuring back loop-only crochets and slip stitch seams).
Key Abbreviations
- ch: Chain
- sc: Single Crochet
- sl st: Slip Stitch
- blo: Back Loop Only
- st(s): Stitch(es)
- yo: Yarn Over
Special Notes:
- The pattern uses US crochet terminology.
- This project is customizable: adjust the foundation chain for different lengths or widths.
- To achieve the signature 3D texture, stitches should be worked in the back loop only (blo) except for the last stitch of every row.
Pattern Instructions
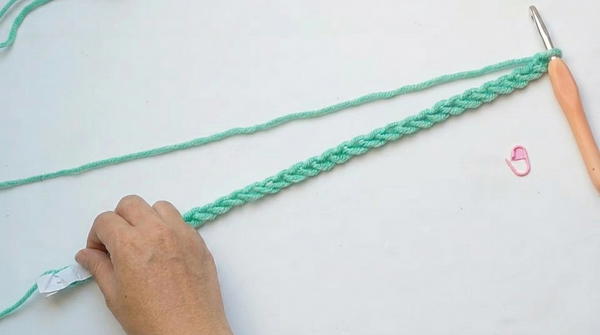
1. Foundation Chain
- Begin with a slip knot.
- Ch 40 (or adjust for your preferred length; for this pattern, 40 ch results in a cowl that wraps and fastens at the arms).
- Example measurement: 18.5 inches (47 cm).
- Work loosely to maintain flexibility in the cowl.
2. First Row
- Ch 1, turn.
- Insert the hook into the third loop (bump) on the opposite side of the chain (not the top loops).
- Work 1 sc in each bump across the chain.
- Total: 40 sc in Row 1.
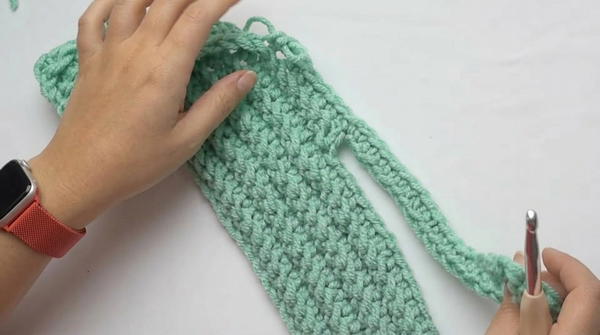
3. Main Body of Cowl (Creating the 3D Texture)
Row 2:
- Ch 1, turn.
- Work 1 sc blo in each stitch across (except for the last stitch in this row).
- For the last stitch, work 1 regular sc.
- Total: 40 sc (39 sc blo, then 1 sc at the end).
Repeat Row 2 until the piece is wide enough to cover your shoulders (or as desired).
- Example: for a Small/Medium Woman’s Size, crochet 8 rows.
- Check the width: Adjust the number of rows for a proper fit.
4. Making the Turtleneck Extension
After completing the base rows, begin the turtleneck portion:
- Start from the middle of the row (20th stitch).
- Work 20 sc blo to the center.
Create the turtleneck portion:
- Ch 24, then ch 1 (turning chain).
- Turn and continue by working 1 sc blo into each bump of the chain.
- Total: 24 sc on the chain + 20 existing sc = 44 sc in total for this row.
Continue working back-and-forth rows of 44 sc (sc blo except for the last stitch, which is a regular sc) to build the turtleneck.
- Example: Crochet 25 rows for a neck length of approximately 10 inches (26 cm) (adjust as desired).
- Example: Crochet 25 rows for a neck length of approximately 10 inches (26 cm) (adjust as desired).
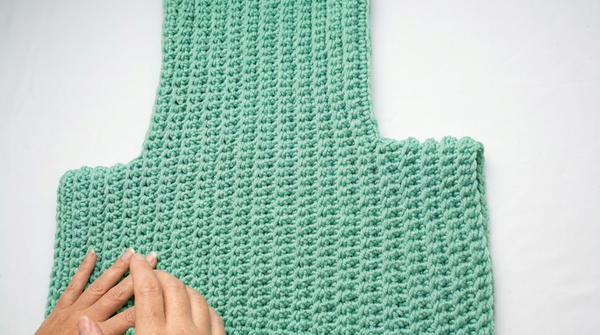
5. Adding the Back Panel
After finishing the turtleneck panel, create the back part of the cowl:
- From one side of the turtleneck base, ch 20, then ch 1 (turning chain).
- Work 1 sc blo into each bump along the chain until you reach the foundation. Finish with 20 sc blo into the base stitches.
- Total: 40 sc per row.
Work additional rows of 40 sc until the back panel matches the front panel's width.
- Example: Create another 8 rows for symmetry.
6. Joining the Cowl
- To make the cowl seamless:
- Place the edges together with the right sides facing each other.
- Use sl st to join the edges:
- Work through the outer loops only (front loop of the nearest layer and back loop of the farthest layer).
- Join the turtleneck first, then continue with the cowl base.
- Total: 44 sl sts per row.
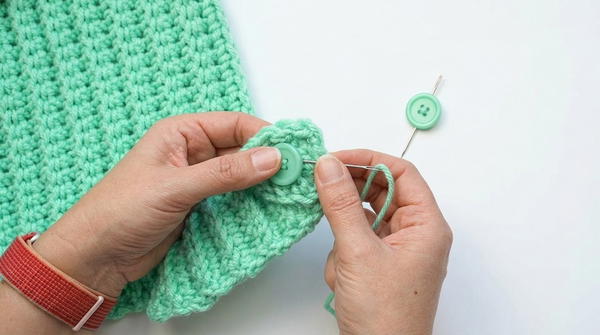
7. Finishing Touches
Fasten off and secure all loose ends using your tapestry needle.
Add buttons to the corners as desired for fastening:
- Attach buttons on opposite corners, approximately 1 inch (2 cm) from the edge.
- Use a smaller sewing needle and matching thread for secure attachment.
Optional: Block the finished piece for a polished look.
Measurements
The finished cowl in this pattern yields the following dimensions for a Small/Medium Woman’s Size:
- Width: 48 cm (18.5 inches).
- Length of Base: 22 cm (8.5 inches).
- Width of Neck: 30 cm (11.5 inches).
- Length of Turtleneck: 26 cm (10 inches).
- Total Length: 49 cm (19 inches).
Conclusion
Congratulations! You've completed your seamless turtleneck cowl. This piece is versatile, cozy, and perfect for layering during chilly days. You can adjust the sizing by modifying the foundation chain and the number of rows, making it ideal for kids, adults, or customized gifts.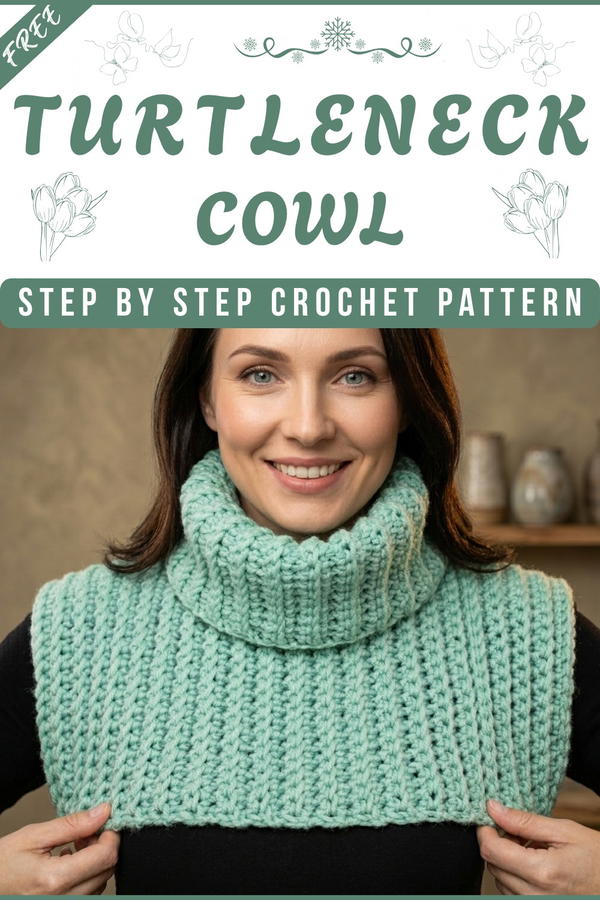
Pattern Correction
- If the cowl width feels too narrow, increase the number of starting chains.
- For a longer turtleneck, simply add more rows to the neck panel.
Tips
- Work Loosely: Use a relaxed tension to keep the fabric soft and stretchy.
- Customize with Color: Use multiple colors or gradient yarn for a unique look.


