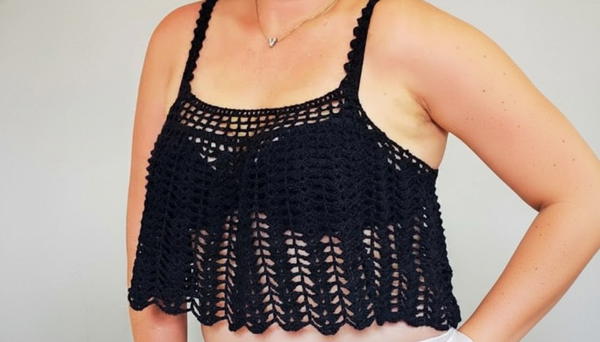
Turn everyday outfits into something truly special with a cute and stylish top that’s short, trendy, and perfect for any occasion. These tops look amazing with skirts, jeans, or shorts, making them a go-to piece in your wardrobe. Whether you're dressing up for a party, staying casual for a day out, or just relaxing at home, a crochet cropped top is a flawless choice.

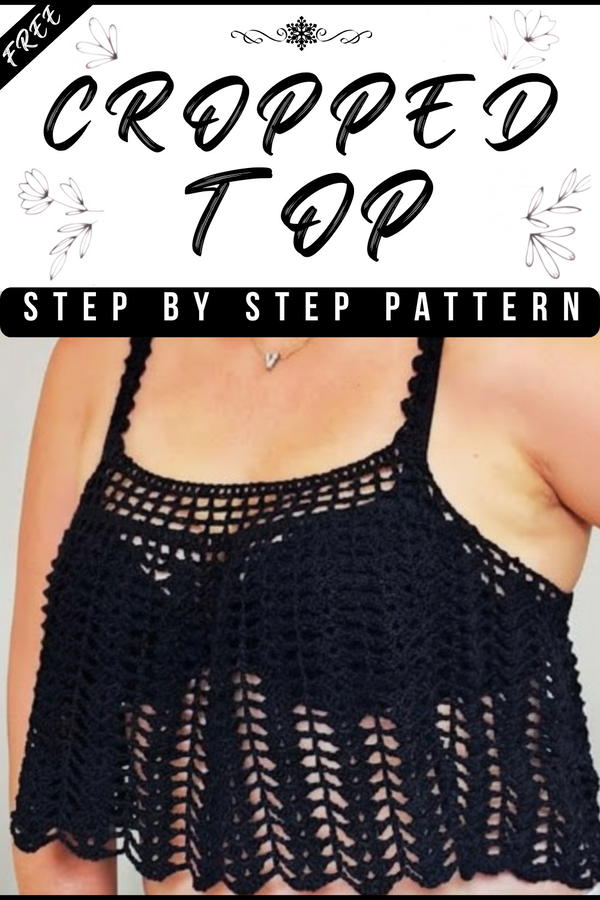
Crochet Cropped Top Pattern Perfect for Summer Days
They can be made with vibrant colors or soft neutral shades, giving each piece its own unique charm. The beauty of this design lies in its airy, lightweight texture and the way it flatters every body type. From boho-chic vibes to modern styles, these handmade tops are a wonderful blend of comfort and fashion. Best of all, they let you stay cool while looking fabulous—ideal for summer days or layering in cooler weather. You’ll love how versatile and fun they are.
Materials Needed
Yarn
- Anne Yarn (500 meters) for shorter variants.
- Fiori Yarn (500 meters) for longer cropped tops.
- Ensure same-dye skeins are purchased for consistent color tone.
Tools
- Crochet Hook:
- Recommended Hook: 3 mm for tighter stitches.
- Optional Hook: 3.5 mm for slightly looser and quicker work.
- Scissors: For cutting yarn during finishing.
- Needle: A 2 mm needle is suggested for final weaving of ends.
Finished Measurements Based on Sizes
- S: Shorter length cropped top (~15 fan rows).
- M: Moderate length cropped top (~19 fan rows).
- L: Longer cropped top (~21 fan rows).
- XL: Cropped top with additional adjustments (~30 fan rows).
Pattern Instructions
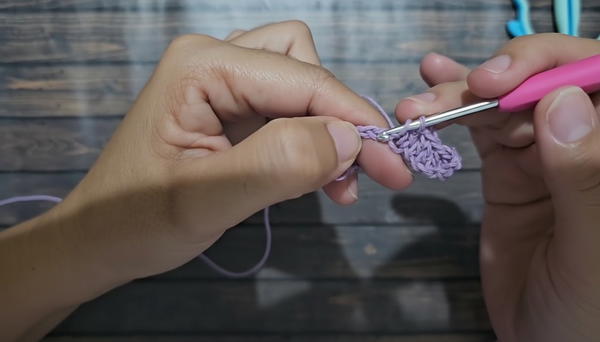
1. Foundation Chains
Start by making 44 chain stitches for size L.
(For larger or smaller sizes: adjust chain counts to odd numbers, ensuring symmetry).Add 3 more chains, giving you a total of 47 chains (the extra 3 chains will serve as a turning chain and represent the first double crochet (dc) stitch).
2. First Double Crochet Row
After completing your foundation chain:
- Yarn over, insert your hook into the fourth chain from the hook, and make a double crochet stitch.
- Continue making double crochet stitches along each chain until you reach the end of the foundation row.
Tip for Success:
- If your stitches tend to be tight, deliberately crochet loosely for this cropped top since its design thrives with relaxed stitches.
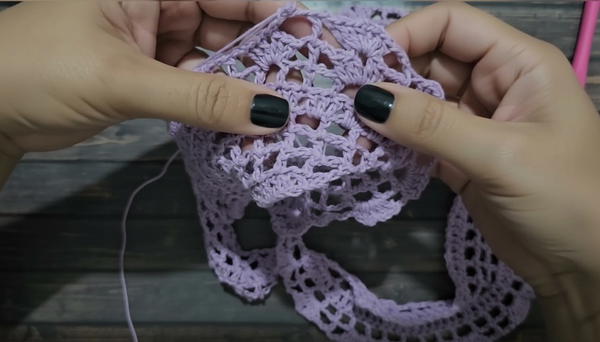
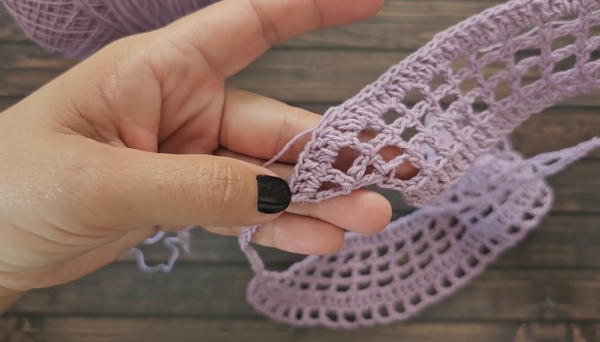
3. Creating the Square Mesh Pattern
(a) Row Transition:
Chain 5 stitches at the end of the row for turning.
- These first 5 chains will serve as the beginning of the square mesh.
Yarn over and skip one base stitch.
- Insert your hook into the next stitch, making a double crochet.
Create the square mesh motif by alternating:
- Chain 2 stitches, skip a base stitch, and make a double crochet in the next stitch.
Continue this pattern until you finish the row. You will create a series of small squares (open mesh).
4. Increasing Rows (Triangle Shaping)
(a) Adding Increases
At the beginning of each row:
- Chain 5, yarn over, and add a double crochet stitch into the head of the previous row’s last double crochet.
Work across in the square mesh pattern (2 chains, dc, skip stitch) until the final stitch of the row.
At the end of the row:
- Add an increase by inserting a double crochet stitch into the last double crochet stitch from the previous row.
Repeat this process for three rows, creating gradual increases on each side.
5. Final Double Crochet Row
After completing the rows with square mesh and increases:
Create a row of solid double crochets as follows:
- Work 2 double crochets per space formed by the mesh pattern.
- Create double crochets directly above each double crochet stitch of the previous row.
This row will provide a stable edge for joining the two separate parts.
Repeat these steps to create a second identical piece.
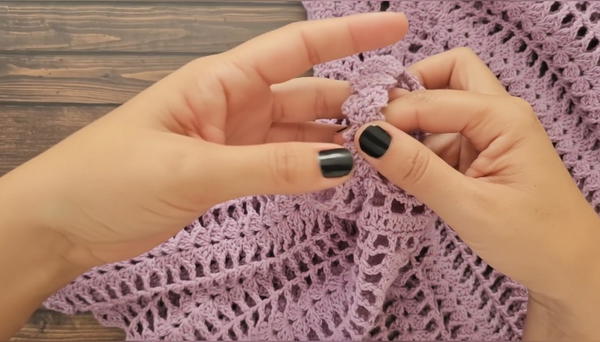
6. Joining the Two Pieces
Once you have completed two identical panels:
Lay the panels flat, ensuring both are aligned with the right sides facing up.
Join them at the top and bottom using slip stitches or a tapestry needle (optional).
For armholes:
- Create 30 chain stitches and attach them to the corresponding edges of the two panels using a slip stitch.
7. Completing the Body in the Round
(a) Start Working Circular Rows:
After creating the armholes, begin crocheting in the round to transform the piece into a cropped top.
Alternate between rows of square mesh and rows of fans.
8. Fan Pattern Rows
To create the fan stitch pattern:
- In one square space, crochet 3 double crochet stitches, chain 2, then make 3 double crochet stitches in the same space.
Separate fans with 2 chain stitches, skipping one mesh square.
Between fans:
- Crochet 1 double crochet stitch on top of the double crochet stitches from the previous row.
Repeat rows in fans until desired body length is achieved.
9. Strap Design
Sianinha Fantasy Stitch Strap
For straps, work the Sianinha fantasy stitch:
Chain 4 stitches; skip the first chain.
Work single crochet stitches into the second, third, and fourth chains.
Chain 1 and turn your work.
At each row:
- Work two single crochets into the first stitch.
- Work three single crochets into the middle stitch.
Continue this pattern to create a textured strap.
Attach straps to the cropped top using a tapestry needle or slip stitches.
Customization Options
- Top Length: Add more fan rows for longer tops or eliminate rows for shorter crops.
- Strap Style: Experiment with ties, plain chains, or braided straps for unique looks.
- Fit Adjustments: Increase or decrease chain counts at the foundation or armholes for broader or slimmer fits.
Tips for Success
- Consistent Tension: Keep stitches consistent, especially for fans to maintain symmetry.
- Dye Matching: Purchase skeins from the same vendor and dye batch to ensure color uniformity.
- Test Piece: If unsure about sizing, work a small test swatch to measure your gauge before starting.
Conclusion
Congratulations! You’ve successfully crocheted a beautiful cropped top using this guide. This handmade piece is ideal for summer wardrobes or as a thoughtful handmade gift.
Cropped Top Crochet Pattern
This detailed guide provides step-by-step instructions for crocheting a cropped top, as described in the video transcription. This project is highly versatile, allowing customization of length, strap designs, and fit. Whether you're a beginner or intermediate crocheter, this pattern will guide you through creating your own stylish cropped top.