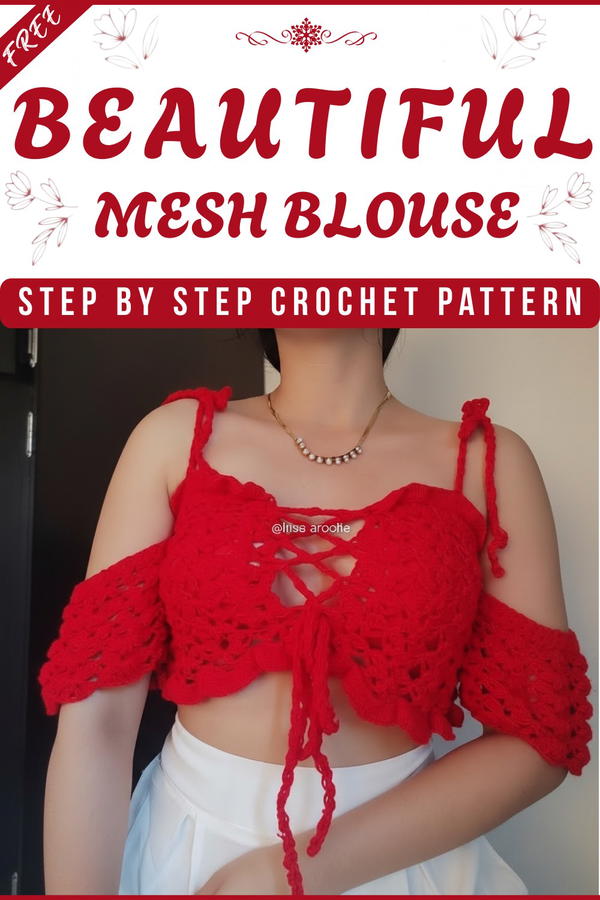
A crochet blouse pattern offers a charming and creative way to dress up any look with a soft and eye-catching top. Its open designs make the blouse feel light and comfortable, perfect for enjoying sunny days or layering over other clothes when it’s cool. Anyone can choose colors and sizes to suit their tastes, following easy instructions to make something special.
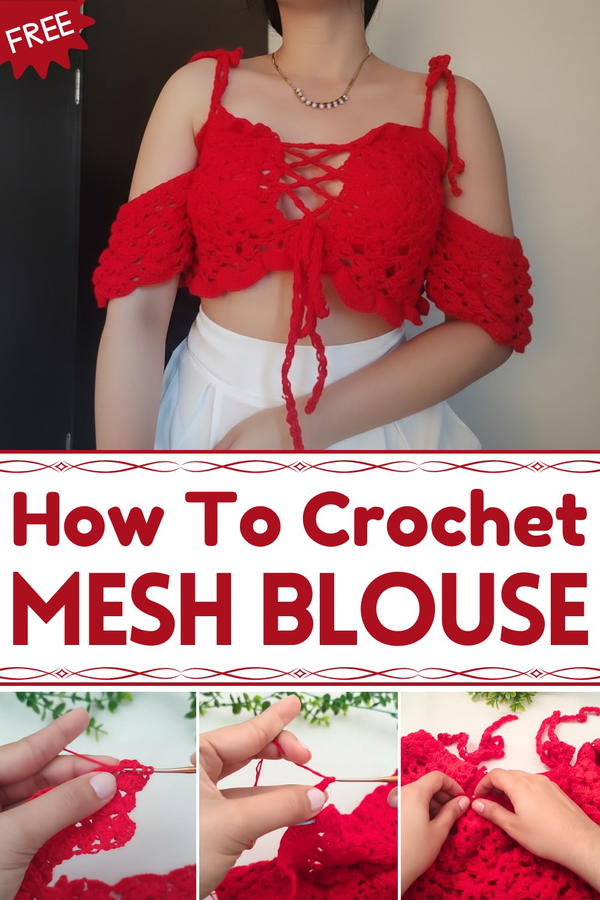
Beautiful Crochet Blouse Pattern for Effortless Elegance
The finished blouse is great for parties, gatherings, or just staying cozy at home. What really sets it apart are the artistic details—like floral patterns or elegant borders—that you won’t find in store-bought shirts.
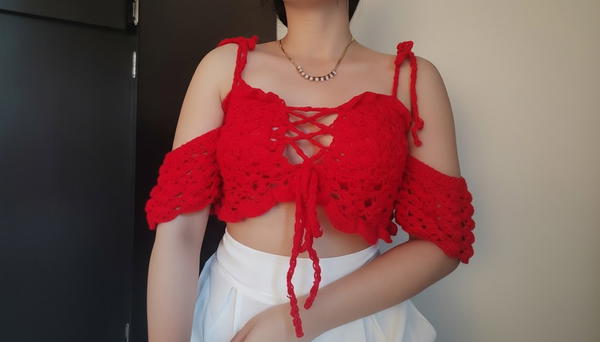
Gentle on your skin and lightweight, it gives you both style and comfort. Using a crochet blouse pattern lets you turn simple materials into a unique garment that shows off your creativity and adds something beautiful to your wardrobe.
Crochet Blouse Pattern
Materials
- Yarn: Acrylic yarn, approximately 1 mm thickness (or similar lightweight yarn)
- Hook: 2 mm crochet hook (or 1–1.5 mm for tighter fabric, optional)
- Notions:
- Measuring tape
- Scissors
- Stitch markers/hooks
- Tapestry needle
- Small piece of fabric (for lining)
- Sewing needle & thread
- Pins (for lining assembly)
Skill Level
Intermediate to Advanced
Key Abbreviations (US Terms)
- ch = chain
- dc = double crochet
- sc = single crochet
- sl st = slip stitch
- rep = repeat
- st(s) = stitch(es)
- hdc = half double crochet
Special Notes
- Work the fan stitch band to desired width, subtracting 10–12 cm for negative ease.
- Row/round counts and chain multiples are important for stitch pattern alignment. The base should be a multiple of 4 + 2 (e.g., 62 sts for 83 cm width).
- Sleeve instructions mirror the body’s construction—use arm circumference and same stitch multiples.
- When constructing cords/straps, double the yarn strands for thickness.
- Lining is optional but recommended for coverage. Leave a channel for cords.
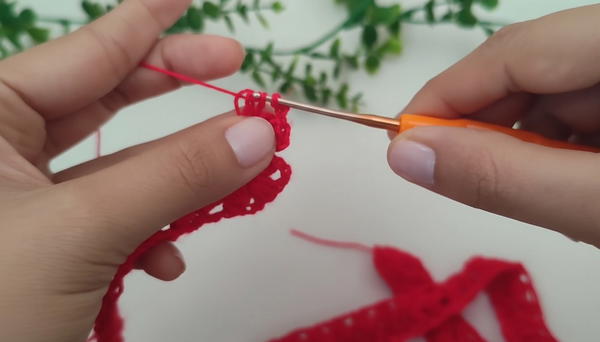
Pattern Instructions
1. Fan Stitch Band (Base Strip)
a. Foundation:
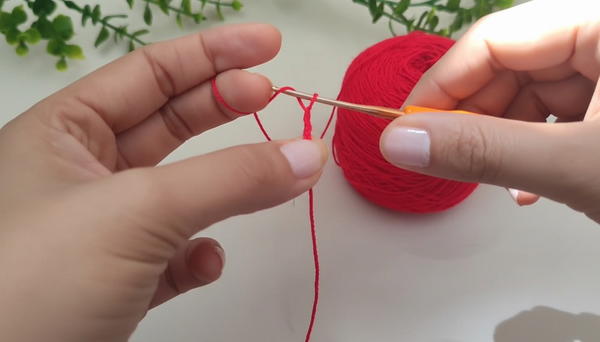
- Make a slip knot.
- Ch 8 for sample, or chain a multiple of 4 + 2 for your desired bust width minus 10–12 cm (refer to the provided table for sizes).
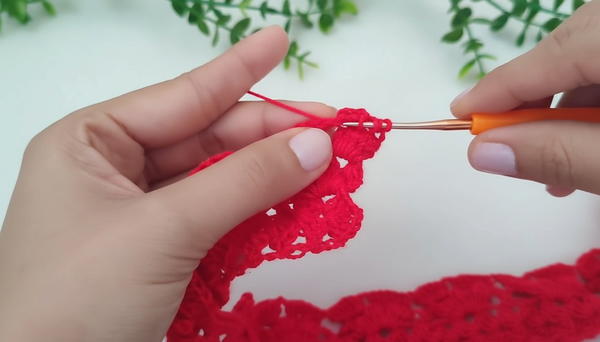
b. Row 1 (Fan Stitch):
- In the third ch from the hook: Work 3 dc in the same ch.
- Ch 2 for separation.
- Work 3 dc in the same ch (the same space).
- In the last ch, work dc.
- Turn.
c. Row 2 (Fan Stitch):
- Ch 3 (counts as dc), turn.
- In the ch-2 space: Work 3 dc, ch 2, 3 dc.
- In the top of the last dc: dc.
- Turn.
d. Row 3+ (Continue Fan Stitch):
- Ch 3, turn.
- In the ch-2 space: Work 3 dc, ch 2, 3 dc.
- In the top of the last dc: dc.
- Continue until your strip matches desired bust measurement (width).
- Tip: Use a measuring tape for accurate measurements.
2. Lace Stitch (Openwork Section)
a. Foundation Row (after band):
- Ch 3, turn.
- Begin lace motif in the first ch-2 space:
- Yarn over, insert hook, pull through two loops (repeat until you have 5 loops), yarn over, pull through all 5.
- Ch 4, repeat stitch cluster 2 more times (total 3) in the same space.
- Ch 4, skip 1 space, sc in next space.
- Ch 4, skip next space, work 3 stitch clusters in next ch-2 space.
- Continue sequence: ch 4, sc in next space, ch 4, work 3 stitch clusters in next space.
- End with a stitch cluster.
- Tip: The start and end of the row must match for symmetry; check your counts!
b. Second Lace Row (Alternating Rows):
- Ch 3, turn.
- In each ch-2 space, work 6 dc.
- Ch 2, move to next ch-2 space, work 6 dc.
- Continue to end.
c. Repeat Pattern Alternately:
- Repeat rows of clusters and rows of dc as above, alternating for a total length of ~16 cm, or desired length.
3. Side Edges (Washer Shape)
a. Increase Row (Double Crochet Border):
- Ch 3, turn.
- Work 2 dc in each space along the top/bottom edge to create a slight flare (washer shape).
- Continue to end.
b. Next Row (No Increase):
- Ch 3, turn.
- Work 1 dc in each dc/space to end.
- Cut yarn and fasten off.
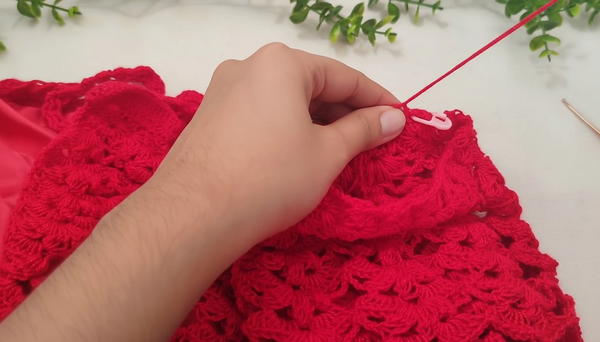
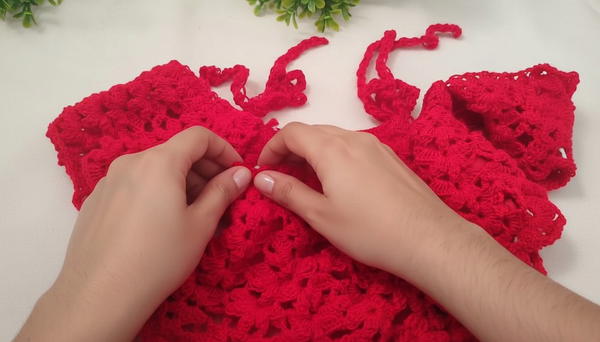
4. Cords/Straps
a. Mark Placement:
- With blouse laid flat, mark ~8 cm from center, leaving ~10 cm gap for cords/straps.
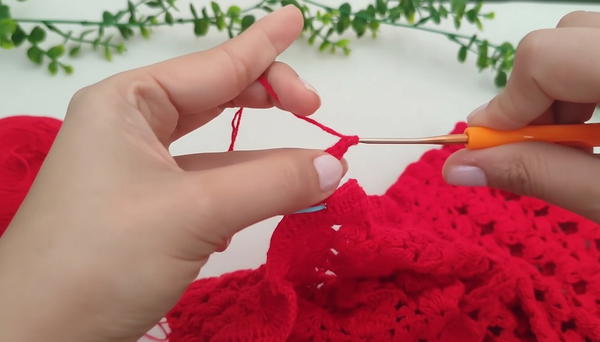
b. Cords (Worked with double strand):
- Slip knot, attach to reference point.
- Ch 3, dc into same/marked spot.
- Ch 3, dc into center of previous dc/ch-3 group; repeat to desired length (~45 cm for straps, ~1.5 m for main cord).
- Fasten off, weave in ends.
**c. Make four straps (two front, two back) and one main cord for the center tie.
5. Fabric Lining
a. Cut lining to size, leaving extra ~2 cm at edges for cord channels.
b. Fold edges inward for a neat finish, secure with pins or temporary stitches.
c. Place lining inside blouse and hand sew using small stitches, keeping the channel open for cord/strap insertion.
d. Remove pins and tidy up as needed.
6. Sleeves
a. Make a fan stitch band to match arm circumference, using a multiple of 4 + 2.
b. Work lace stitch sequence as for blouse body to desired sleeve length.
c. Join sleeve edges with tapestry needle or single crochet seam.
d. Attach sleeve to blouse, measuring from center to armhole (e.g., 16 cm). Use stitch markers to align and sew/attach with tight knots.
e. Repeat for second sleeve.
7. Final Assembly
- Insert cords and straps through channels left in the lining.
- Weave in and hide all yarn ends.
- Try on blouse and adjust cords for best fit and coverage.
Conclusion
This blouse combines elegant fan stitches and a lacy, openwork motif with practical adjustable cords and a comfortable fabric lining. Sleeves and body are constructed separately for fit, then attached for a polished finish. The pattern is highly customizable with strap and cord placement.
Pattern Corrections & Tips
Corrections:
- The base chain for fans should be a multiple of 4 + 2 to ensure proper stitch alignment.
- For sleeves, follow the same multiples for seamless join.
Tips:
- Use a double strand for all cords/straps for sturdiness.
- When sewing the lining, keep stitches small and use pins for accuracy.
- Always check measurements against your body for best fit and ease.