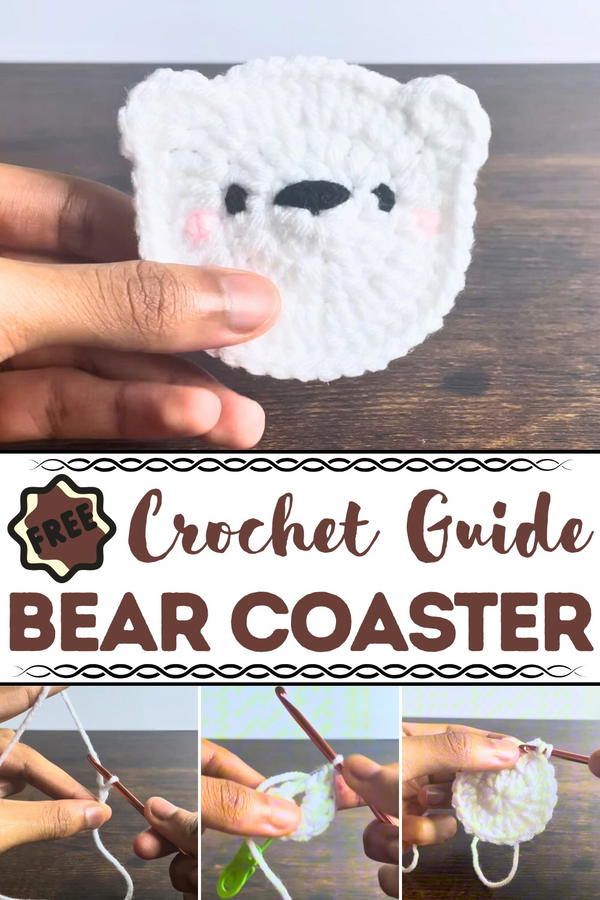
Kick off the cuteness with this Free Crochet Bear Coaster Pattern, a fun way to stitch playful, practical coasters that add joy to every sip and setting.
Long before mugs lined modern kitchen shelves, families would gather around handwoven tablecloths, where even the smallest details carried warmth. One such detail, now reimagined with charm, is the crochet bear coaster. More than a surface protector, this cozy creation adds personality to every sip. With coaster round face, soft texture, and gentle expression, the bear-shaped coaster invites comfort and conversation. Ideal for tea tables, office desks, or breakfast nooks, it offers a playful yet functional accent that quietly brightens daily rituals.
Crochet Your Own Bear Coaster – Free Guide for Functional Cute Decor
Its tightly stitched structure ensures durability, while the natural yarn feel lends an organic softness against glass, ceramic, or wood. Subtle color variations can suit every mood, from calm neutrals to cheerful hues. Lightweight and washable, it’s both decorative and practical, an eco-conscious alternative to disposable coasters or mass, produced trivets.
Beginners find ease in its approachable shape, while seasoned hands enjoy the meditative rhythm of its form. Whether gifted in a set or used solo, it brings gentle nostalgia and quiet joy to any setting. From morning coffee to evening cocoa, the bear coaster keeps moments grounded, reminding us that warmth isn’t just found in the cup, but also in the care beneath it.
Step-by-Step Guide to Making a Cute Crochet Bear Coaster
Materials Needed
To make the bear coaster, you'll need:
- Yarn: Any color of your choice; the tutorial uses white yarn as the main color, with small amounts of pink and black.
- Crochet Hook: A 4mm crochet hook.
- Scissors for trimming.
- Stitch Marker to track your stitches.
- Yarn Needle for weaving in ends and embroidery work.
Step-by-Step Instructions
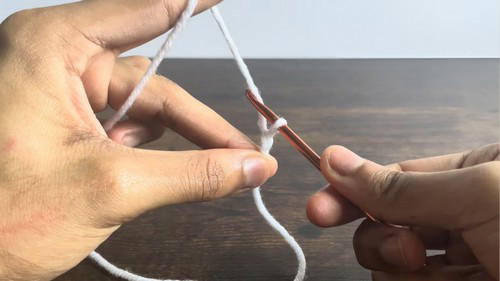
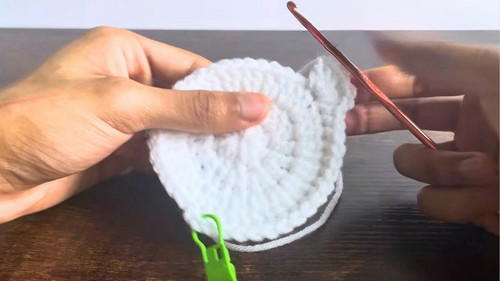
1. Starting the Bear Coaster
- Begin with a slip knot and tighten it around the crochet hook.
- Create a chain of 5.
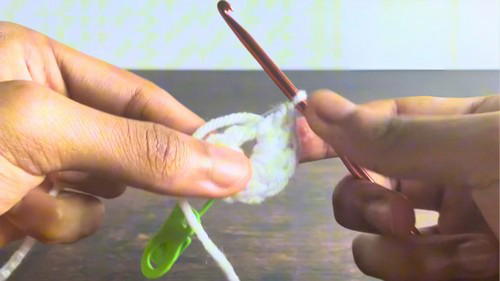
- Slip stitch into the first chain to form a beginner-friendly magic ring.
- Chain 2 and make 10 double crochets (DC) into the middle of the magic ring.
- Use your tail yarn to secure and close the magic ring, creating a clean circle.
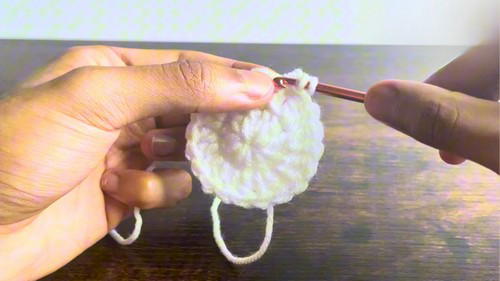
2. Round 2: Expanding the Circle
- Begin with a chain 2 and make a double crochet increase (2 DC in the same stitch) in every stitch around.
- At the end of the round, you will have 20 stitches.
- Slip stitch into the first stitch to end the round.
3. Round 3: Continuing Expansion
- Chain 2 and perform another round of double crochet increases, increasing in each stitch.
- At the end of the round, you will have 40 stitches.
- Slip stitch into the first stitch and chain 1.
4. Round 4: Creating Features
Single Crochets and Ears
- Single crochet (SC) in the first 17 stitches.
- In the 18th stitch, make 5 double crochets (DC)—this creates the first ear.
- Slip stitch (SS) in the next 12 stitches.
- In the next stitch, work another 5 double crochets (DC) to form the second ear.
- Continue with single crochet (SC) in the remaining 9 stitches.
5. Adding Details (Face Features)
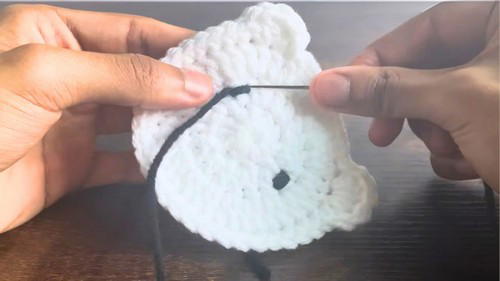
Eyes
- Using the black yarn, create eyes 8 stitches apart on the second round of the coaster using simple embroidery techniques.
- Each eye is formed by repeating the stitching process twice in the same spot.
Nose
- Embroider the nose with black yarn across 4 center stitches, ensuring the size is small and not bulky to maintain functionality for cups.
Blush Accents
- Using pink yarn, add embroidery blush below each eye, working one stitch away from the eye positions.
Special Features
- Beginner-Friendly Magic Ring: This tutorial simplifies the creation of the magic ring for those who are new to crochet.
- Functional Design: The coaster is made to hold small cups and mugs properly without tipping over.
- Customization: You can personalize the bear coaster with different yarn colors or facial accents to suit your preferences.
Level of Difficulty
Beginner Level: The tutorial is easy to follow, with clear instructions and step-by-step guidance. It covers foundational skills like working with a magic ring, double crochet increases, and basic embroidery techniques for facial features.
Tutor’s Suggestions
- Work on Tension: Ensure consistent tension while crocheting to maintain a clean and polished look.
- Embroidery Tip: Avoid making the nose too bulky to keep the coaster functional.
- Count Stitches Regularly: Use the stitch marker and manual counting to keep track of progress in each round.
Uses and Purpose
These bear coasters make adorable additions to your home decor, especially as cup or mug holders. They're great for:
- Gifting to friends and family.
- Selling as handmade crochet items.
- Personalizing your dining or beverage space.
Final Tip
Finish Neatly: After completing the coaster, weave in any yarn tails carefully using a yarn needle. Use a back-loop-only technique to create a clean finishing stitch that blends seamlessly with the design.
Conclusion
Crochet Bear Coaster is an enjoyable project, perfect for both beginners and experienced crafters looking for a quick creative project. This step-by-step process results in a functional yet decorative piece that can brighten your space or make for a thoughtful gift.


