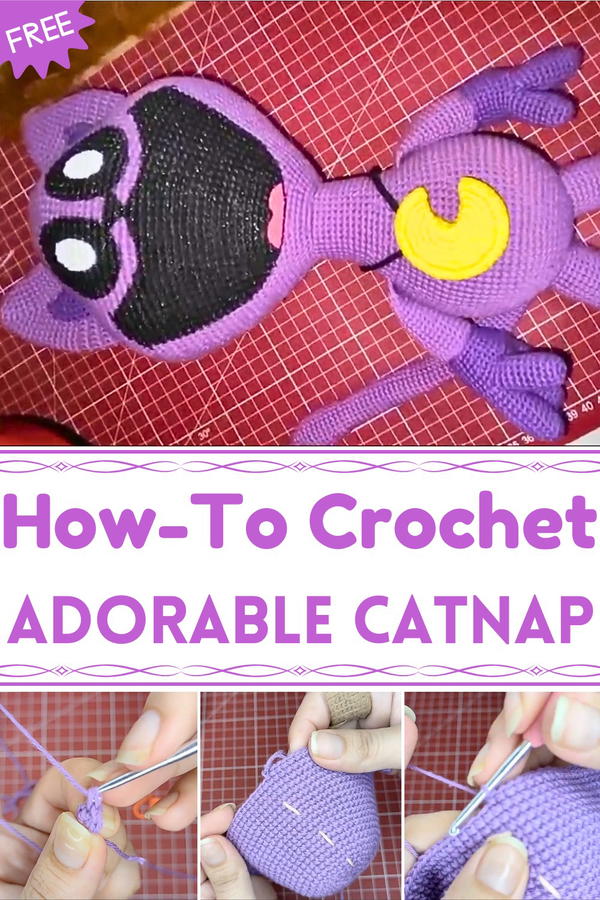
Bring charm and comfort to your space with the Free Crochet CatNap Pattern, making adorable tiny kittens with cozy beds that delight instantly.
Soft naps and cozy moments are essential not only for cats but for anyone who appreciates a touch of comfort in their space. The "Free Crochet CatNap Pattern" transforms this simple delight into a miniature world where charming kittens find their perfect resting spots. This pattern blends creativity with practicality, offering crafters the joy of making tiny, handmade companions that bring warmth and cheer to any room. Perfect for display, gifting, or even stress-relief, these little crocheted kittens capture both whimsy and functionality.
Delightful Crochet CatNap Pattern to Brighten Your Day
The "CatNap" pattern encourages resourcefulness by using scrap yarn, turning leftover fibers into adorable companions. Step-by-step guidance ensures smooth progress from base construction to finishing touches, including shaping the ears, stuffing the body, and securing the bed. Whether for enjoyment, decoration, or gifting, this pattern combines beauty, charm, and practicality, creating tiny treasures that bring a smile to every crochet enthusiast.

Designed with beginner-friendly techniques, the pattern uses basic stitches such as single crochet, half-double crochet, and slip stitches, making it accessible while still producing a polished result.
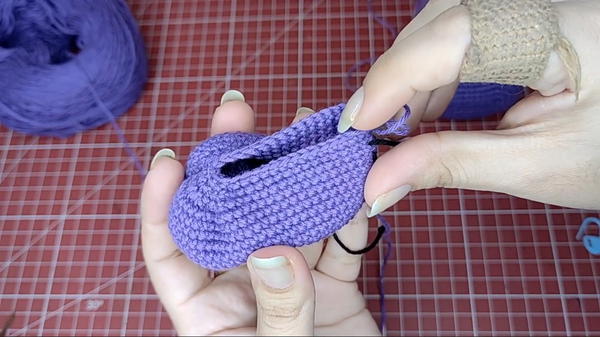
Each kitten is crocheted in one seamless piece, eliminating the need for complicated assembly, while tapestry crochet is introduced for subtle color variations.

The project includes a soft, snug bed for each kitten, providing a realistic and playful touch.
Finished kittens measure approximately 7 cm tall, with beds around 7 × 9 cm, making them perfect for desktops, shelves, or as personalized gifts.
Special Features
- Cheek Details: Extra increases in the head to create a cute, rounded cheek shape.
- Two-Tone Ears: Combines lilac and purple yarn for a beautiful contrast.
- Proportional Limbs: Legs and arms are shaped to give the plushie a realistic yet cuddly appearance.
- Detailed Instructions: Each step is explained with clarity and offers tips for beginners to avoid getting lost.
- Customizable Design: You can adjust the colors, stitches, or even add accessories to personalize your plushie.
Difficulty Level
Intermediate
This project is best for crocheters with a solid understanding of the basics, including working in the round, making magic rings, and performing increases and decreases. The pattern also includes invisible decreases and shaping techniques, making it slightly more complex for beginners.
Materials Required
- Yarn:
- Lilac: For the head, body, ears, and part of the limbs.
- Purple: For facial details and the inside of the ears.
- Crochet Hook: Recommended size to match your yarn thickness (usually 3-5 mm).
- Stuffing Material: Polyfill or similar material, to fill the head, body, and limbs.
- Safety Pin or Yarn Marker: To mark the beginning of rounds.
- Tapestry Needle: For sewing the parts together and embroidery.
- Scissors: To cut yarn as needed.
Tutor’s Suggestions
- Use a Yarn Marker: Switching to a piece of contrasting thread can make it easier to track your rounds.
- Take Breaks: The project involves repetitive rounds, so pace yourself to avoid hand strain.
- Customize the Colors: Have fun experimenting with different color combinations to give the plushie your personal touch.
- Use Invisible Decreases: This will help create smooth transitions when tapering shapes.
Uses
- Gifting: A thoughtful, handmade present for children or loved ones.
- Home Decor: Adds charm to shelves, sofas, or bedrooms.
- Stress Relief: Crochet projects are therapeutic, and the finished plushie can also serve as a comforting object.
Tip
For a professional-looking finish, use a tapestry needle to seamlessly join the body parts. Keep all stitching neat and consistent to ensure a clean look.
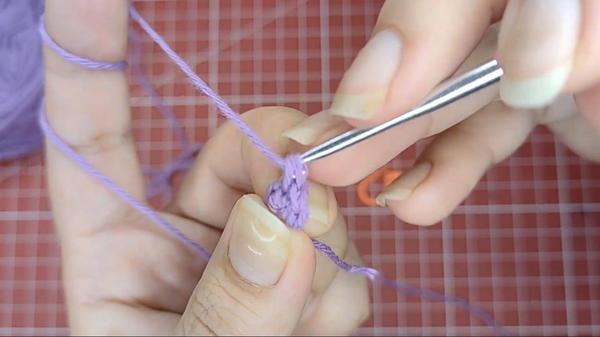
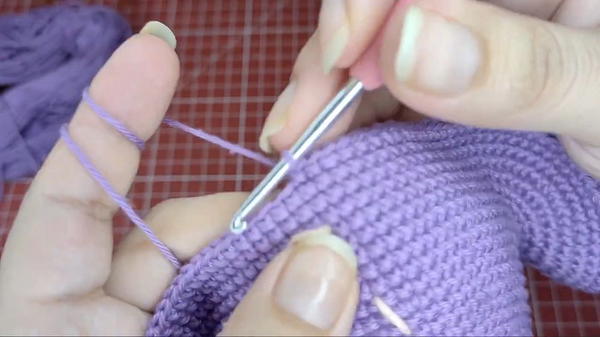
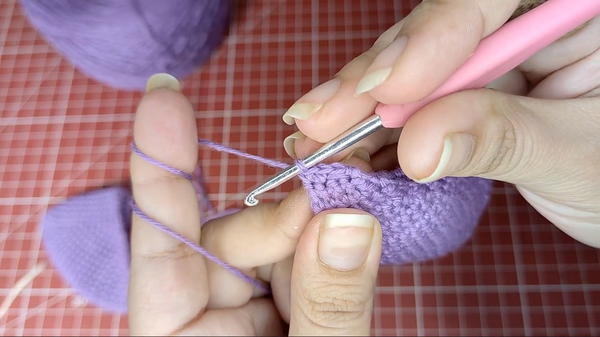
Step-by-Step Instructions
In this tutorial, the focus is on mastering rounds, increases, and decreases, as well as achieving a polished look with careful attention to shape and detail. The project involves multiple parts to create a lifelike 3D plushie, so it's perfect for honing your amigurumi skills.
Conclusion
This Catnap plushie tutorial is a rewarding project that blends creativity and skill. By following each step, you can produce an adorable and cuddly toy perfect for gifting or displaying.


