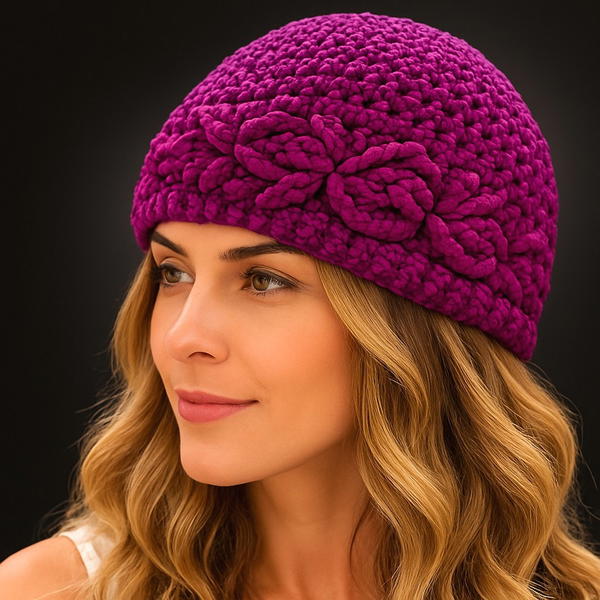
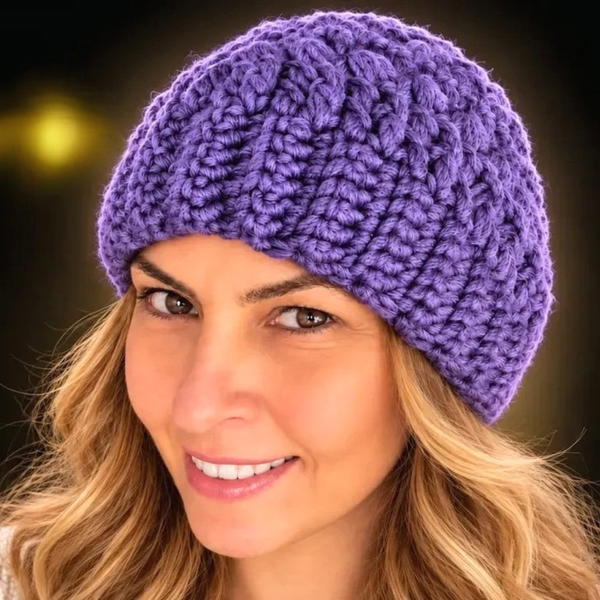
Stay cozy and warm with this free crochet ear warmer headband guide that empowers you to effortlessly add comfort and style to your wardrobe.
Stay warm and stylish this season with a cozy accessory that’s as fashionable as it is functional. This free crochet ear warmer headband pattern offers a comfortable fit that beautifully hugs your head, making it perfect for chilly fall and winter days. Whether you’re heading out for a brisk morning walk, running errands, or adding a charming touch to your everyday outfit, this headband is an ideal choice. Its elegant yet simple design pairs wonderfully with casual coats, sweaters, or even sporty jackets, making it versatile for many occasions and styles.
Easy to Follow Ear Warmer Headband Crochet Pattern – Free
Designed with beauty and practicality in mind, this ear warmer suits all ages and can be worn anywhere—from outdoor gatherings to relaxed weekends at home. The uncomplicated style lets the hand-crocheted texture shine, elevating your winter wear with subtle sophistication.
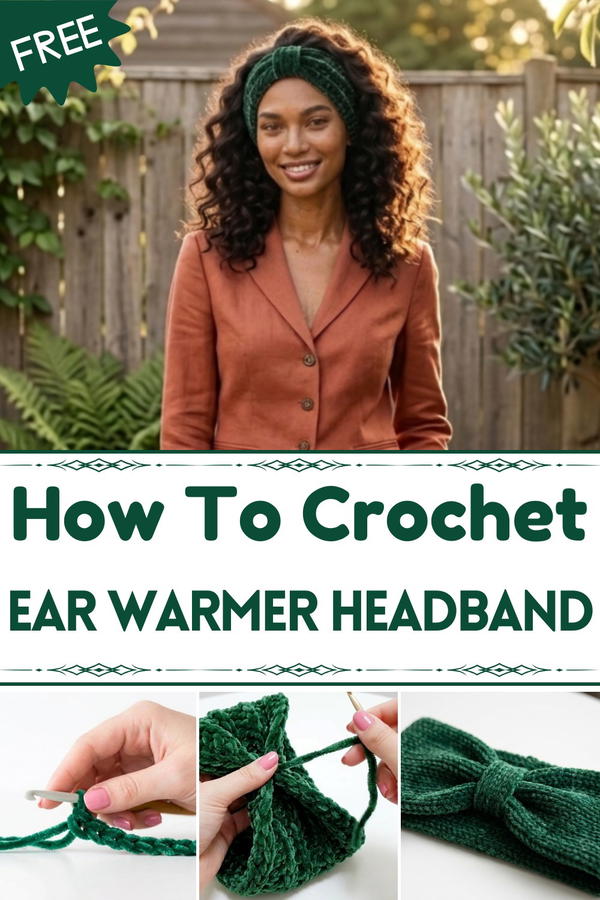
The standout feature of this project is its rich, knitted-like texture, achieved by crocheting single crochet stitches exclusively in the side loops. This technique creates a thick, stretchy fabric that offers warmth without bulk. Constructed flat with 10 rows before being seamlessly joined, the headband features a gentle fold detail that adds dimension and a polished finish.

Ideal for crocheters of all skill levels, this quick project uses chunky yarn and a large crochet hook, making it both accessible and satisfying to complete. Ready to create your own fashionable ear warmer? Step into the full pattern and crochet a cozy accessory that you’ll love wearing all season long.
Quick Overview of Pattern
- Make a textured band using single crochet in the side loops.
- Seam the ends together to turn your work into a headband.
- Crochet and attach a smaller wrap to accent the center and cover the seam.
- Finish by weaving in all ends and shaping.
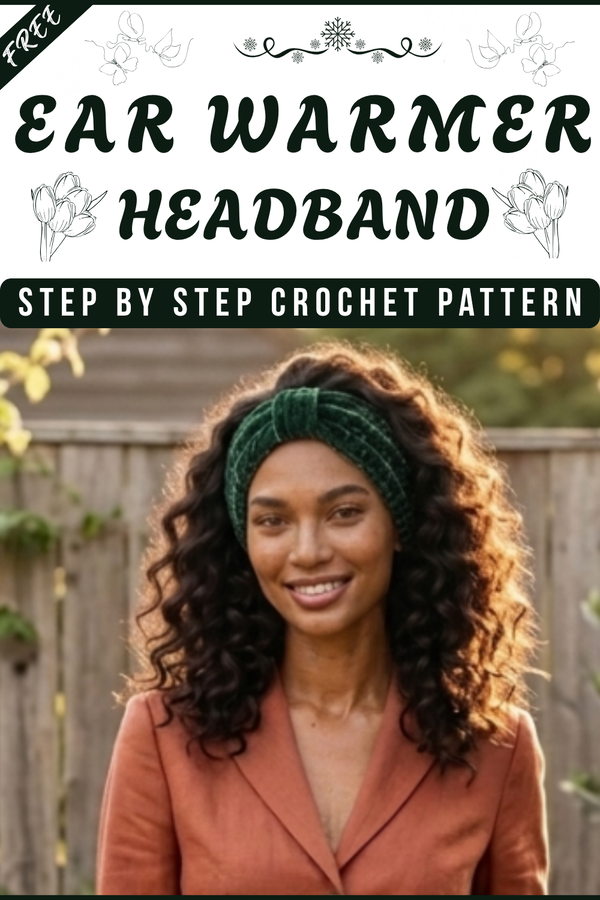
Crochet Ear Warmer Headband Pattern
In this pattern, we will crochet a chic ear warmer headband with a knit-like ribbed texture and a stylish gathered center. All steps follow the actual process demonstrated in the pattern.
Notes
- Pattern is worked flat and then seamed.
- Texture is created by working in the side loop.
- Adjust the starting chain to fit your head if necessary.
- Tapestry needle is used for all assembly and finishing steps.
Skill Level
Beginner.
All techniques and stitches are clearly described.
Materials
- Chunky yarn: 50g (80% polyacrylic, 20% wool) or equivalent
- 10 mm crochet hook
- Scissors
- Tapestry needle
Measurements / Sizing
- Finished headband: Fits average adult (54–58 cm / 21–23 in circumference)
- Width: 9–10 cm (3.5–4 in)
- Length (before seaming): 47 cm (18.5 in)
- Center wrap: 3–4 cm wide
Gauge
10 single crochets and 12 rows = 10 cm (4 in), in single crochet in side loops.
Stitch Abbreviations
- ch – chain
- sc – single crochet
- st(s) – stitch(es)
- sl st – slip stitch
Special Stitches
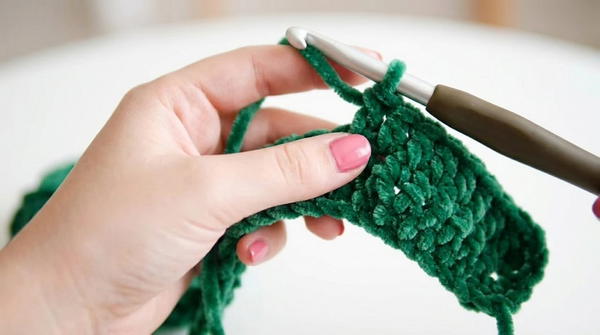
Single crochet in side loop: Insert hook into the middle “side loop” bar of previous row’s sc (not the traditional front/back loop). This ribbed effect mimics knit fabric.
Crocheting the start of an ear warmer headband is a rewarding experience, especially because it comes together quickly and showcases the plush quality of chunky yarn. By beginning with a foundational chain, you ensure your band has desired flexibility, ideal for comfort around the ears. The secret to this design is working every single crochet into the "side loop" of each row, which is less common than the usual front or back loop approach. This small adjustment in technique gives your finished piece an appealing, almost knitted look, making the fabric especially thick and perfect for chilly days. Ensuring your starting chain is neither too tight nor too loose is essential, as this forms the basis of your structure.
The Crochet Pattern
Main Headband
- Make a slip knot.
- Chain 41.
(41 chains forms your foundation row = approximately 47 cm before assembly.)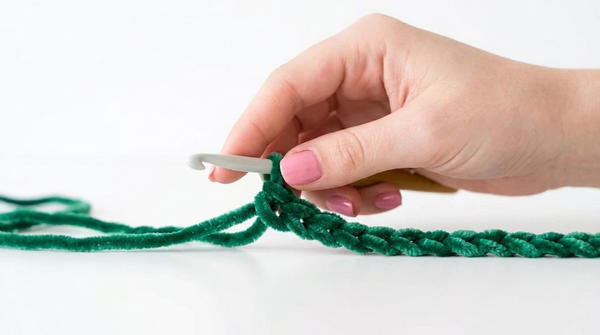
- Row 1:
- Starting in the second chain from hook, work 1 sc into each chain across.
- (40 sc total in Row 1)
- Row 2:
- Ch 1, turn your work.
- Work 1 sc into the side loop of each stitch across the row (40 sc).
- Rows 3–10:
- Ch 1, turn at the start of each row.
- Continue to work 1 sc into the side loop of each stitch across (40 sc per row).
- Repeat until you have 10 rows in total.
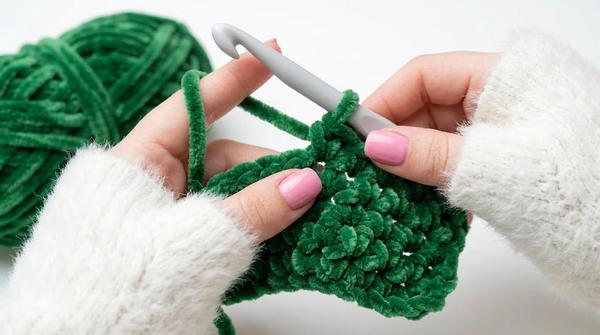
- After Row 10:
- Ch 1 and fasten off, leaving a long tail for seaming.
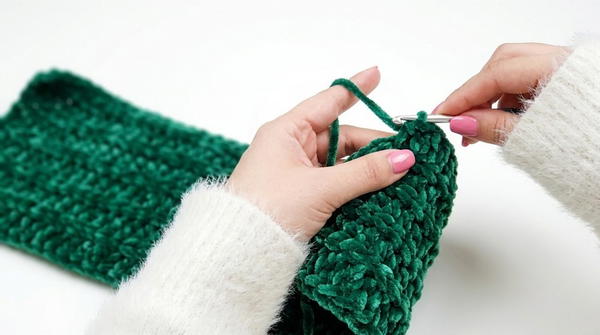
- Ch 1 and fasten off, leaving a long tail for seaming.
You should now have a flat rectangle measuring about 10 rows high and 40 stitches wide.
Assembly of Main Band
- Weave in your starting tail with the tapestry needle for a neat edge.
- Fold the band in half to align the short ends.
- Sew the short ends together securely using the yarn tail and tapestry needle.
- Weave in and hide the tail, snip any excess yarn.
As you progress through the body rows, you’ll see the ear warmer grow in both length and texture. Crocheting into the distinctive "side loop" each time not only adds elasticity, but the resulting pattern has visual intrigue—almost like delicate, structured ridges running perpendicular to the band. It’s these subtle details that elevate the simplest accessories to something truly special. When you reach the end of your ten rows, you’ll have a thick and plush rectangle that lays comfortably across the ears—perfect for winter wearers. Now comes the magic: with just a needle and some patience, transform this piece into a wearable loop that hugs the head with no obvious seam or bump.
Making the Center Wrap
- Make a slip knot.
- Chain 5.
- Row 1:
- Starting from the second chain from hook, work 1 sc in each chain across.
- (4 sc in Row 1).
- Rows 2–8:
- Ch 1, turn your work.
- 1 sc in each stitch across.
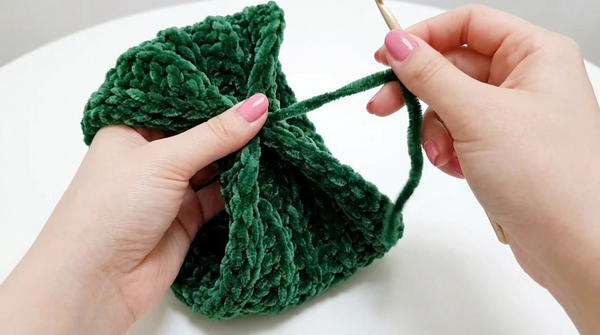
- Repeat until you have completed 8 rows in total (each row with 4 sc).
- After Row 8:
- Ch 1 and fasten off, leaving a tail for sewing.
Attaching the Center Wrap
- Center the seam of your headband.
- Wrap the small piece around the seam so that the two short ends of the small rectangle meet inside the band.
- Sew the ends together with your tapestry needle and yarn tail, cinching the headband to create the gathered/bow effect.
- Weave in all ends and clip any excess yarn.
- Turn the band right side out and adjust the wrap.
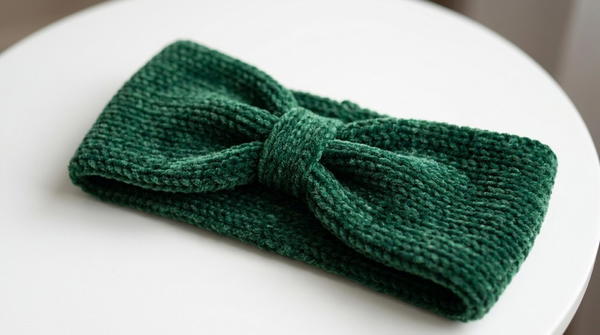
Assembly & Finished Size
- Your finished headband should fit an average adult head (54–58 cm / 21–23 in).
- Width: Approximately 9–10 cm (3.5–4 in).
- Center wrap: About 3–4 cm.
Completing this ear warmer brings both warmth and style to your cold-weather accessories. The final seam is concealed beneath the accent knot, providing not just a decorative pop, but also practical reinforcement for the join. This project is a fantastic introduction to textured crochet techniques and creates a useful, gift-worthy item in less than an hour. With your ends woven in and the headband turned right-side out, admire the elegant ridges and cozy appearance, perfect for staying toasty in chilly winds. Whether worn yourself or gifted, this crochet piece is a testament to how a simple stitch, worked a new way, can yield remarkable results.
Conclusion and Ending Words
Congratulations! You have completed your ribbed ear warmer headband with its attractive knit-look texture and polished, gathered center. This project is quick, stylish, and highly customizable—make it your own by using your favorite colors and yarns.