Find out a vibrant top with charming flower designs that blend comfort and style perfectly, making your wardrobe fresh and lively with ease.
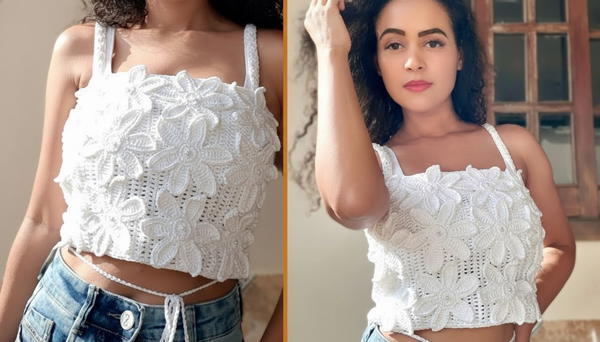
Feel good and look great with this cheerful top full of flower designs that brighten any outfit. The soft, light fabric makes it ideal for warm days, whether you're going out or relaxing at home. Each flower detail adds a playful, natural touch, making the top stand out with a lovely, fresh look.
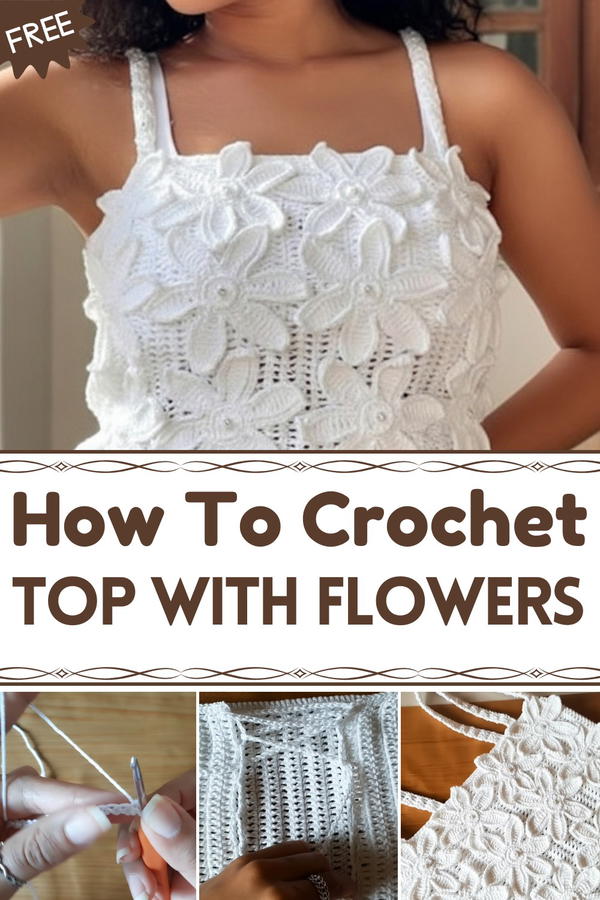
Delightful Crochet Top with Flowers Pattern That Looks Chic
Its comfortable fit moves easily with your body and feels gentle against the skin. Perfect for pairing with skirts or pants, this top brings a splash of color and a happy vibe to daily wear. Simple, stylish, and easy to wear, it’s a wonderful way to add beauty and joy to your clothing collection, making every day feel special and bright.
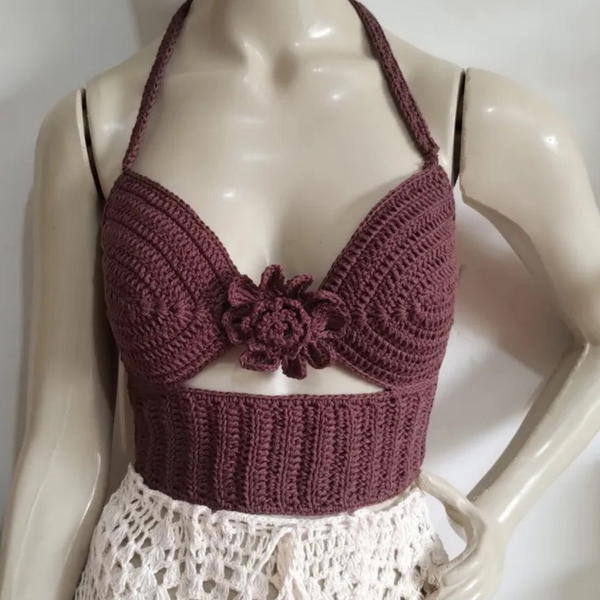
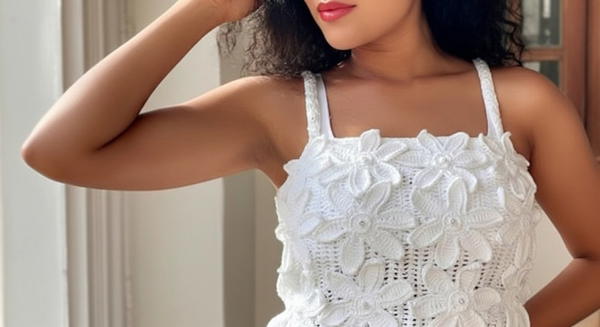
Crochet Floral Crop Top – Detailed Step-by-Step Pattern
This is a detailed pattern based on a crochet tutorial for a trendy floral crop top that is all the rage right now. The top features a simple foundation of double crochet stitches with charming floral appliqués, finished with delicate straps that cross in the back. Suitable for intermediate crocheters who are comfortable with basic stitches and assembling pieces, this project yields a stylish, wearable piece perfect for summer and festive occasions.
Introduction
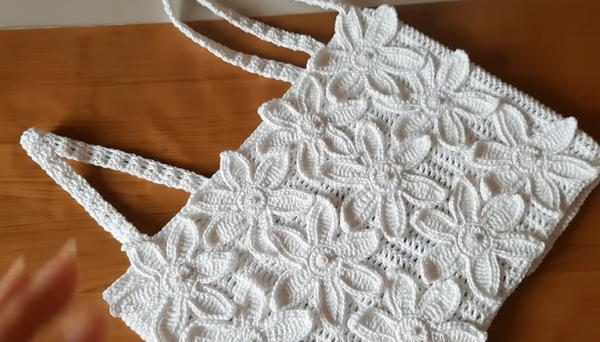
In this tutorial, we will create a fashionable crochet crop top featuring a body made entirely of double crochet stitches and adorned with three layers of floral motifs. The top includes delicate straps that crisscross on the back for both style and fit. The flowers are applied on the front before finishing, lending a beautiful, textured look. You will learn how to crochet the base, add finishing touches, create and attach straps, and affix the floral decorations securely.
Materials Needed
- Amigurumi yarn in white (or desired color)
- White sewing pins for marking
- Tailor’s glue (fabric glue)
- Tapestry needle (jeans needle) size 3
- Scissors
- Crochet hook appropriate for your yarn (not specified, usually 2.5mm-3.5mm)
Abbreviations
- ch = chain
- dc = double crochet (UK/US terminology: US dc, UK treble)
- sc = single crochet
- sl st = slip stitch
- sts = stitches
- sp = space
Level of Difficulty
Intermediate — Familiarity with chain stitches, double crochet, single crochet, and finishing techniques is necessary. Ability to measure and adjust size is important.
Pattern Steps
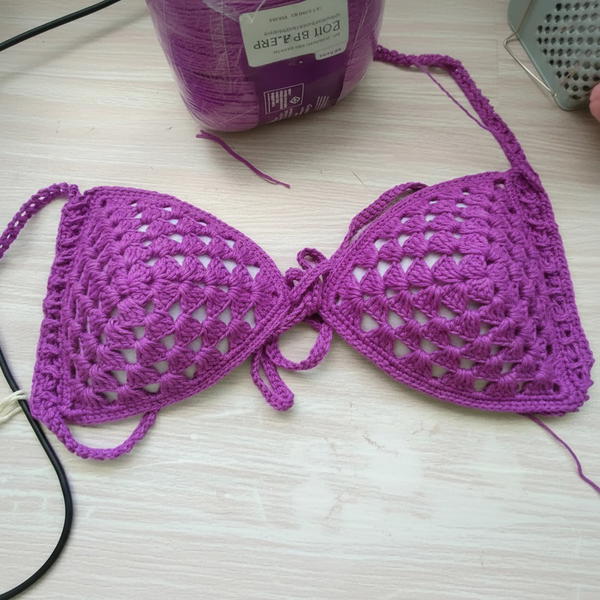
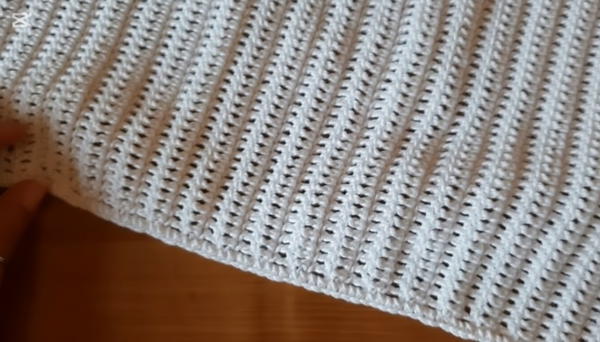
Part 1: Foundation of the Top Body
Make Initial Chain:
- Create an initial slip or running knot.
- Chain 48 stitches (adjust length as desired for your size or length of top).
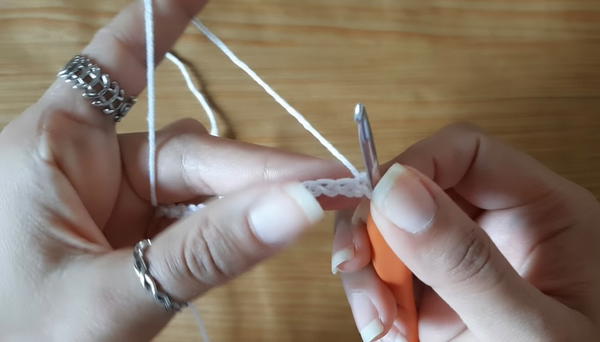
First Row:
- Starting from the 3rd chain from the hook (counts as first dc), make one double crochet into each chain across.
- You should have 48 double crochet stitches at the end of the row.
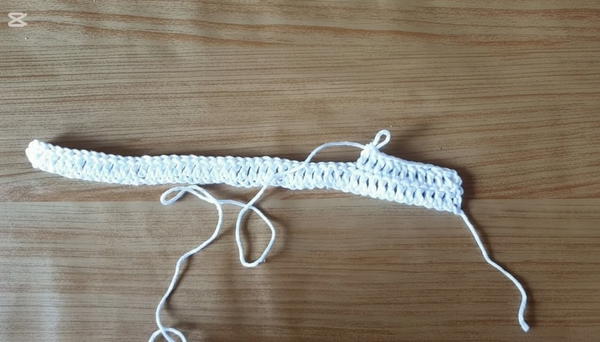
Continuing Rows:
- Chain 2 to turn (counts as first dc of new row).
- Make double crochet in each stitch across.
- Repeat this step to build rows until you reach the desired length for your top. In the tutorial, the maker completed 65 rows for her size.
- Note: The piece should stay straight without curling — adjust tension if needed.
Check Length:
- Measure against your body maintaining a bit of space for overlap in the back for crossover straps.
- Adjust number of rows as necessary.
Part 2: Finishing Edge along the Top Body
At the end of your last double crochet row, chain 1 and turn your work.
Work a border of single crochet (sc) stitches:
- Insert your hook into the edge spaces or stitches and make single crochet stitches evenly spaced.
- This border will give the top a clean, professional finish.
For decorative purposes (optional), crochet 5 chains after every 4 or 5 single crochets on the border to create loops (this is for aesthetic and functional purposes like holding straps).
Continue around the edges of the top to create a neat finishing touch, then slip stitch to join to the first single crochet. Fasten off.
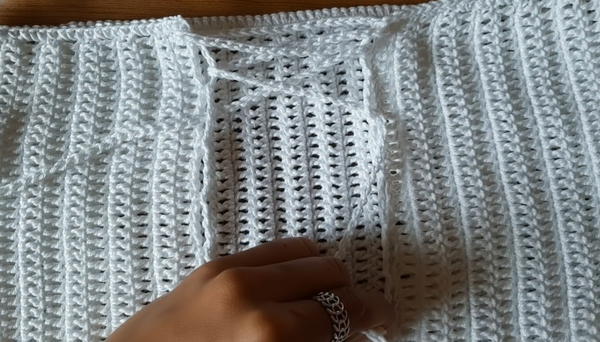
Part 3: Creating the Straps
- Create a starting slip knot on yarn.
- Attach yarn at the side of the top where straps are desired, usually at the upper corners of the top.
- Chain 5 (or more if you want longer straps).
- Skip over 4 base stitches and single crochet in the next space.
- Repeat this “chain 5, skip 4 stitches, sc in next stitch” pattern to make the strap length as per your desired fit.
- Turn and make rows of double crochet to widen the strap, matching the width the instructor prefers (4 double crochet wide in the video).
- Continue until the strap reaches a length sufficient to cross over the back (approx. 2.1m to 2.3m in the video but customize length as needed).
- Secure and fasten off.
Part 4: Attaching Straps
- Sew the straps where marked, usually attaching to upper edges of the front and then crossing and securing on the back.
- Use a tapestry needle and matching yarn.
- Make small, neat stitches to fasten the straps firmly, ensuring durability and comfort.
- Knot securely and weave in ends for a clean finish.
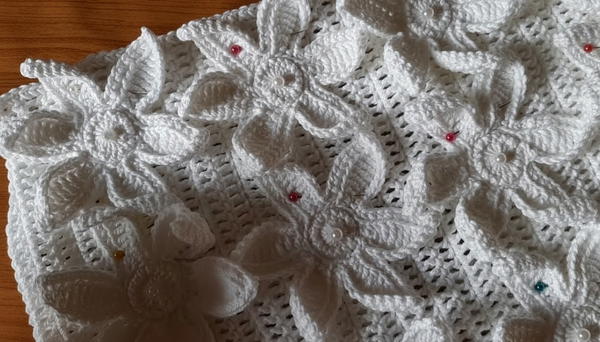
Part 5: Making and Attaching Floral Appliqués
Flower Motifs:
- The flowers are made separately (instruction for flower is in a different video/lesson).
- Each flower has a pearl sewn into the center for a decorative touch.
- You'll need about 12 flowers to cover the front of the top in layered rows (3 layers in the tutorial).
Attaching Flowers:
- After completing the top body and edges, place the flowers on the front of the top.
- Use sewing pins to mark their positions while wearing the top to ensure good fit and spacing.
- Remove the top, then apply fabric glue gently to the back of each flower.
- Press flowers firmly on the top where marked and allow glue to dry completely.
- For extra security, a dab of glue between petals helps keep them in place and open beautifully.
Special Features
- Entire top made with double crochet stitches — the “high points” creating solid but breathable fabric.
- Decorative strap design allows adjustable crisscross back for a personalized fit and stylish look.
- Floral appliqué embellishments give a 3D effect and add spring/summer vibe.
- Optional finishing edges and strap widths can be customized for personal style.
- No complex stitch patterns, but assembly and fitting require attention.
Tutor's Suggestions
- Measure continuously while working to ensure crop top fits your body shape.
- Make strap length generous enough to comfortably tie across your back.
- For the flowers, use separate lessons/tutorials provided on the same channel, then attach them as a finishing step.
- You may omit flowers or reduced layers to simplify or shorten the project.
- Use fabric glue sparingly; a little goes a long way in securing appliqués without making the fabric stiff.
Uses
- Perfect for summer wear, music festivals, beach coverups, or stylish casual outings.
- Works well under jackets or over tanks.
- Can be made in varied colors and yarn types to suit different tastes.
- Makes a great gift for crafty friends who love crochet fashion.
Final Tips
- Always weave in ends neatly using the tapestry needle to prevent unraveling.
- Block your finished piece gently to even out stitches and shape the top.
- When making straps, adjust thickness and length based on your comfort and support needs.
- For washing, hand wash gently to protect flower appliqués and maintain shape.
Conclusion
This crochet floral crop top is a beautiful, fashionable project that combines basic stitches with creative detailing for an eye-catching garment. Following the clear step-by-step instructions will help you create a unique piece suited perfectly to your size and style. Whether you go for three layers of floral appliqués or just one, the design offers versatility and charm.