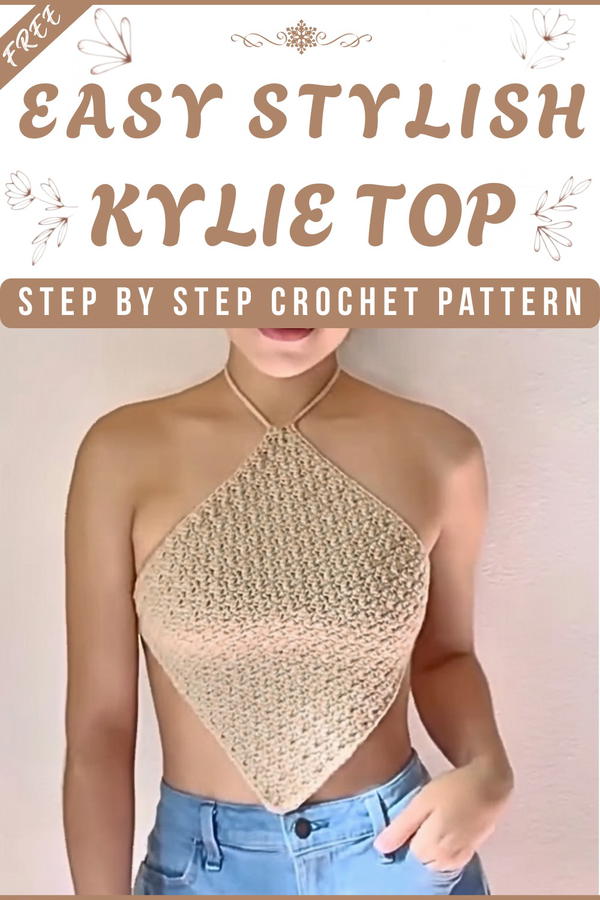
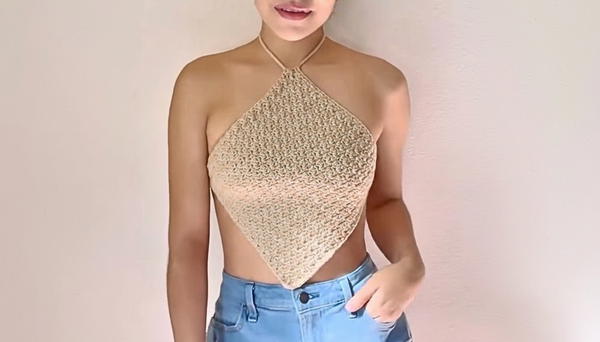
Enhance your style with the crochet KYLIE top, a chic and breezy garment perfect for any occasion, offering elegance and comfort in every stitch.
There’s nothing worse than wearing ordinary, uninspiring outfits that don’t make you feel special. That’s where the crochet KYLIE top pattern comes in, bringing you a design full of elegance and charm. This stunning top is lightweight, breathable, and perfect for warmer days, whether you’re heading out with friends, running errands, or enjoying a casual evening. Its intricate crochet details make it a standout piece while still being easy enough for beginners to follow.
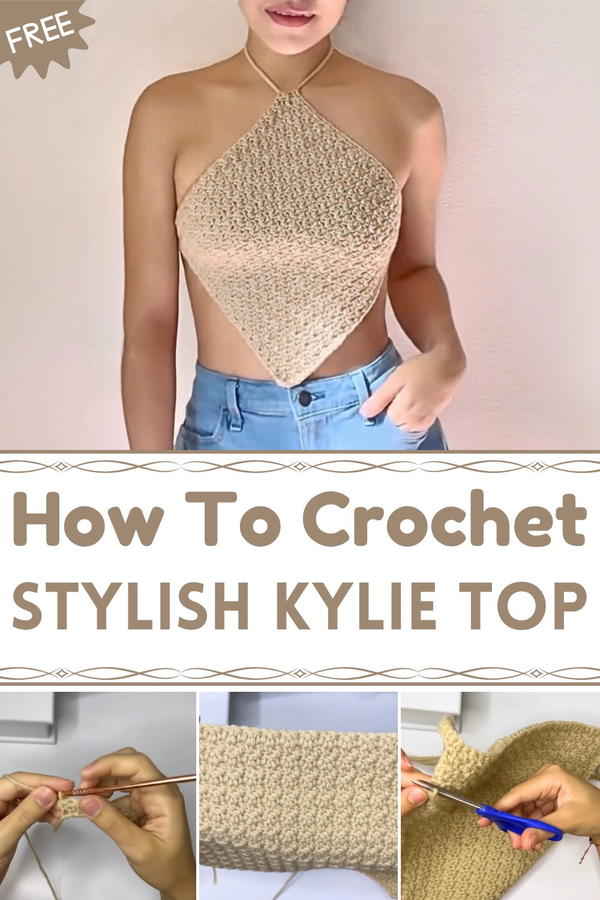
Stylish & Easy Crochet KYLIE Top Pattern for Summer Vibes
The KYLIE top complements any wardrobe effortlessly, pairing beautifully with jeans, skirts, or shorts for a stylish and chic look. Beyond its practicality, this top adds a touch of handmade artistry to your outfit, making it truly unique to you. It’s the perfect way to turn crochet into fashion, offering results that are both eye-catching and wearable. With this pattern, you can create a timeless piece that blends comfort and creativity seamlessly.
Simple Crochet Top Pattern – Step-by-Step Guide
Materials Needed
- Yarn: 4 mm medium-weight wool or yarn of your choice
- Crochet Hook: 4.25 mm (recommended); alternatively, you may use a 5 mm hook if available.
- Scissors
- Measuring Tape
- Tapestry Needle (for weaving in ends)
Size Reference:
For size XS, this pattern uses 35 chains as the base chain. Add 2 chains for every size up (e.g., for Small, use 37 chains; for Medium, use 39 chains, etc.).
Step-by-Step Pattern
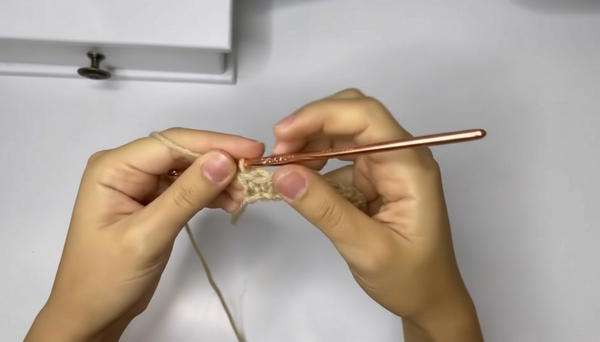
1. Create the Foundation Chain
- Start with a slip knot.
- Chain 35 (CH 35) for size XS. If you’re making a larger size, add 2 chains per size up. For example:
- Small: CH 37
- Medium: CH 39
- Large: CH 41
2. First Row: Alternating Stitches
- Turn the foundation chain and start in the second chain from the hook.
- Work 1 half double crochet (HDC).
- In the next stitch, work 1 double crochet (DC).
- Alternate between HDC and DC stitches across the entire chain.
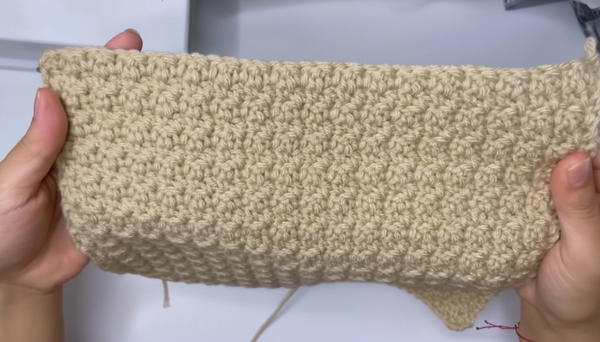
3. Second Row and Beyond: Continuing the Pattern
- At the end of the row, chain 2 (CH 2) and turn your work.
- Alternate again with the same stitch pattern across the row:
- Work HDC into the previous row’s DC.
- Work DC into the previous row’s HDC.
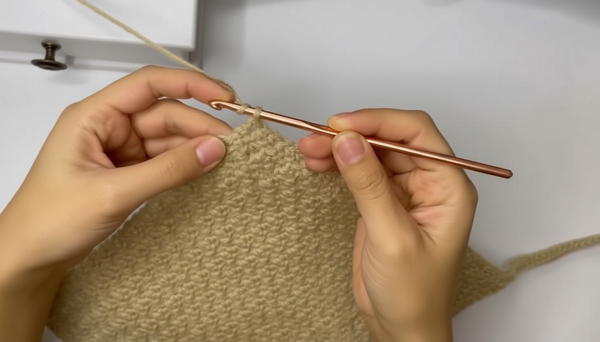
- Repeat the stitch alternation for each row, continuing until the desired length is achieved.
4. Determining Length
- To ensure the top fits accurately, measure your rows with a measuring tape:
- For this pattern, the completed square measures 25 cm x 25 cm (approximately 9.8 inches) for XS.
- Add rows as needed to match your size or achieve the desired length.
5. Adding Strap Support (Chain Straps)
Creating the Back Straps:
- At one corner of the completed top, chain 42 cm in length (or adjust based on your own measurement).
- Once the chain is complete, work HDC into each chain to reinforce the strap.
- Tie off the yarn and cut, leaving a secure finish.
Border and Side Strap Creation:
- Join yarn at a corner of the top.
- HDC along the entire bottom border of the top for a cleaner finish.
- When you reach the opposite corner:
- Create another chain strap 42 cm long.
- Reinforce the strap by working HDC into each chain, securing at the end.
6. Final Steps
- Once the straps are attached, check the fit by laying the piece flat and ensuring the measurements are correct.
- Use the tapestry needle to weave in and hide any loose thread ends.
- Check the top for any loose stitches and fasten them securely.
Special Features
- Difficulty Level: Beginner – Perfect for learning and practicing foundational techniques in crochet.
- Stitch Design: The unique alternation of HDC and DC gives this top an interesting texture, without being too complicated.
- Customizable: Add more chains and rows to customize for larger sizes, or adjust the straps for a custom fit.
- Adjustable Fit: The back straps allow you to tie the top for a snug or looser fit, making it versatile for different body types.
Uses
This top is ideal for:
- Casual Summer Outfits
- Beach Cover-Ups
- Layered Looks (pair with jackets or cardigans during cooler weather)
Conclusion
Congratulations on completing your crochet top! This simple yet stylish design is easy to make and can be customized with different colors, yarn weights, or embellishments. Whether you keep it for yourself or make it as a gift, it’s sure to be appreciated as a lovely addition to any wardrobe.
Final Tip
For a more polished look, block your top by dampening it and laying it flat to dry. Blocking enhances the shape, aligns stitches, and softens the fabric.