Master the art of stitching a chic and comfy crochet bucket hat that brightens up your sunny day wardrobe with effortless style and flair.
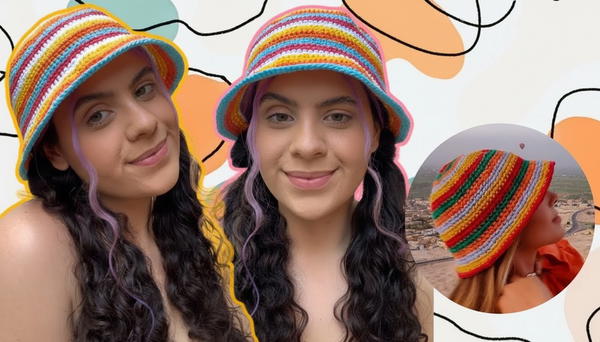
This cozy hat is perfect for sunny days and keeps you cool while looking stylish. With its soft texture and rounded shape, it gives a casual and playful vibe that fits any outfit. You can wear it at the beach, on walks, or while hanging out with friends, adding a touch of charm to your day. The hat’s simple design makes it comfortable to wear for hours without feeling heavy or tight.
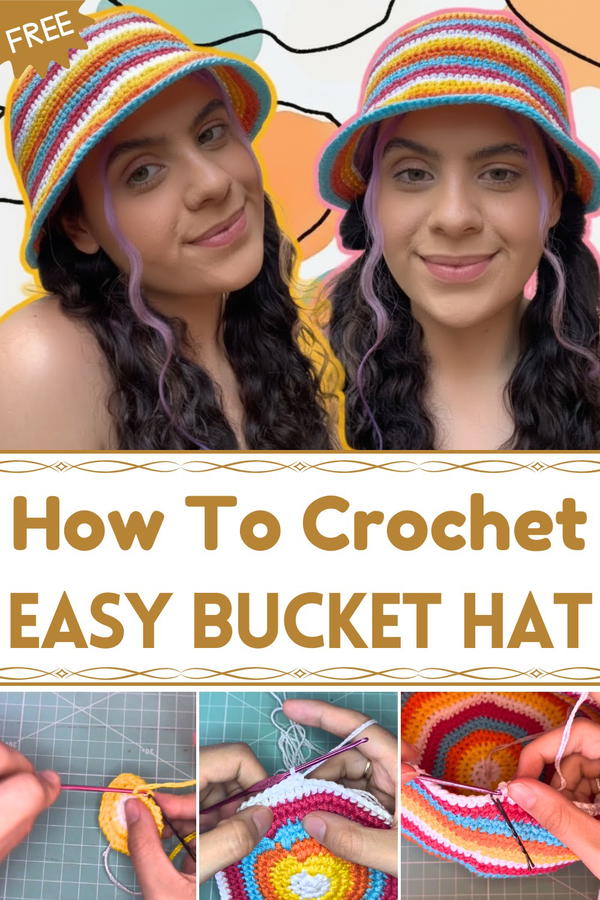
Charming Crochet Bucket Hat Pattern for All Ages
Its wide brim helps protect your face from the sun, making it a practical choice for outdoor fun. The warm, handcrafted feel also gives a gentle, homemade touch that many people love. Whether you’re going out for a quick trip or spending time outside, this hat brings both comfort and a fun look. It’s easy to match with different clothes and colors, making it a favorite accessory you’ll want to wear again and again.
Colorful Crochet Little Hat Pattern
Materials
- Anne yarn in multiple colors (used doubled)
- 2.5mm crochet hook
- Stitch marker (or hair clip as an alternative)
- Scissors
- Yarn needle for weaving in ends
Abbreviations
- ch = chain
- sc = single crochet
- MR = magic ring (magic circle)
- st(s) = stitch(es)
Special Features
- Starts with a magic ring to form a tight, neat crown
- Uses single crochet stitches throughout for a dense fabric
- Color changes to create a playful, colorful effect
- Strategic increases for shaping the round crown
- Option to customize brim width
- Uses a unique “pinecone” increase method for a solid foundation
- Size is customizable by adjusting the number of rounds
Level of Difficulty
Intermediate – Some experience needed with magic ring starts, increasing in the round, changing colors, and managing stitch markers.
Step-by-Step Pattern
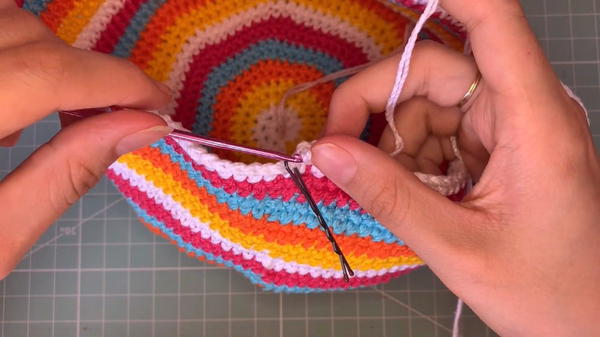
Round 1: Starting the Crown
- Make a Magic Ring (MR). Wrap yarn around two fingers forming an "X" to hold it securely.
- Pull the yarn tail to tighten the ring after stitches are made.
- Make 8 single crochet (sc) stitches into the MR. Do NOT count the first ch as a stitch.
- Tighten the ring by pulling the tail firmly to close the center.
- Place a stitch marker on the last stitch to mark the end of the round.
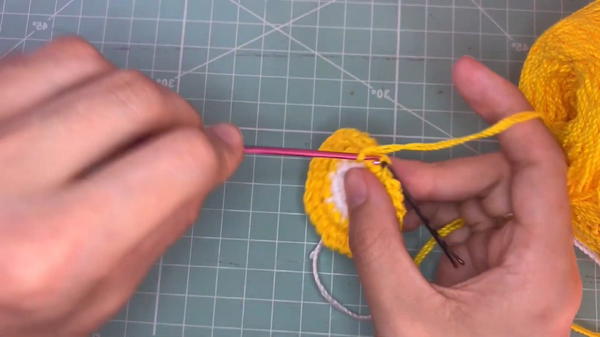
(You should have 8 stitches in this round.)
Round 2: Increasing (Pinecone Stitch)
- For each stitch around, make 2 single crochet stitches in the same stitch (this forms an increase).
- After completing the round, you should have 16 stitches (double the previous count).
- Place your marker at the last stitch to keep track of the round's end.
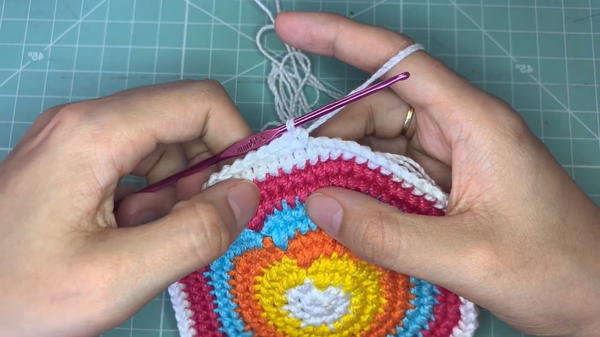
Round 3 and Onward: Increasing & Color Changes
- Begin to change yarn colors for a colorful look. Attach the new color by making a slip knot and joining at any stitch.
- For the next round, alternate between:
- One stitch with 2 single crochets (pinecone increase)
- One stitch with a standard single crochet
- Continue this pattern all around, gradually increasing spacing between increases in subsequent rounds to avoid warping.
Continuing the Body
- Gradually increase the interval between pairs of stitches and single stitches to shape the crown. For example:
- Round 3: pairs in every stitch (total 16 stitches)
- Round 4: increase the number of single crochets between increases (e.g., one double, one single)
- Subsequent rounds: increase the gap between increases (1 single, 2 singles, 3 singles, etc.)
- Use stitch markers to mark the end of each round to maintain your place.
Shaping and Building the Body
- The goal is to create a flat circular crown by carefully spacing increases (pinecone stitches).
- If the hat starts to warp or become ruffled, consider doing one or more rounds without increasing (single crochet in each stitch) to straighten the shape.
- Continue until the diameter fits comfortably on the head crown.
Measuring Head Size and Adjusting
- Measure your head circumference. Multiply by 3.14 (π) to calculate the required stitch count for the base.
- Adjust the number of rounds accordingly to reach the correct size, typically around 16 rounds for an average adult.
Making the Brim
- After the crown reaches a proper diameter and height, start creating the brim.
- Begin to increase stitches again to flare the brim outward. For example:
- Work in rounds with increases (2 sc in one stitch) spaced to your preference to create the desired brim width.
- Continue until brim is the desired size; you can customize it to be narrow or wide.
Finishing
- To finish off, cut the yarn and weave in all ends neatly with a yarn needle.
23.Use stitch markers to check for even edges and adjust if necessary.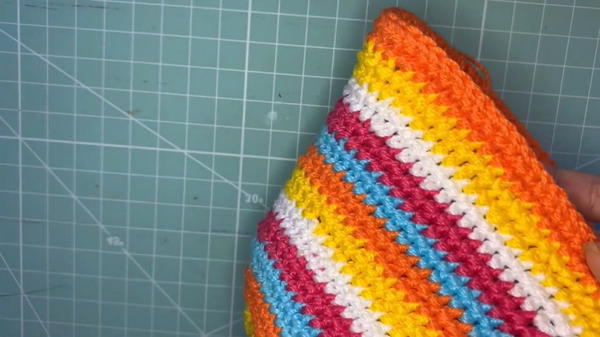
Tutor’s Suggestions
- Use stitch markers for every round’s last stitch to avoid confusion.
- Take measurements frequently with the hat on your head to ensure the proper fit.
- For color changes, carry the yarn inside the stitches to avoid bulky joins.
- If your hat flares too much or wrinkles, add a few rounds with no increases to adjust tension.
- Consider blocking your hat to smooth edges and shape the brim.
Uses
- A stylish, colorful hat perfect for sunny days or fashion statements.
- Great gift idea and fun beginner-to-intermediate level crochet project.
- Suitable for children and adults; customize size via rounds and stitch count.
Tip
To make changing colors easier and neater, always join new colors in the back loop of the last stitch of the previous round. This keeps the seam less visible.
Conclusion
This colorful little hat crochet pattern is a handy addition to your wardrobe or gifting list. Bia’s detailed instructions and tips help you achieve a well-fitting, beautifully shaped hat with a playful pop of color.


